
Mastering the Art of Chilling Cookie Dough for Ideal Spread

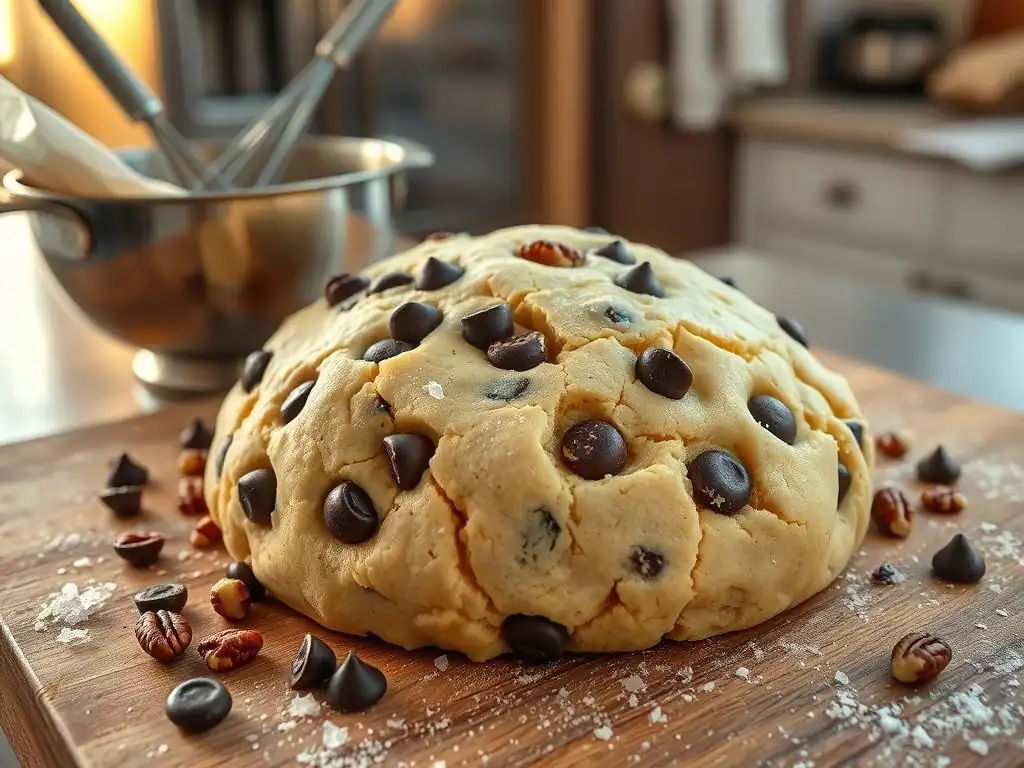
Welcome to BakeWithEase, where we unlock the secrets to baking perfection! Ever wondered why your cookies spread too thin in the oven? Discover the crucial role chilling cookie dough plays in achieving that perfect bake – a tip that can transform your cookies from flat disappointments to chewy, delectable treats. Read on to learn how this simple step can revolutionize your baking!
- Mastering the Art of Chilling Cookie Dough for Ideal Spread: BakeWithEase Guide
- Why Chilling Cookie Dough Matters: Achieving the Perfect Cookie Spread
- Step-by-Step Guide to Chilling Cookie Dough for Optimal Results
- Troubleshooting Common Issues with Chilled Cookie Dough
- The Impact of Ingredients on Cookie Spread and Chilling
- Recipes That Benefit Most from Chilling: Examples and Techniques
- Chilling Cookie Dough: Advanced Tips and Tricks for BakeWithEase Bakers
- Achieving the Perfect Cookie: Chilling Dough for Desired Texture and Flavor
-
Frequently Asked Questions
- How does chilling cookie dough affect the final cookie?
- Why is chilling cookie dough important for controlling cookie spread?
- What is the ideal chilling time for cookie dough to prevent excessive spreading?
- Can I over-chill cookie dough, and what happens if I do?
- What are some alternative methods to prevent cookie spread if I don't have time to chill the dough?
- Final Reflection: The Cool Truth About Cookie Dough
- Unlock Perfectly Spread Cookies: Your Baking Journey Starts Now!
Cookie spread refers to how much a cookie expands horizontally during baking. It's a crucial factor in determining the final texture and appearance of your cookies. A cookie that spreads too much can become thin, crispy, and potentially greasy, losing its intended shape and chewiness. Conversely, a cookie that doesn't spread enough might end up thick, dense, and cakey. Achieving the ideal spread is key to baking cookies with that perfect balance of crisp edges and a soft, chewy center, which is the hallmark of many beloved recipes like classic chocolate chip cookies.
The desired spread varies significantly depending on the type of cookie you're making. For instance, a thin, lacy oatmeal cookie is meant to spread considerably, while a sturdy sugar cookie intended for decorating needs minimal spread to maintain its intricate shape. Understanding the target spread for your specific cookie type helps you implement techniques, like chilling cookie dough, to control this variable effectively. Without proper control over spread, even the best ingredients can yield disappointing results.
Chilling cookie dough is a fundamental technique rooted in the science of baking, primarily impacting the fat content and structure of the dough. When cookie dough is warm, the fat (usually butter) is soft and pliable. As the dough heats up in the oven, this soft fat melts quickly, causing the cookie to spread rapidly before the flour and other ingredients have a chance to set. This rapid melt leads to excessive spreading and can result in flat, thin cookies.
By chilling the dough, you solidify the fat. When the chilled dough enters the hot oven, the cold fat takes longer to melt. This delay gives the cookie's structure—built by the flour, eggs, and leavening agents—more time to set before the fat fully melts. As a result, the cookie spreads more slowly and predictably, allowing it to rise slightly and maintain a thicker, chewier texture. This process is vital for controlling how chilling cookie dough spreads.
The primary mechanism by which chilling prevents excessive spreading is by solidifying the fat within the dough. Imagine cold, firm butter versus soft, room-temperature butter. The cold butter resists melting initially when exposed to heat, whereas the soft butter melts almost instantly. In cookie dough, this principle holds true. Chilling transforms the dispersed fat particles from a semi-liquid or soft state into a solid one.
When these chilled dough balls are placed on a hot baking sheet, the edges and bottom closest to the heat begin to bake and set first, while the solid core of cold fat resists melting. This resistance provides structural integrity early in the baking process. The fat eventually melts, contributing to spread and texture, but the slower melt rate allows the cookie to lift slightly and set more before spreading outwards dramatically. This controlled melting is why chilling cookie dough spreads less and bakes up thicker.
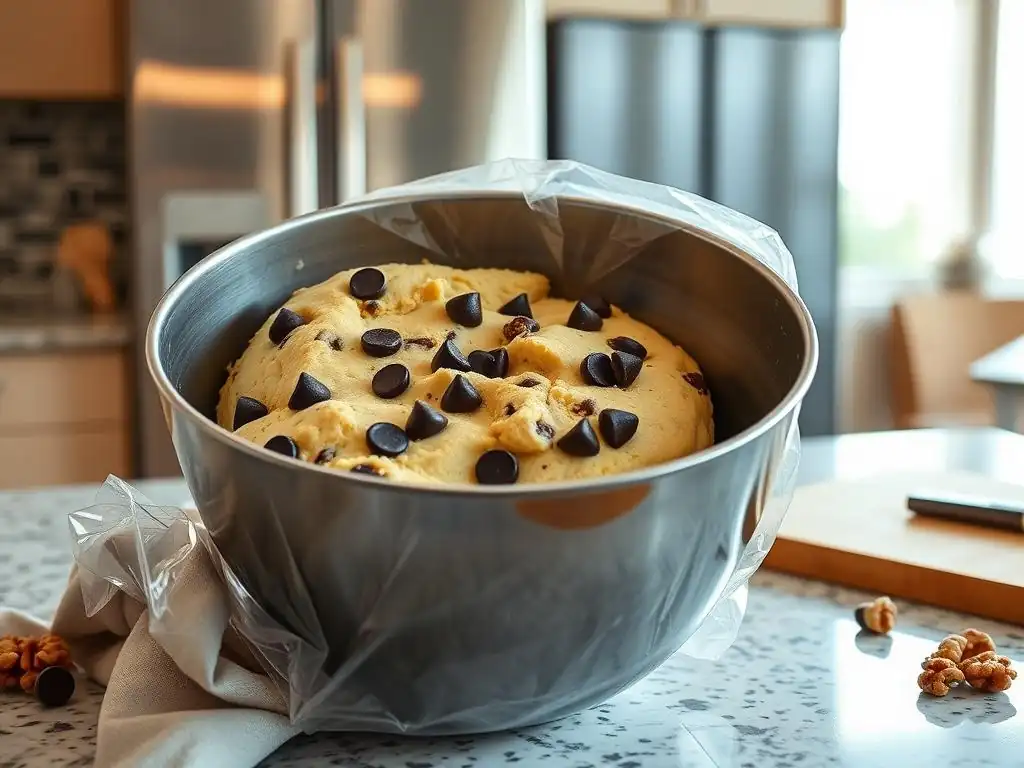
Once your cookie dough is mixed, preparing it correctly before chilling is crucial for ease of use and optimal results later. Avoid chilling one large, solid mass of dough unless the recipe specifically calls for it (like slice-and-bake logs). Instead, divide the dough into manageable portions. For drop cookies, it's highly beneficial to scoop the dough into individual portions before chilling. Use a cookie scoop or spoon to form uniform balls and place them on a baking sheet lined with parchment paper.
Scooping before chilling saves significant effort later, as trying to scoop hard, chilled dough can be difficult and inconsistent. Once scooped onto the baking sheet, you can briefly chill them like this until they are firm enough to transfer to an airtight container or a freezer bag. This pre-portioning step ensures that when you're ready to bake, you can simply grab the number of dough balls you need and place them directly on the baking sheet, eliminating the struggle of dealing with rock-hard dough.
Different Chilling Methods: Refrigerator vs. Freezer
Choosing between the refrigerator and the freezer for chilling depends primarily on how much time you have and the desired outcome. Both methods effectively solidify the fat and allow flavors to meld, but they do so at different rates and require different handling. The refrigerator is the standard method for chilling cookie dough spreads less, offering a slower, more controlled chill that is suitable for most recipes.
The freezer provides a much faster chilling process, ideal when you're short on time or need to firm up dough quickly for cut-out cookies. However, freezing dough requires more careful monitoring to prevent it from becoming too hard, which can make scooping or handling difficult. Understanding the nuances of each method helps you choose the best approach for your specific baking project and time constraints.
Chilling in the Refrigerator: The Most Common Technique
Chilling cookie dough in the refrigerator is the most widely recommended method for a reason: it provides a gradual chill that solidifies the fat without freezing the dough solid. This slower process allows flavors to deepen and meld over time, often resulting in a more complex taste profile. For most drop cookie recipes, a minimum of 30 minutes to an hour in the fridge is sufficient to achieve noticeable results in terms of reduced spread and improved texture.
For optimal flavor development and structure, many bakers recommend chilling cookie dough for at least 24 hours, and some even suggest up to 72 hours. During this extended chill, enzymes in the flour break down starches into sugars, leading to enhanced browning during baking and a sweeter, richer flavor. The dough also hydrates more evenly, contributing to a better texture. When chilling for longer periods, store the dough (whether pre-scooped or in a mass) in an airtight container to prevent it from drying out or absorbing refrigerator odors.
Speed Chilling: Using the Freezer for Quicker Results
When time is of the essence, the freezer offers a rapid way to chill cookie dough and control spread. This method is particularly useful for cut-out cookies that need to be firm before shaping or for quickly firming up scooped dough before baking. Placing scooped dough balls or a flattened disc of dough in the freezer for 15-30 minutes can achieve a similar level of firmness to an hour or more in the refrigerator.
While speed chilling is convenient, be mindful not to leave the dough in the freezer for too long if you only intend to chill it, not freeze it for long-term storage. Dough that becomes frozen solid will need time to thaw slightly before scooping or shaping, which negates some of the time-saving benefits. The ideal freezer chill time is just enough to make the dough firm to the touch but still pliable enough to work with easily. This method is effective for quickly controlling how chilling cookie dough spreads.
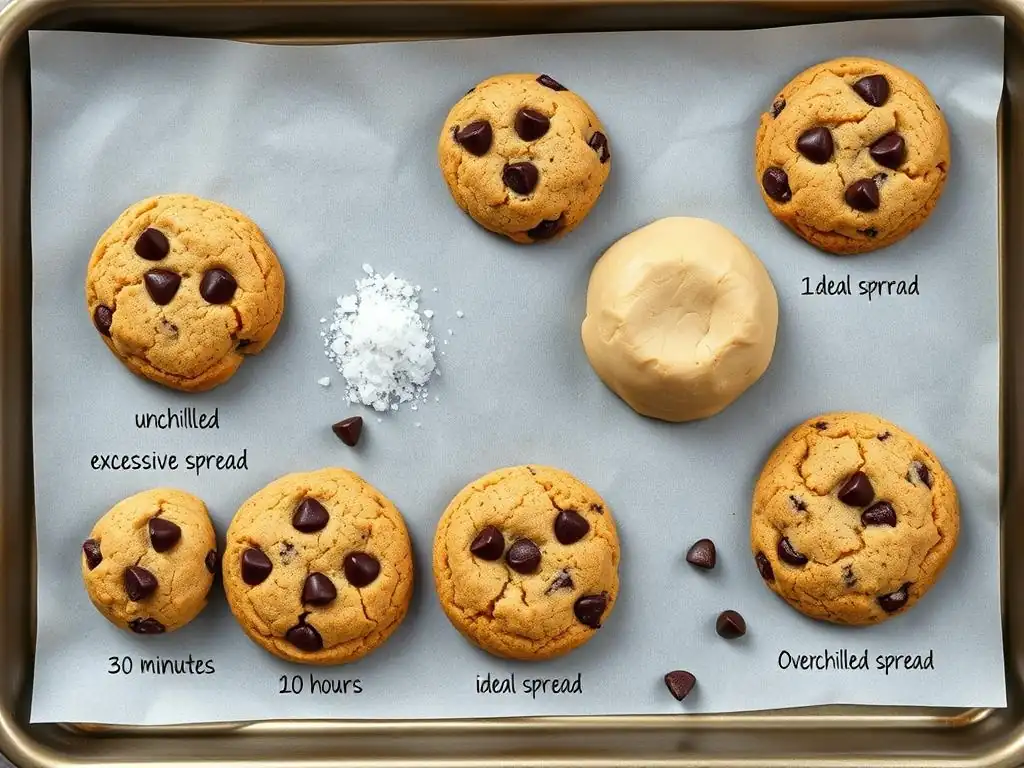
Determining the perfect chilling time for cookie dough is often a balance between convenience and desired results. For many recipes, a minimum chill of 30 minutes in the refrigerator is enough to make a difference in spread. This short chill firms up the dough slightly, leading to a cookie that's less likely to flatten excessively. However, the most significant benefits, both in terms of texture control and flavor enhancement, typically emerge with longer chilling periods.
Experimentation is key to finding the sweet spot for your specific recipe and oven. A chill of 24 hours often provides a noticeable improvement in flavor complexity and texture, resulting in cookies that are chewier and have a better structural integrity. Some bakers even prefer chilling for 48 or 72 hours for maximum flavor depth.
While chilling for longer periods is beneficial, ensure the dough is properly wrapped to prevent drying. Ultimately, the "right" amount of time depends on your recipe and personal preference for texture and flavor, but don't skip the chill altogether if you want to master how chilling cookie dough spreads.
Dough Too Hard to Scoop: Solutions for Rock-Solid Chilled Dough
A common frustration when working with chilled cookie dough, especially after a long stint in the refrigerator or freezer, is that it can become incredibly hard, making scooping or shaping a challenge. If your pre-scooped dough balls are frozen solid, let them sit at room temperature for 10-15 minutes before baking. They should soften just enough on the surface to bake properly without excessive spread, while the cold core still does its job.
If you chilled the dough in a large mass and it's now too hard to scoop, your best approach is to let it temper slightly at room temperature. Transfer the dough from the refrigerator to the counter and let it sit for 15-30 minutes. Check its consistency periodically; it should become firm but pliable enough to scoop with reasonable effort. Avoid microwaving or rapidly warming the dough, as this can melt the fat unevenly and undo the benefits of chilling.
Dough Too Soft After Chilling: Addressing Inconsistent Results
While dough being too hard is a frequent issue, sometimes chilled dough remains too soft or becomes soft too quickly after being removed from the fridge. This can lead to cookies that still spread more than desired. Several factors can contribute to this: insufficient chilling time, a recipe with too much fat or liquid, or working in a warm kitchen environment.
If your dough isn't firm enough after the recommended chilling time, try extending the chill. Ensure your refrigerator is set to the correct temperature (typically around 40°F or 4°C). If your kitchen is warm, work quickly once the dough is out of the fridge, and consider chilling your baking sheets before placing the dough on them. If the recipe consistently yields soft dough even after chilling, you might need to slightly adjust the flour-to-fat ratio in future batches or ensure your measurements are precise, using a kitchen scale for accuracy, especially with flour.
Beyond controlling spread, chilling cookie dough significantly contributes to flavor development. This is particularly true for doughs containing flour and eggs. Over time in the refrigerator, moisture from the eggs and wet ingredients hydrates the dry ingredients, especially the flour. This hydration process allows the gluten structure to relax, leading to a more tender cookie.
Furthermore, enzymes naturally present in flour begin to break down complex carbohydrates into simpler sugars. This enzymatic activity increases the available sugars that can caramelize during baking (the Maillard reaction), resulting in deeper, richer flavors and enhanced browning. Think of it like aging a good steak or allowing flavors to meld in a stew; the longer the dough chills (within reason, typically up to 72 hours), the more pronounced these desirable flavor transformations become. This is a major benefit of chilling cookie dough spreads less and tastes better.
Butter, Sugar, and Flour: Key Ingredients Affecting Spread
The primary ingredients influencing cookie spread are fat (most commonly butter), sugar, and flour. The state of the butter is paramount; melted or very soft butter promotes significant spread, while cold, firm butter restricts it, which is why chilling is so effective.
The type of sugar also plays a role: granulated sugar tends to promote more spread and crispness because its crystals don't melt as quickly as powdered sugar and push the dough outwards. Brown sugar, with its molasses content, adds moisture and acidity, leading to a chewier texture and slightly less spread compared to recipes using only granulated sugar.
Flour provides the structure of the cookie. The amount and type of flour influence how much the cookie can spread before setting. Too little flour relative to the fat and sugar can lead to excessive spreading. All-purpose flour is standard, but using a higher-protein flour can sometimes result in a cookie that holds its shape better, while a lower-protein pastry flour might yield a more delicate cookie that spreads more easily. The interaction between these ingredients is complex, and their ratios are carefully balanced in well-developed recipes.
The type of fat used profoundly impacts cookie spread and texture. Butter, being about 80-85% fat and 15-20% water and milk solids, melts at a relatively low temperature. The water in butter turns to steam during baking, which also contributes to leavening and spread. Cookies made with butter are known for their rich flavor and tendency to spread, which is why chilling is often essential to control that spread.
Vegetable shortening, on the other hand, is 100% fat and has a higher melting point than butter. Because it contains no water, it produces less steam and melts more slowly, resulting in cookies that spread less and are often thicker and softer than those made with butter. Some recipes call for a combination of butter and shortening to achieve a balance of flavor (from butter) and controlled spread/texture (from shortening). Understanding the properties of your fat helps predict how chilling cookie dough spreads will behave.
Adjusting Recipes for Optimal Chilling and Spread Control
If you find a favorite cookie recipe consistently spreads too much even after chilling, you might need to make minor adjustments. One common fix is to slightly increase the amount of flour, perhaps by 1-2 tablespoons per cup of flour called for. This adds more structure to resist the spread. Alternatively, reducing the amount of butter or sugar by a small percentage (e.g., 10-15%) can also help.
Another adjustment involves the leavening agents. Recipes using baking soda tend to spread more than those using baking powder, especially in the presence of an acidic ingredient like brown sugar or buttermilk. If excessive spread is an issue, ensure your leavening is fresh and measured accurately. Sometimes, simply ensuring your butter is not too soft before creaming or ensuring adequate chilling time is all that's needed to control how chilling cookie dough spreads.
Recipes That Benefit Most from Chilling: Examples and Techniques
The classic chocolate chip cookie is arguably the most famous example of a recipe that benefits dramatically from chilling. Many recipes explicitly call for chilling the dough for at least 30 minutes, while gourmet versions often recommend 24-72 hours. The difference in the final cookie is striking. Unchilled dough often yields thin, greasy cookies that spread into flat discs.
Chilling transforms them. A chocolate chip cookie baked from properly chilled dough will be thicker, chewier in the center, with slightly crisp edges. The chocolate chunks remain suspended better within the dough, and the flavors, particularly the butter and brown sugar notes, are more pronounced and complex. Chilling cookie dough spreads less, resulting in that coveted bakery-style texture and richness.
For recipes where maintaining a specific shape is paramount, such as sugar cookies or gingerbread cut-outs, chilling is not just beneficial; it's essential. Dough for cut-out cookies is typically rolled out before chilling or chilled first and then rolled. Rolling warm dough is difficult and sticky, requiring excessive flour which can toughen the cookie.
Chilling the dough until it is firm makes it much easier to roll to an even thickness without sticking. More importantly, when you cut shapes from cold dough and transfer them to a baking sheet, they hold their form. As they bake, the cold fat ensures minimal spread, allowing stars to stay stars and gingerbread people to keep their limbs. Skipping the chill for cut-out cookies almost guarantees distorted shapes.
Peanut butter cookies often have a higher fat content due to the peanut butter itself, making spread control important for achieving the right chewy texture. While some traditional recipes rely on the iconic fork-pressing method to manage spread, chilling the dough balls before baking provides an extra layer of control.
Chilling firms up the dough, preventing it from spreading too rapidly in the oven. This allows the cookie to bake up slightly thicker and retain moisture, contributing to a soft, chewy interior while still developing those characteristic slightly crisp edges. For peanut butter cookies, even a short 30-minute chill can make a noticeable difference in texture and help control how chilling cookie dough spreads.
Double Chilling: A Technique for Extra Control
For bakers seeking maximum control over cookie spread and texture, especially with rich or finicky doughs, the "double chill" technique can be a game-changer. This involves chilling the dough initially after mixing, then shaping the cookies (scooping balls or cutting shapes), and then chilling the shaped cookies again before baking.
The first chill allows the flavors to develop and makes the dough easier to handle and shape. The second chill, applied to the individual cookie portions, ensures they are thoroughly cold right before hitting the hot oven. This guarantees the fat is solid throughout the cookie, leading to the slowest possible initial spread and maximizing thickness and chewiness. This technique is particularly useful for high-fat doughs or when baking in a warm environment.
Shaping Before Chilling: Saving Time and Ensuring Uniformity
As mentioned earlier, shaping your cookie dough before the main chilling period is a highly recommended strategy, especially for drop cookies. Scoop the dough into uniform balls using a disher or spoon and place them on a parchment-lined baking sheet or plate.
Once the scooped dough balls are firm (after about 30-60 minutes in the fridge or 15-20 in the freezer), transfer them to an airtight container or a freezer-safe zip-top bag. Layer them with parchment paper in between to prevent sticking. This method allows you to bake cookies one or two at a time directly from the fridge or freezer whenever a craving strikes, without the hassle of chipping away at a block of cold dough. It ensures consistent size and shape, making how chilling cookie dough spreads more predictable batch to batch.
Proper storage is essential when chilling cookie dough, especially for longer periods or when freezing for future use. Air is the enemy of stored dough, leading to dryness and off-flavors. Whether storing in the refrigerator or freezer, use airtight containers or heavy-duty freezer bags.
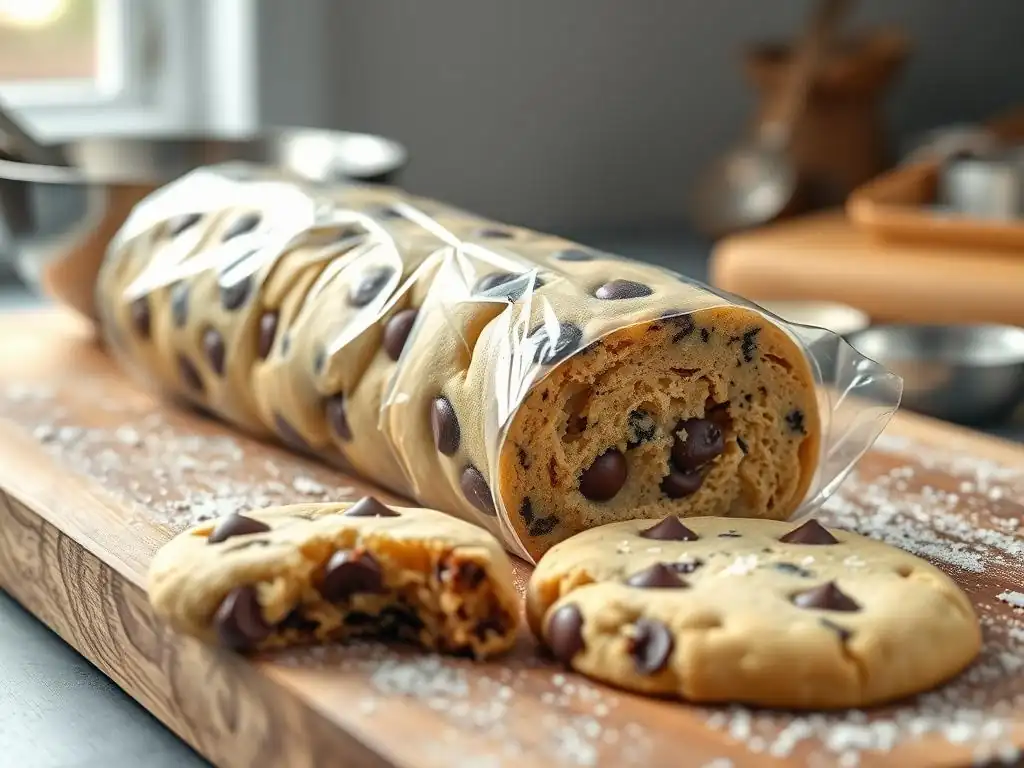
If storing a large mass of dough, press it into a disc or log shape, wrap it tightly in plastic wrap, and then place it in an airtight container or bag. For pre-scooped dough balls, arrange them on a baking sheet until firm, then transfer to a container or bag, layering with parchment paper. Chilled dough can typically be stored in the refrigerator for 3-5 days and in the freezer for up to 2-3 months. Labeling with the date and type of cookie is always a good practice!
Mastering the art of chilling cookie dough is a fundamental skill that elevates home baking from good to great. It's a simple step, yet its impact on the final texture, shape, and flavor of your cookies is profound. By solidifying the fat, chilling controls the spread, resulting in thicker, chewier cookies with those desirable slightly crisp edges.
Beyond structure, the time spent chilling allows flavors to meld and deepen, transforming simple ingredients into complex, delicious treats. Whether you're aiming for perfectly shaped cut-outs, thick and chewy chocolate chip cookies, or peanut butter cookies with just the right bite, understanding and utilizing the chilling process is key. So, next time a recipe calls for chilling, embrace it – it's your secret weapon for achieving cookie perfection and controlling how chilling cookie dough spreads.
Frequently Asked Questions
Chilling cookie dough significantly reduces spreading during baking. This results in a thicker, chewier cookie with a more controlled shape and texture. It also enhances the flavor development.
Chilling solidifies the butter in the dough, slowing down its melting process in the oven. This prevents the cookies from spreading too thinly before the structure sets. It also allows the flour to hydrate properly.
While times vary depending on the recipe, generally 30 minutes to 2 hours is a good starting point. Some recipes benefit from overnight chilling for optimal results and flavor. Always refer to the specific recipe instructions.
Yes, over-chilling can make the dough too hard to scoop. If this happens, let it sit at room temperature for a few minutes to soften slightly before scooping. You may also need to adjust baking time slightly.
Consider using melted butter instead of softened butter, as it naturally inhibits spreading. Using cake flour can also help create a more structured cookie with less spread. Adding a small amount of cornstarch can also help.
The perfect cookie, it turns out, begins not in the oven, but in the refrigerator. Mastering the chill before the bake is not merely a culinary nicety; it's the key to unlocking perfectly spread, evenly browned, and deliciously textured cookies. This article has explored the science behind chilling, demonstrating its impact on everything from gluten development to preventing over-spreading. The results? Cookies that are consistently delightful.
The journey of perfecting cookie dough chilling has been a surprisingly insightful one. It’s a testament to the power of seemingly small details in achieving culinary excellence. The subtle shifts in texture, the improved baking consistency – these are the rewards of patience and precision. The difference between ordinary and extraordinary is that little extra.
This quote, though not specifically about baking, perfectly encapsulates the essence of this exploration. The seemingly insignificant act of chilling transforms the ordinary cookie dough into something truly extraordinary.
Now, consider your own baking adventures. Will you continue to rush the process, or will you embrace the cool, deliberate approach to chilling? I encourage you to experiment, to measure the impact of chilling time on your favorite cookie recipe. Observe the changes, appreciate the nuances, and savor the superior results. The art of chilling cookie dough is not just about technique; it's about appreciating the journey to perfection, one perfectly spread cookie at a time.
Thanks for diving into the delicious world of perfectly spread cookies! You've now got the secret to achieving that coveted, even bake. Ready to take your cookie game to the next level?
- Chill your dough for at least 30 minutes (or even longer!): This is the KEY to preventing flat, spread-out cookies. Remember, patience is a baker's best friend.
- Share your chilling cookie dough successes (or challenges!) with us in the comments below. We love hearing your baking stories!
- Try experimenting with different chilling times and dough thicknesses: See how it affects your final product and discover what works best for you. Each oven is unique!
So, what unique chilling technique will you try first to achieve cookie perfection?