
Cast Iron Dutch Oven Hacks for NoKnead Artisan Bread

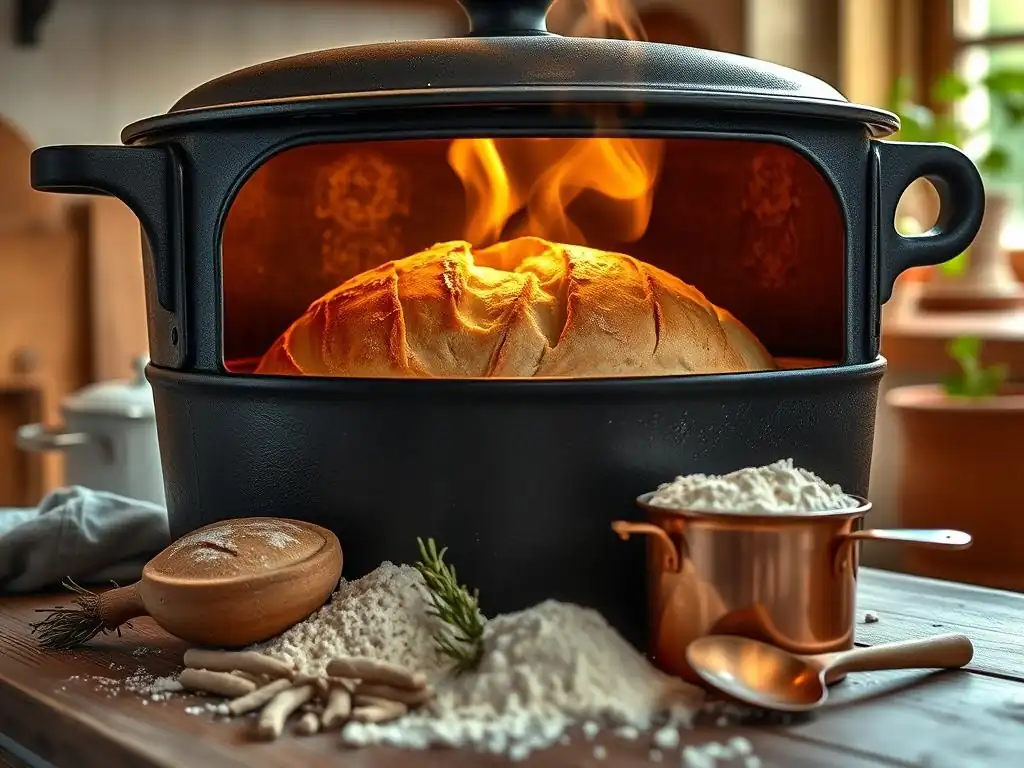
Welcome to BakeWithEase, your companion on the journey to baking brilliance! Are you ready to unlock the secrets to effortlessly impressive artisan bread? Forget the kneading and embrace simplicity! This article dives deep into Cast Iron Dutch Oven Hacks for NoKnead Artisan Bread, revealing game-changing techniques that will elevate your baking game. Curious how to achieve that perfect crust and airy crumb with minimal effort? Let's get baking!
- Mastering No-Knead Bread with Your Dutch Oven: A Comprehensive Guide
- Preheating for Perfection: Dutch Oven Temperature Tips
- Dough Preparation: No-Knead Artisan Bread Recipe and Tips
- Baking Techniques: Achieving the Best No-Knead Loaf
- Dutch Oven Hacks for a Crispy Crust and Soft Interior
- Avoiding Common Problems: Dutch Oven Baking Troubleshooting
- Beyond the Basic Loaf: Dutch Oven No-Knead Variations
- Cleaning and Caring for Your Cast Iron Dutch Oven
- Advanced No-Knead Artisan Bread Tips for Dutch Oven Baking
-
Frequently Asked Questions
- How does using a Dutch oven improve no-knead artisan bread?
- What size Dutch oven is best for no-knead artisan bread?
- Can I use any type of Dutch oven for no-knead artisan bread?
- How do I prevent my no-knead artisan bread from sticking to the Dutch oven?
- What temperature and baking time are recommended for no-knead artisan bread in a Dutch oven?
- Final Reflection: The Unexpected Joy of No-Knead Artisan Bread
- Unleash Your Inner Baker: Craft the Perfect No-Knead Loaf!
Mastering No-Knead Bread with Your Dutch Oven: A Comprehensive Guide
Why a Dutch Oven is Ideal for No-Knead Bread
A cast iron Dutch oven is often hailed as the secret weapon for achieving bakery-quality no-knead artisan bread right in your home kitchen. The primary reason lies in its ability to create a perfectly controlled, steamy environment around the dough as it bakes.
When you place the dough inside a preheated Dutch oven and cover it, the moisture within the dough turns into steam, which is trapped inside the pot. This steam keeps the surface of the dough moist during the initial stages of baking, allowing the loaf to expand fully before the crust sets.
Without this crucial steam, the crust would form too quickly, restricting the oven spring and resulting in a denser, smaller loaf. The heavy cast iron also retains and distributes heat incredibly evenly, ensuring consistent baking from all sides, which is another key factor in developing a beautiful crust and a well-cooked interior for your no-knead bread.
Furthermore, the high thermal mass of a cast iron Dutch oven is essential for providing the intense, consistent heat required for a good bake. When you drop the relatively cool dough into a screaming hot Dutch oven, the cast iron holds its temperature remarkably well, preventing a significant drop in oven temperature that can happen with thinner baking vessels. This consistent high heat promotes rapid oven spring and helps the Maillard reaction occur on the crust, leading to that desirable deep golden-brown color and complex flavor.
Mastering these aspects is one of the core Noknead artisan bread tips for achieving professional results at home. The enclosed environment mimics the conditions of professional steam-injected ovens, making the Dutch oven an indispensable tool for any home baker serious about their no-knead loaves.
Essential Dutch Oven Features for Baking Success
Choosing the right Dutch oven can significantly impact your no-knead bread baking journey. Look for a heavy, enameled or seasoned cast iron pot with a tight-fitting lid. Enameled cast iron is popular because it's easier to clean and doesn't require seasoning, although well-seasoned bare cast iron works just as effectively.
The weight of the pot is important as it indicates its ability to retain heat. A pot that's too light won't hold temperature effectively when the dough is added. The size matters too; a 5 to 7-quart round or oval Dutch oven is typically ideal for a standard 1-pound loaf of no-knead dough, providing enough space for the dough to expand without touching the sides excessively, which could lead to burning.
The lid is perhaps the most critical feature for Noknead artisan bread tips. It must fit snugly to trap the steam released by the dough during the first phase of baking. Some lids have small bumps or rings on the interior; these are designed to help condense steam and drip it back onto the food, which is great for stews but less ideal for bread where you want the steam to stay in the air around the loaf.
However, a tight seal is the most important aspect. Ensure the handle or knob on the lid is oven-safe at high temperatures, typically up to 500°F (260°C), as no-knead bread often bakes at high heat. If the knob isn't rated for high temperatures, you'll need to replace it with a metal one or remove it before baking.
Preheating for Perfection: Dutch Oven Temperature Tips
Optimal Dutch Oven Temperature for No-Knead Crust
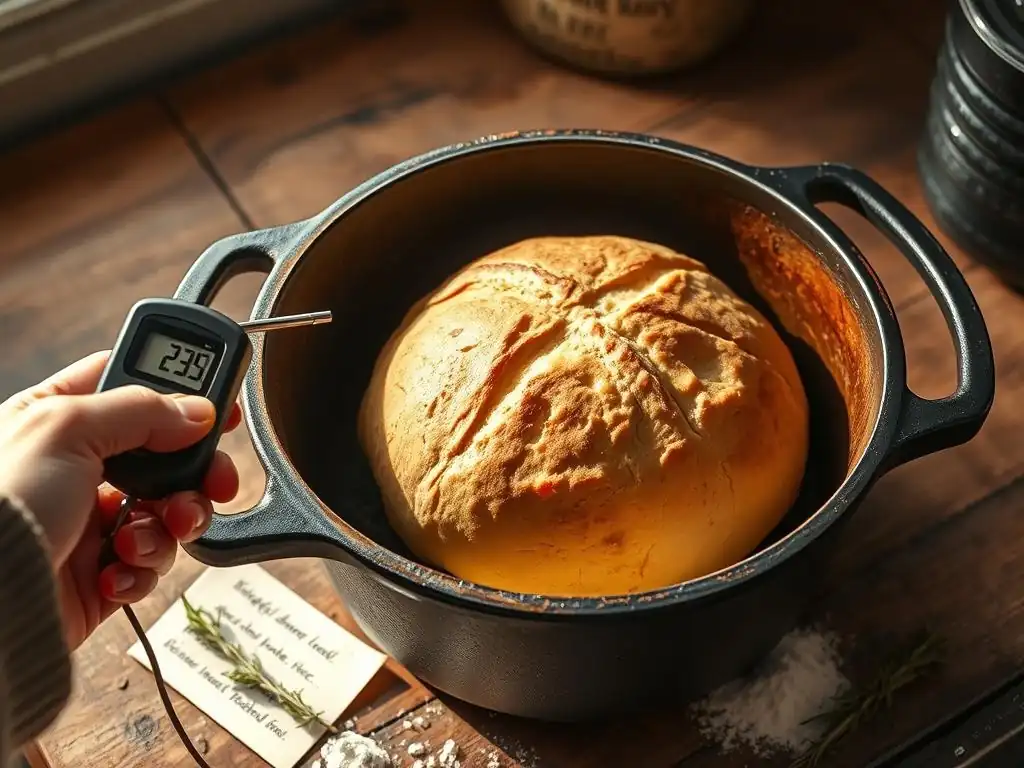
Achieving that perfectly crispy, crackly crust on your no-knead artisan bread starts with baking at a high temperature in a preheated Dutch oven. Most recipes recommend preheating your oven and the empty Dutch oven inside it to a temperature between 450°F (230°C) and 500°F (260°C). This high initial heat is crucial for two main reasons: it promotes maximum oven spring and kickstarts the crust development.
When the dough hits the hot surface, it experiences a burst of activity from the residual yeast and trapped gases expanding rapidly. This phenomenon, known as oven spring, gives the loaf its final volume and shape.
Maintaining this high temperature throughout the first part of the bake ensures the steam trapped by the lid remains effective for longer, allowing the dough to stretch and rise before the crust hardens. Baking at 450°F generally yields excellent results, while pushing towards 500°F can create an even more robust and blistered crust, which is a hallmark of great artisan bread.
However, be mindful of your oven's hot spots and the specific temperature rating of your Dutch oven and its lid knob. Experimenting within this range will help you discover the optimal temperature for your specific oven and Dutch oven setup, refining your Noknead artisan bread tips.
Safe Handling: Preheating Your Dutch Oven
Preheating a heavy cast iron Dutch oven to 450-500°F requires careful handling to ensure safety. Always place the empty Dutch oven, including its lid, into a cold oven before turning the heat on. This allows the cast iron to heat up gradually with the oven, preventing thermal shock which could potentially crack the enamel or the pot itself, although this is rare with quality cast iron.
Allow the Dutch oven to preheat for a minimum of 30 minutes after the oven reaches the target temperature. A full hour is even better, especially at higher temperatures like 500°F, to ensure the cast iron is uniformly heated throughout its mass. This thorough preheating is vital for achieving maximum oven spring and a great crust on your no-knead loaf.
Once the Dutch oven is fully preheated, transferring the dough into it requires caution. You'll be working with an extremely hot, heavy object. Always use heavy-duty oven mitts that cover your wrists. Carefully open the oven door and, keeping your hands well protected, remove the lid of the Dutch oven and place it safely on a heat-resistant surface (like a cooling rack on your stovetop or a thick wooden cutting board).
Gently lower the dough into the hot pot using parchment paper as a sling, or quickly invert it from a proofing basket. Replace the lid immediately and close the oven door to minimize heat loss. Handling the hot pot requires focus and deliberate movements; never rush this step when baking no-knead artisan bread tips dictate safety first.
Dough Preparation: No-Knead Artisan Bread Recipe and Tips
Simple No-Knead Dough Recipe for Dutch Oven Baking
Creating the dough for your no-knead artisan bread is remarkably simple, requiring minimal effort and only a few basic ingredients. A standard recipe often calls for just four components: flour, water, salt, and yeast. For a loaf yielding about 1.5 pounds, you might use 3 cups (about 400-450 grams) of all-purpose or bread flour, 1.5 to 1.75 cups (about 350-400 ml) of lukewarm water (around 100°F or 38°C), 1 teaspoon of salt, and just 1/4 teaspoon of instant dry yeast.
The key is the high hydration level and the long, slow fermentation process, typically 12 to 18 hours at room temperature (around 70°F or 21°C). This long rest allows enzymes in the flour to break down starches into sugars and gluten to develop naturally without manual kneading, creating the structure and flavor characteristic of artisan bread.
To mix, simply combine the dry ingredients in a large bowl, add the water, and stir with a wooden spoon or spatula until everything is just combined and there are no dry flour spots. The dough will be very wet and shaggy – this is normal and desirable. Cover the bowl tightly with plastic wrap or a damp towel and let it rest on your counter for the specified time.
Over the hours, you'll notice bubbles forming on the surface and the dough increasing significantly in volume, potentially doubling or even tripling. This long, cool fermentation is one of the most important Noknead artisan bread tips for developing complex flavor and a light, open crumb structure.
Dough Proofing Secrets for a Perfect Rise
After the initial long fermentation, your no-knead dough needs a second, shorter proofing period before baking. This second rise helps the dough develop its final structure and airy texture. Once the long fermentation is complete, the dough will be bubbly and significantly increased in size. Gently scrape the dough out onto a lightly floured surface – remember, it will be very slack and sticky. Use a bench scraper or floured hands to gently fold the dough into a round or oval shape. Avoid degassing it too much; you want to preserve those precious bubbles created during the long fermentation.
For the second proof, you can place the shaped dough seam-side down into a floured proofing basket (banneton), a bowl lined with a floured linen towel, or even onto a piece of parchment paper. Cover it loosely with plastic wrap or a towel. This proofing period can last from 30 minutes to up to 2 hours at room temperature, or even longer in the refrigerator for a colder, slower proof that can enhance flavor.
The dough should look puffy but shouldn't have doubled in size again. It should pass the "poke test" – when gently poked, the indentation should spring back slowly, not immediately and not stay completely sunken. Getting this second proof right is crucial for optimal oven spring when the dough hits the hot Dutch oven, making it a vital part of successful Noknead artisan bread tips.
Baking Techniques: Achieving the Best No-Knead Loaf
Scoring Techniques for Beautiful Bread
Scoring the surface of your no-knead dough just before it goes into the hot Dutch oven is more than just decorative; it's a functional technique that helps control how the loaf expands during baking. As the dough experiences oven spring in the intense heat, the weakest points on the surface will burst open. Scoring provides intentional weak points, guiding the expansion along the cuts you make.
This results in a more predictable shape, prevents uncontrolled blowouts, and contributes to a beautiful, rustic appearance. A sharp blade, like a baker's lame or a razor blade, is essential for clean cuts that allow the dough to open properly. Dull blades can drag the dough, hindering expansion.
Common scoring patterns include a single deep slash down the length of an oval loaf or a cross or square pattern on a round loaf. For a single slash, hold the blade at a 45-degree angle to the surface and make a swift, confident cut about 1/2 inch deep. For a cross, make two intersecting cuts.
You can also get creative with multiple parallel cuts or decorative patterns, but ensure at least one main cut is deep enough to facilitate expansion. Practice makes perfect, and experimenting with different angles and depths will help you refine your Noknead artisan bread tips for consistently beautiful loaves. Scoring is typically done right before transferring the dough into the preheated Dutch oven.
Baking Time and Temperature: Mastering the Bake
Mastering the baking time and temperature in your Dutch oven is key to achieving a loaf with a perfect crust and a fully cooked interior. The standard technique involves baking in two stages: first with the lid on, and then with the lid off. Bake the dough with the lid on the preheated Dutch oven at 450-475°F (230-245°C) for the first 25-30 minutes. This trapped steam phase is critical for maximum oven spring and keeping the crust pliable, allowing the loaf to expand fully. You'll see significant growth during this time.
After the initial covered bake, carefully remove the lid using oven mitts. Reduce the oven temperature slightly if desired (some bakers drop it to 425-450°F or 220-230°C at this point) and continue baking for another 15-25 minutes, or until the crust is a deep golden brown and the internal temperature of the loaf reaches around 200-210°F (93-99°C). Baking uncovered allows the crust to dry out and crisp up, developing its color and texture.
The exact timing will vary depending on your oven, the size of your loaf, and your preferred crust darkness. Use a thermometer to check the internal temperature for certainty; it's one of the most reliable Noknead artisan bread tips for ensuring the bread is fully baked through.
Dutch Oven Hacks for a Crispy Crust and Soft Interior
The Ice Cube Trick: Creating Steam for a Crusty Loaf
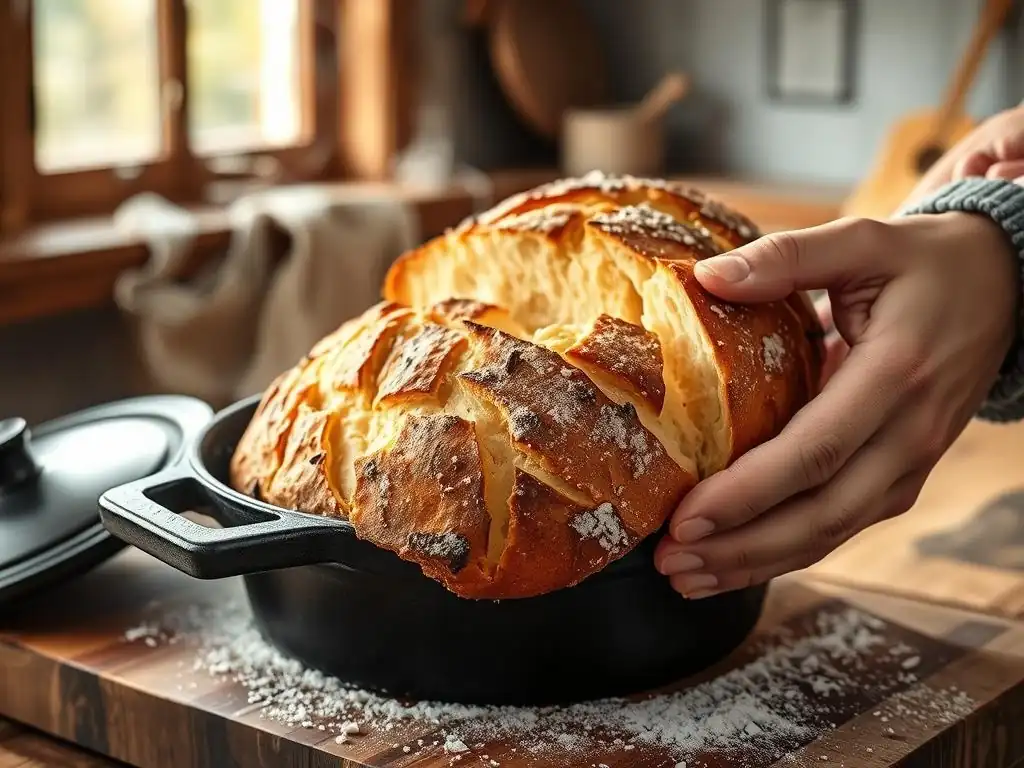
While the dough itself releases steam when baked in a covered Dutch oven, some bakers use an extra hack to boost the steam and achieve an even more blistered and crackly crust: the ice cube trick. Immediately after transferring your scored dough into the preheated Dutch oven and just before putting the lid on, carefully toss one or two ice cubes between the parchment paper (if using) and the side of the Dutch oven, or directly onto the bottom of the pot if not using parchment. Quickly replace the lid.
The intense heat of the cast iron will instantly vaporize the ice, creating a powerful burst of steam within the pot. This extra steam further humidifies the environment around the dough, keeping the surface moist and flexible for a longer period during the crucial initial oven spring phase. This allows the loaf to expand more fully and helps develop a thinner, more delicate crust that is prone to developing beautiful blisters.
It's a simple yet effective technique for enhancing the crust on your no-knead artisan bread. Be cautious when adding the ice cubes, as the pot is extremely hot, and steam can escape quickly.
Dutch Oven Lid Management: When to Remove the Lid
Proper management of the Dutch oven lid is fundamental to achieving the desired balance between oven spring and crust development for your no-knead artisan bread. As discussed, the lid stays on for the first phase of baking to trap steam, promoting maximum rise. This typically lasts about 25-30 minutes when baking at 450-475°F (230-245°C). During this time, the loaf expands, and the crust remains pale and soft.
Removing the lid marks the transition to the second phase, where the goal is to develop color and crispness. This usually occurs after the loaf has achieved most of its oven spring. Baking uncovered for the remaining 15-25 minutes allows the moisture on the surface to evaporate and the crust to brown through the Maillard reaction. The exact timing for removing the lid can be adjusted slightly based on your desired outcome.
If you want a lighter crust, remove it a bit earlier; for a darker, more robust crust, leave it on for the full 30 minutes before uncovering. Pay attention to the color of the crust during the uncovered phase and remove the bread when it reaches your preferred shade of golden brown. This two-stage process is one of the most reliable Noknead artisan bread tips for consistent results.
Achieving a Deep, Rich Color: Browning Tips
A beautiful, deep golden-brown crust is a hallmark of well-baked artisan bread. This color, along with complex flavors, develops during the uncovered baking phase through the Maillard reaction and caramelization. To achieve a rich color on your no-knead loaf, ensure your oven and Dutch oven are adequately preheated to the recommended high temperature (450-500°F). High heat is essential for jumpstarting the browning process.
During the uncovered baking phase (typically 15-25 minutes), monitor the crust color closely. If your crust is browning too quickly but the internal temperature hasn't reached 200°F, you can loosely tent the loaf with foil for the remaining bake time to prevent further darkening while the interior finishes cooking. Conversely, if the crust is still too pale after the recommended time, you can continue baking uncovered for a few extra minutes, watching carefully to prevent burning.
Ensuring the loaf reaches an internal temperature of 200-210°F (93-99°C) guarantees it's fully baked, which is just as important as achieving the right crust color. Consistent high heat during the uncovered phase is one of the best Noknead artisan bread tips for developing that desirable deep hue.
Avoiding Common Problems: Dutch Oven Baking Troubleshooting
Preventing Sticking: Preparing Your Dutch Oven
One frustrating issue when baking no-knead artisan bread in a Dutch oven is the dough sticking to the bottom of the pot. This can make removal difficult and potentially damage the crust. The simplest and most effective way to prevent sticking is to use parchment paper as a sling.
After the second proofing, gently transfer the dough (which may be proofing in a bowl or banneton) onto a sheet of parchment paper large enough to line the bottom and come up the sides of the Dutch oven. Then, using the parchment paper as handles, carefully lower the dough and paper together into the preheated Dutch oven.
Alternatively, if you prefer not to use parchment, you can lightly dust the bottom of the hot Dutch oven with cornmeal, rice flour, or semolina just before adding the dough. These coarser flours create a barrier that prevents the dough from adhering to the hot surface. However, parchment paper is generally the most foolproof method for easy release and cleanup.
Ensure your Dutch oven is properly seasoned if it's bare cast iron; a good seasoning layer acts as a natural non-stick surface. For enameled Dutch ovens, sticking is less common, but using parchment or a light dusting still provides extra insurance, saving you from potential issues and adding to your Noknead artisan bread tips repertoire.
Dealing with Burnt Bottoms: Heat Distribution Solutions
Sometimes, despite achieving a beautiful top crust, the bottom of your no-knead bread can end up too dark or even burnt when baked in a Dutch oven. This usually indicates that the direct heat from the oven element is concentrating on the bottom of the pot.
One common solution is to place a baking stone or steel on a rack below the rack where your Dutch oven sits during the preheating and baking process. The stone or steel absorbs some of the radiant heat from the lower element, acting as a buffer and helping to distribute the heat more evenly around the oven cavity, reducing the intensity directly under the Dutch oven.
Another effective method is to place the Dutch oven on a baking sheet during the entire bake. The baking sheet acts as a barrier, shielding the bottom of the Dutch oven from excessive direct heat. You can also try placing the Dutch oven on a slightly higher rack in your oven. If using parchment paper, ensure it isn't crumpled excessively under the loaf, which can create hot spots. Experimenting with these techniques will help you find the best way to prevent burnt bottoms in your specific oven, ensuring your no-knead artisan bread tips yield perfect results top to bottom.
Troubleshooting Dough Issues: Addressing Flat or Dense Bread
If your no-knead artisan bread comes out flat or dense after baking in the Dutch oven, several factors could be the cause. One common issue is insufficient fermentation. The long, slow fermentation (12-18 hours) is crucial for developing gluten structure and flavor. If the dough hasn't had enough time to ferment, it won't have the strength or gas production needed for good oven spring. Ensure your kitchen temperature is within a reasonable range (around 70°F or 21°C) and allow adequate time. If your kitchen is cooler, fermentation will take longer.
Another potential problem is over-proofing during the second rise. If the dough proofs for too long, the gluten structure can weaken, and the dough may collapse or not have the energy left to rise vigorously in the oven. The poke test is a good indicator here. Using too much flour when shaping or transferring the dough can also lead to a dense crumb.
Be minimal with flour on your work surface. Finally, ensuring your Dutch oven is adequately preheated is paramount. If the pot isn't hot enough, the dough won't get the initial burst of heat required for maximum oven spring, resulting in a flatter loaf. Addressing these points are key Noknead artisan bread tips for achieving a light, airy crumb.
Beyond the Basic Loaf: Dutch Oven No-Knead Variations
Adding Flavor: Incorporating Herbs, Cheese, or Olives
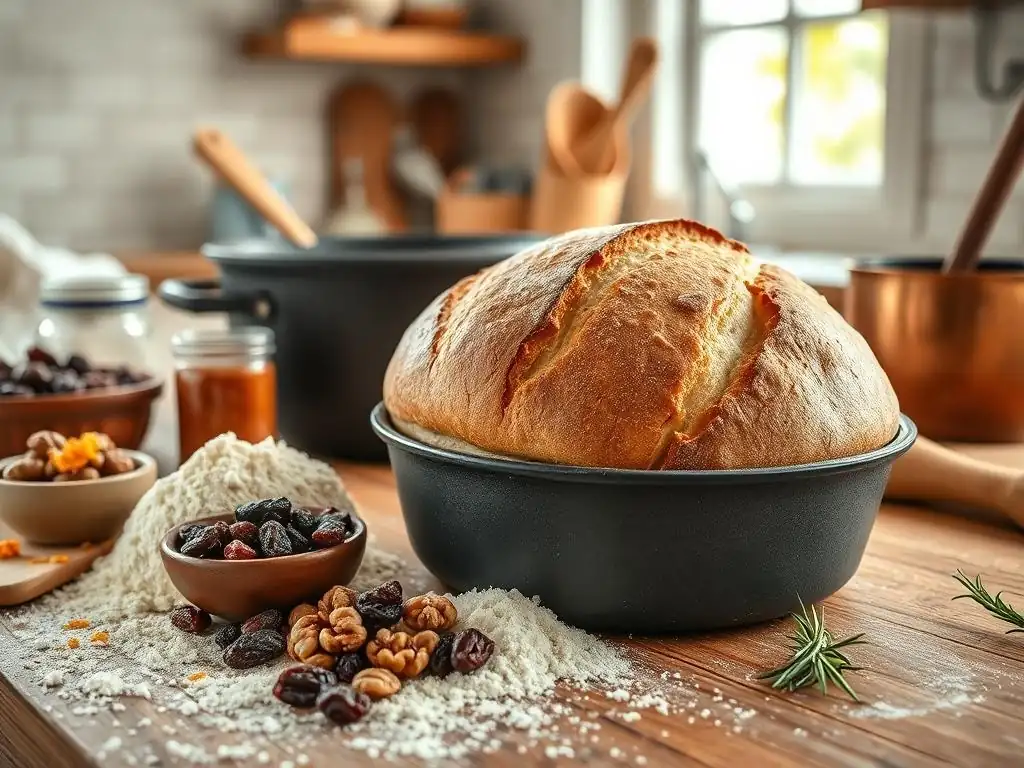
Once you've mastered the basic no-knead artisan bread recipe using your Dutch oven, you can easily elevate your loaves by incorporating various flavorings. This is a fantastic way to customize your bread and add exciting dimensions to the simple base. Herbs like rosemary, thyme, or chives can be folded into the dough during the initial mixing stage or gently kneaded in after the first fermentation. For a more intense flavor, use fresh herbs.
Cheese, such as sharp cheddar, Gruyère, or Parmesan, adds richness and a savory note. You can fold shredded or cubed cheese into the dough towards the end of the first fermentation, or sprinkle it on top before the second proofing. Olives (kalamata or green), sun-dried tomatoes, roasted garlic, or chopped nuts are other excellent additions.
Add these ingredients during the initial mixing or after the long fermentation when you shape the dough. Be mindful that additions like cheese or olives can affect the dough's hydration, so you might need to adjust the water slightly. Experimenting with these flavor boosters is a delightful aspect of applying Noknead artisan bread tips.
Exploring Different Flours: Experimenting with Whole Wheat or Rye Flour
While the basic recipe often uses all-purpose or bread flour, experimenting with different types of flour can dramatically change the flavor, texture, and appearance of your no-knead artisan bread. Substituting a portion of the white flour with whole wheat flour, for example, adds nutty flavor, fiber, and a denser crumb. You might start by substituting 25% or 50% of the all-purpose flour with whole wheat flour. Keep in mind that whole wheat flour absorbs more water, so you might need to increase the hydration slightly (add a few extra tablespoons of water) to achieve the desired dough consistency.
Rye flour, even in small amounts (like 10-20% substitution), imparts a distinct tangy flavor and creates a tighter crumb. Rye flour contains less gluten than wheat flour, so using a high percentage can result in a very dense loaf. Starting with a small percentage is recommended. Other flours like spelt, kamut, or even gluten-free blends can also be used, though they may require significant adjustments to hydration and fermentation times. Exploring these flour variations expands your Noknead artisan bread tips and allows you to bake a wider variety of loaves in your Dutch oven.
Cleaning and Caring for Your Cast Iron Dutch Oven
Proper Cleaning Techniques to Maintain Your Dutch Oven
Proper cleaning is essential to maintain the performance and longevity of your cast iron Dutch oven, whether it's enameled or bare cast iron. For enameled Dutch ovens, allow the pot to cool completely before cleaning. Do not plunge a hot pot into cold water, as this can cause thermal shock and damage the enamel. Wash with hot, soapy water and a non-abrasive sponge or brush.
For stubborn stuck-on bits, fill the pot with water and bring it to a simmer on the stovetop for a few minutes to loosen residue, then scrape gently with a wooden spoon or plastic scraper. Avoid steel wool or harsh detergents that can scratch the enamel. Dry thoroughly with a towel immediately after washing to prevent rust, especially around the rim where enamel might be thinner.
For bare cast iron Dutch ovens, cleaning is similar but requires special attention to maintaining the seasoning. Again, let the pot cool before washing. Use hot water and a stiff brush or scraper to remove food residue. Avoid using soap whenever possible, as it can strip the seasoning.
If soap is necessary, use a minimal amount and rinse quickly. For stubborn spots, you can use coarse salt as an abrasive scrub. After washing, dry the pot immediately and thoroughly, either with a towel or by placing it on low heat on the stovetop for a few minutes until all moisture evaporates. Proper cleaning is a key component of effective Noknead artisan bread tips for durable equipment.
Seasoning Your Dutch Oven: Keeping it in Top Condition
Seasoning is the process of baking a layer of polymerized oil onto bare cast iron, creating a natural, non-stick surface and protecting the metal from rust. Enameled cast iron does not require seasoning, except perhaps the bare rim if it has one. For bare cast iron Dutch ovens used for baking no-knead bread, maintaining a good seasoning is crucial for easy release and preventing rust.
After cleaning and thoroughly drying your bare cast iron Dutch oven, apply a very thin layer of cooking oil (like vegetable, canola, or flaxseed oil) to the entire interior surface using a paper towel. Wipe off any excess oil – the goal is a very thin layer, not a thick coat.
Place the lightly oiled Dutch oven upside down in a cold oven. Place a baking sheet or foil on the rack below to catch any drips. Heat the oven to 400-450°F (200-230°C) and bake for about one hour. Turn off the oven and let the Dutch oven cool completely inside the oven.
This process polymerizes the oil onto the cast iron, strengthening the seasoning layer. Repeat this process periodically, or whenever the seasoning appears weak or food starts to stick. Regularly seasoning ensures your bare cast iron Dutch oven remains in top condition for baking perfect Noknead artisan bread tips.
Advanced No-Knead Artisan Bread Tips for Dutch Oven Baking
Experimenting with Hydration Levels for Different Textures
One of the most impactful variables in no-knead artisan bread baking is the hydration level – the ratio of water to flour. The basic recipe often uses a hydration of around 75-85% (1.5 to 1.75 cups water for 3 cups flour). Higher hydration (more water) generally leads to a more open, airy crumb structure with larger holes, a thinner crust, and a more challenging dough to handle because it's stickier and slack. Lower hydration (less water), say around 65-70%, results in a dough that's easier to manage, a tighter crumb, and often a slightly thicker crust.
Experimenting with hydration allows you to tailor the bread's texture to your preference. To increase hydration, simply add a few extra tablespoons of water to the basic recipe. To decrease hydration, use a few tablespoons less water. Be prepared for the dough's consistency to change significantly with just a small adjustment in water. Working with higher hydration doughs might require using a wetter hand or bench scraper and relying more heavily on parchment paper for transfer to the Dutch oven. Mastering hydration control is a key advanced Noknead artisan bread tips for achieving specific crumb characteristics.
Using a Banneton for Shaping and Proofing
Using a banneton, or proofing basket, is an excellent technique for shaping and proofing your no-knead artisan bread dough before baking it in the Dutch oven. Bannetons, typically made from rattan or wood pulp, provide structure to the slack, high-hydration dough during its final rise, helping it hold a nice, round or oval shape. They also wick away a small amount of surface moisture, contributing to a better crust.
To use a banneton, generously flour it with rice flour (which is less likely to be absorbed by the dough than wheat flour) or a mix of rice flour and all-purpose flour. After gently shaping your dough, place it seam-side up into the floured banneton. This way, when you invert it onto parchment paper or directly into the Dutch oven, the smooth, taught surface becomes the top of the loaf.
Cover the banneton with a plastic bag or damp towel and let the dough proof according to your recipe. The banneton helps the dough maintain its form, leading to a more attractive and uniformly shaped loaf when baked in the Dutch oven. Incorporating a banneton is a valuable step for achieving professional-looking Noknead artisan bread tips.
Advanced Scoring Techniques and Patterns
Beyond the basic single slash or cross, exploring advanced scoring techniques can add artistic flair and further control the expansion of your no-knead artisan bread in the Dutch oven. More intricate patterns, such as multiple parallel slashes, leaf patterns, or decorative geometric designs, require a steady hand and a very sharp lame. For these patterns, only the main expansion cuts should be deep (around 1/2 inch), while decorative cuts are typically very shallow (just scoring the surface). Shallow cuts primarily serve aesthetic purposes and create interesting patterns on the crust as it bakes and browns.
Practicing on discard dough or even paper can help you get a feel for controlling the blade. Some bakers chill their dough for the final proof (either in the banneton or on parchment) for 30-60 minutes in the refrigerator before scoring. Colder dough is firmer and easier to score cleanly.
Watching how different patterns open up in the Dutch oven is part of the learning process. Remember that the main goal of scoring is still to allow the dough to expand, so ensure your pattern includes sufficient deep cuts for oven spring. Experimenting with advanced scoring adds a new level of artistry to your Noknead artisan bread tips.
Frequently Asked Questions
How does using a Dutch oven improve no-knead artisan bread?
A Dutch oven provides a closed environment trapping steam, which creates a crispy crust and soft interior similar to professional artisan breads.
What size Dutch oven is best for no-knead artisan bread?
A 4-6 quart Dutch oven is generally recommended. This size allows enough room for the bread to rise and bake without overcrowding, while still providing even heat distribution.
Can I use any type of Dutch oven for no-knead artisan bread?
While enameled cast iron is popular, a bare cast iron Dutch oven also works well. Ensure it's oven-safe and can withstand the high temperatures required for baking no-knead artisan bread.
How do I prevent my no-knead artisan bread from sticking to the Dutch oven?
Generously flour the dough before placing it in the Dutch oven. You can also use parchment paper to line the bottom, making removal easier and preventing sticking.
What temperature and baking time are recommended for no-knead artisan bread in a Dutch oven?
Typically, bake at 450-500°F (232-260°C) for around 30 minutes with the lid on, then remove the lid and bake for another 15-20 minutes until the crust is golden brown.
Final Reflection: The Unexpected Joy of No-Knead Artisan Bread
The simplicity of no-knead artisan bread baking belies its profound impact on home cooking. It's not just about saving time and effort; it's about unlocking a level of bread-making accessibility that was previously unimaginable for many. This ease of entry opens doors to culinary creativity and a deeper connection with the process of food creation.
The rise in popularity of no-knead methods reflects a broader cultural shift towards simpler, more mindful approaches to cooking. We're increasingly valuing quality ingredients and the satisfaction of creating something delicious from scratch, without the pressure of complex techniques. This resonates deeply with me; the quiet satisfaction of watching a simple dough rise, knowing the delicious reward awaits, is a meditative experience. The best things in life are simple.
This adage rings especially true when considering the surprisingly rewarding journey of no-knead artisan bread baking.
Now, it's your turn. Consider the possibilities unlocked by these cast iron Dutch oven hacks. Don't be intimidated by the idea of artisan bread; embrace the simplicity, experiment with different flours and additions, and savor the journey of creating something beautiful and delicious from just a few humble ingredients. The crusty, flavorful loaf you create will be a testament to your own culinary creativity and a delicious reward for your efforts. Go forth and bake!
Unleash Your Inner Baker: Craft the Perfect No-Knead Loaf!
Thanks for diving into the world of effortless artisan bread! We hope you discovered the magic of creating delicious, crusty loaves with your cast iron Dutch oven. Now it's time to put your newfound knowledge into action.
- Bake your dream loaf: Try this recipe today, adjusting it to your own preferences. Experiment with different flours, herbs, or even add-ins! This is your chance to create a truly unique bread experience.
- Share your creation: Post a picture of your masterpiece on social media and tag us @BakeWithEase! Let's inspire each other with our baking journey.
- Explore the possibilities: Dive deeper into our blog and discover other fantastic recipes that enhance your cast iron baking! Perhaps a hearty stew is calling your name next...
So, what incredible flavor combination will you create with your next no-knead loaf?