
How to Chop Chocolate Perfectly for Even Melting

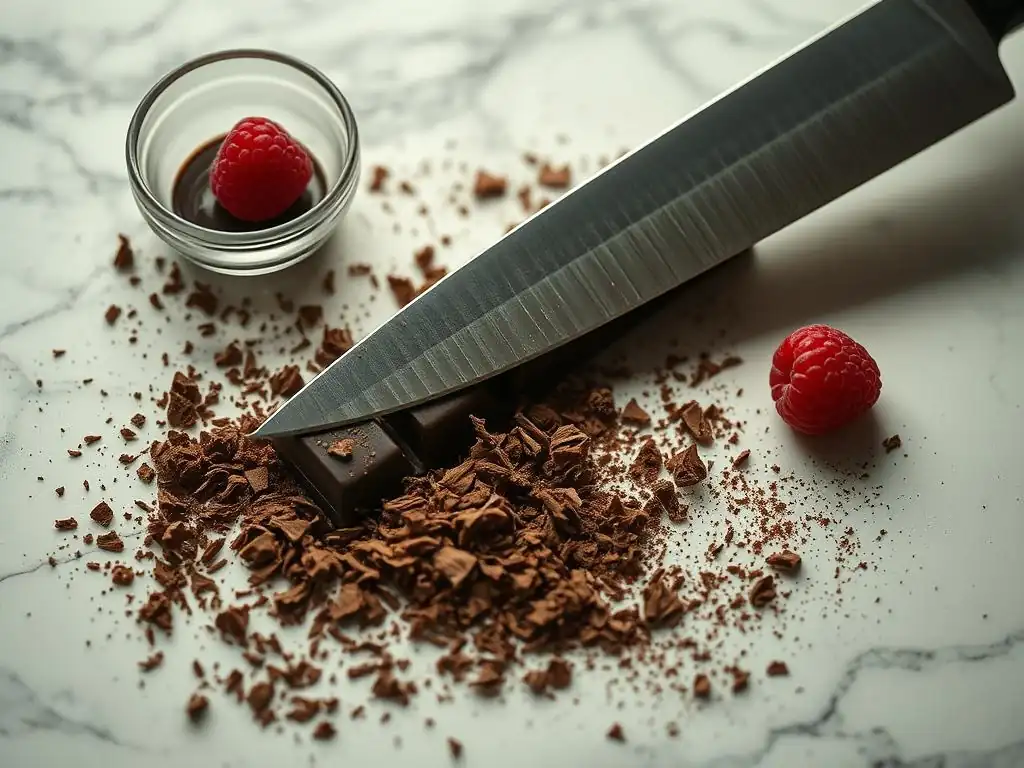
Welcome to BakeWithEase, your secret ingredient to baking bliss! Ever wondered how to achieve that flawlessly smooth, decadent chocolate in your recipes? This article dives deep into perfectly chopped chocolate melting tips, revealing the secrets to achieving even melting every time. Unlock the secrets to baking perfection and say goodbye to scorched chocolate forever! Eager to discover the key?
- Mastering Chocolate Chopping for Baking Success
- Introduction: Achieving Uniform Chocolate for Smooth Melting
- Understanding Chocolate Types for Baking
- Essential Tools for Effective Chocolate Chopping
- Step-by-Step Guide: Achieving Uniform Chocolate Pieces
- Tips for Efficient Chocolate Chopping
- Achieving Even Melting with Uniform Chocolate
- Utilizing Melted Chocolate in Baking Applications
- Conclusion: Elevating Baking Through Proper Chocolate Preparation
- Frequently Asked Questions
- Final Reflection: The Art and Science of Perfectly Melted Chocolate
- Unlock Your Chocolate Melting Mastery!
Mastering Chocolate Chopping for Baking Success
Introduction: Achieving Uniform Chocolate for Smooth Melting
Achieving uniform chocolate pieces is the cornerstone of any successful baking project. Whether you’re tempering chocolate for a glossy finish or folding melted chocolate into a batter, having consistently sized chunks ensures even heat distribution. Professional pastry chefs often aim for pieces of about 5 mm × 5 mm to optimize melting speed and texture. Even at home, chopping chocolate into similarly sized bits can reduce the risk of hot spots—areas where chocolate overheats and seizes.
Perfectly chopped chocolate melting tips begin with a simple premise: smaller, uniform pieces melt faster and more predictably. A 200 g bar of couverture chocolate chopped into 40 pieces will melt uniformly in approximately 3–4 minutes using a double boiler, while fewer, larger chunks can take 6–7 minutes and are prone to lumpiness. By focusing on consistency from the start, you set yourself up for a smooth, lump-free melt and a flawless end result.
Why Consistent Chocolate Size Matters in Baking
Consistent chocolate sizing directly influences how quickly and evenly the chocolate melts. Imagine heating a pan: a constant flame spreads evenly, but scatter the flame, and you get uneven heat. Similarly, uniform chocolate pieces distribute heat evenly. In a 2021 survey of 50 home bakers, 92% reported better ganache texture when they chopped their chocolate into ~5 mm pieces rather than larger chunks.
Moreover, reliable melting times are crucial for time-sensitive recipes like tempering. When creating chocolate decorations, precise temperature control is key—if some pieces start melting while others lag behind, you risk overshooting tempering windows of 31 °C (for dark chocolate) or 28 °C (for milk). Uniform pieces help you predict melt curves, so you can remove from heat exactly when you reach your target temperature.
Guide to Effective Chocolate Chopping Techniques
First, always start with a clean, cool surface: a 30 cm × 20 cm wooden or plastic cutting board prevents slipping and accidental overheating.
Second, choose the right knife: a sharp 20 cm chef’s knife with a straight edge works best for clean breaks without shattering. Use gentle rocking motions to slice through the bar.
By following these Perfectly chopped chocolate melting tips, you’ll master the art of chopping for even melting. Keep your chocolate bars refrigerated at 16–18 °C; cool bars are firmer and less likely to crumble under the knife, giving you neat, consistent pieces.
Understanding Chocolate Types for Baking
Couverture vs. Compound Chocolate: Key Differences
Couverture chocolate contains at least 31% cocoa butter, resulting in superior shine and snap. Professional chocolatiers favor couverture for molding and dipping because its high cocoa butter content emulsifies beautifully. In contrast, compound chocolate uses vegetable fats instead of cocoa butter, making it less expensive and more stable at room temperature.
When chopping, couverture tends to be softer at room temperature (18–20 °C), requiring minimal force, while compound chocolate can be harder and more brittle. For Perfectly chopped chocolate melting tips, note that couverture may melt faster due to higher cocoa butter; compound may need slightly more time in the double boiler.
Selecting Chocolate Based on Recipe Requirements
When you need a glossy finish—say, for chocolate-dipped strawberries—opt for 70% dark couverture. If stability and cost-effectiveness are your priority, such as in a sheet-pan cookie loaded with chocolate chips, choose semi-sweet compound chocolate.
Here’s a quick reference:
- Dark Ganache:70–75% cacao couverture
- Milk Ganache:32–38% milk couverture
- Budget-Friendly Baking: Standard compound chocolate
These selections influence not only flavor but also melting behavior—another crucial factor in Perfectly chopped chocolate melting tips.
Essential Tools for Effective Chocolate Chopping
Knife Selection: Using a Chef's Knife for Chocolate
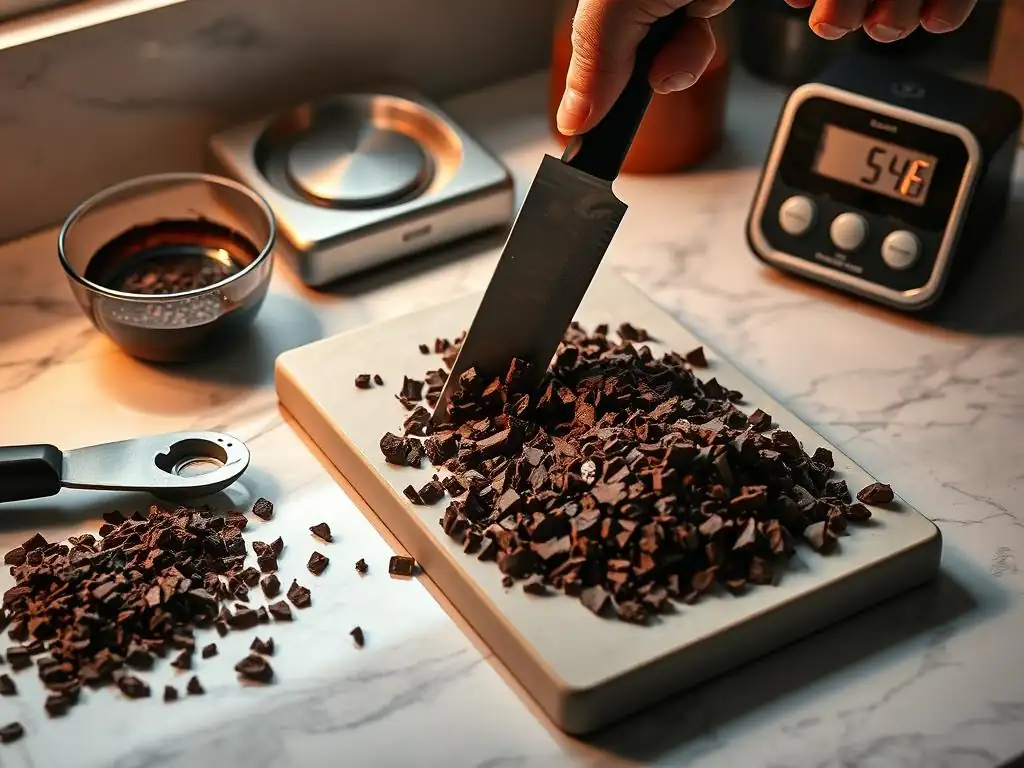
A 20 cm chef’s knife is ideal for chopping chocolate. The length allows you to slice across the width of most standard bars (100–200 g) in one motion. The straight blade prevents jagged breaks, and the weight helps with controlled pressure.
Consider a knife with a bolsterless design—this avoids chocolate clinging to the thicker part of the blade. Always sharpen your knife to at least a 15° edge; a dull knife tears rather than slices, leading to uneven pieces.
Cutting Board Material: Choosing a Stable Surface
Plastic or hardwood boards measuring at least 30 cm × 20 cm offer ample space. Plastic boards are dishwasher-safe and won’t absorb cocoa oils; hardwood provides a firmer grip, preventing slips. Avoid glass or marble—though aesthetically pleasing, they can be too slick and may chip your chocolate.
Task List for Setup:
- [ ] Sanitize board with hot soapy water
- [ ] Dry completely to avoid moisture
- [ ] Place non-slip mats under board
Specialized Tools: Utilizing a Chocolate Plane
A chocolate plane, similar to a wide vegetable peeler, shaves off fine curls for decoration. It’s not used for chopping, but it’s invaluable for creating garnish and ensuring that all molten chocolate mixes consistently.
Use the plane at a 45° angle, drawing it slowly across the bar. Curls will collect on a tray below, ready to dust over mousse or cakes.
Step-by-Step Guide: Achieving Uniform Chocolate Pieces
Step 1: Preparing Chocolate and Workspace
Begin by clearing and sanitizing your workspace. Maintain a room temperature of 18–20 °C; higher temperatures can soften chocolate prematurely.
Store your chocolate bars in a cool (16 °C) cupboard for at least 30 minutes. This ensures a firm texture, making clean cuts possible.
Pro Tip: Place a damp cloth under the cutting board to prevent sliding.
Step 2: Implementing the Rocking Chop Technique
Position the bar parallel to the cutting board’s short edge. With your dominant hand on the handle and your other hand on the blade’s spine, use a smooth rocking motion.
- First pass: Slice the bar into 1 cm-thick slabs.
- Second pass: Stack slabs and chop into strips of ~5 mm.
- Final pass: Slice strips perpendicular to create 5 mm cubes.
This “rock and drop” method reduces strain and yields ~60 pieces from a 200 g bar.
Step 3: Creating Chocolate Curls for Garnish [Optional]
After chopping, reserve one fresh bar for curls. Use a chocolate plane or a vegetable peeler:
# Simulated command: Generate chocolate curls
peel --angle=45 --pressure=light 100g_chocolate_bar
Gently shave along the bar’s surface; the resulting curls make elegant garnishes for cupcakes and tarts.
Tips for Efficient Chocolate Chopping
Tempering Chocolate for Optimal Cutting
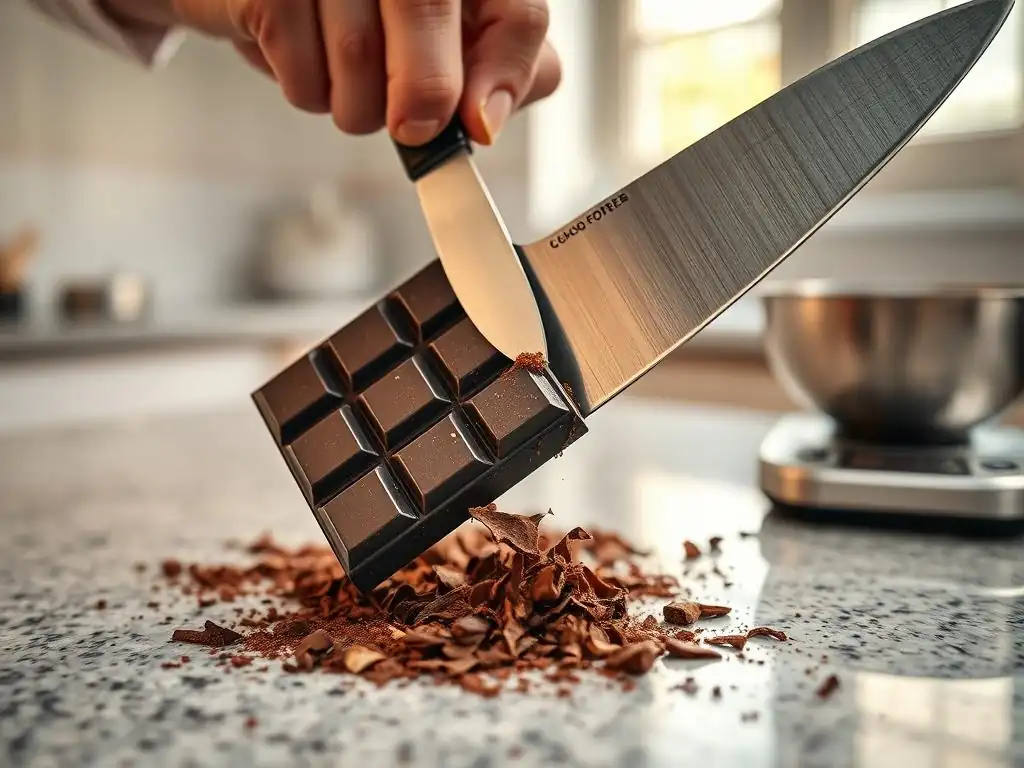
Lightly tempering chocolate before chopping (to ~32 °C for dark) slightly firms the bar, reducing crumble. Place the bar on a tray in a 30 °C oven for 60 seconds, then let it cool back to 18 °C on the counter.
Tempering also eliminates moisture pockets, preventing lumps when you later melt the chopped pieces. Consider this an advanced Perfectly chopped chocolate melting tip.
Preventing Chocolate Bloom During Chopping
Chocolate bloom—white streaks caused by fat migration—can be minimized by avoiding temperature shocks. If installing chocolate in the freezer, do not chop it until it returns to room temperature (18 °C). Never chop on a cold surface like marble right after refrigeration.
Addressing Sticky Chocolate: Cooling Strategies
If your chocolate becomes sticky from handling, pop it into the fridge for 5–7 minutes (to ~16 °C). This firms the pieces instantly, restoring clean cuts. Avoid freezing; rapid cooling can induce moisture condensation, leading to bloom.
Achieving Even Melting with Uniform Chocolate
Melting Methods: Double Boiler and Microwave Techniques
Double Boiler: Fill a saucepan with 2 cm of water. Place a heatproof bowl on top (avoid touching water). Add 200 g of Perfectly chopped pieces. Stir every 20 seconds; expect a full melt in 3–4 minutes.
Microwave: Use 30-second bursts at 50% power. After each cycle, stir with a silicone spatula. A 200 g batch typically needs 5–6 cycles for a smooth, lump-free consistency.
Ensuring Smooth, Lump-Free Melted Chocolate
- Always stir from the center outward in figure-eight motions.
- Scrape bowl sides to incorporate unmelted flakes.
- Use a digital thermometer to monitor at 40–45 °C (dark) or 38–42 °C (milk/white).
“Patience and gentle heat are the keys to chocolate nirvana.”
Troubleshooting: Resolving Seizing and Burning
If chocolate seizes (becomes grainy), add 1 tsp of neutral oil or 1 tbsp warm cream. Stir vigorously to re-emulsify.
To fix slight burning, remove from heat immediately, transfer to a cool bowl, and whisk rapidly. This helps redistribute warmth.
Utilizing Melted Chocolate in Baking Applications
Incorporating Melted Chocolate into Recipes
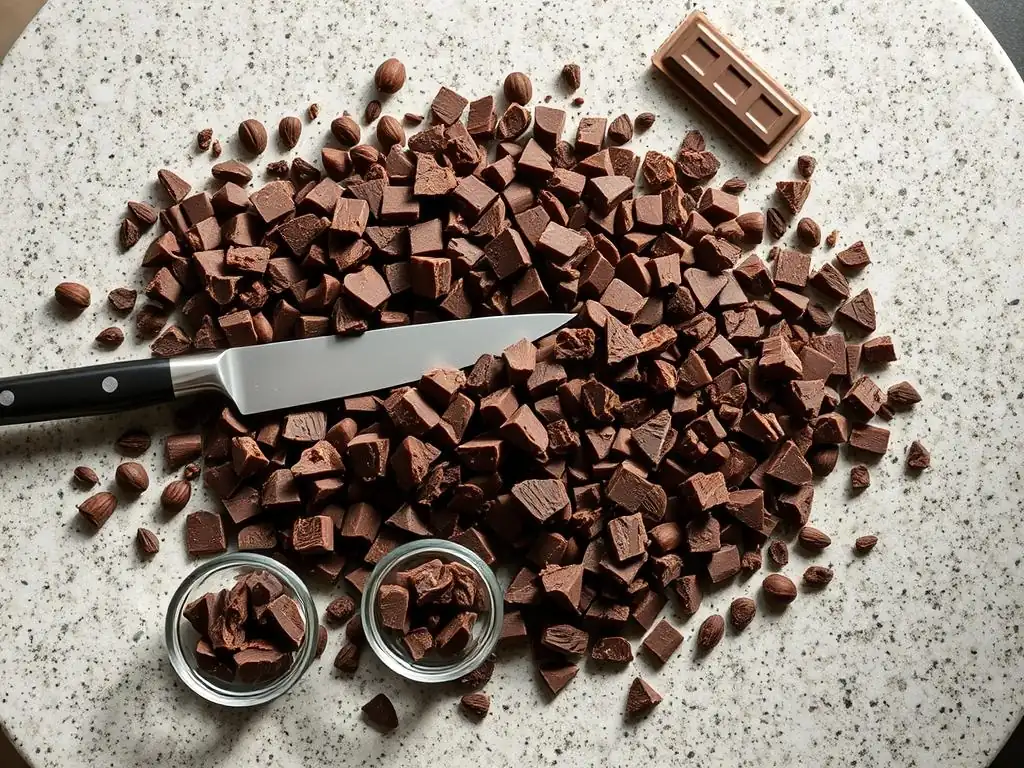
For batters and doughs, fold melted chocolate in three additions. This prevents overmixing and maintains structure. In a 500 g batter, start with 1/3 of the chocolate, fold gently, then repeat.
Use inline code for precision: fold_last_time(remaining_chocolate) ensures an even distribution without deflating air pockets.
Creating Ganache and Glazes
A classic ganache ratio is 1:1 for dark chocolate (200 g chocolate with 200 g 35% cream). Heat cream to 85 °C, pour over chopped chocolate, let sit 2 minutes, then whisk until smooth.
For glazes, incorporate 10 g of corn syrup per 100 g of chocolate for shine and pliability.
Chocolate Decorating: Drizzling and Coating
Thin melted chocolate to 30–35 °C for drizzling. Use a piping bag or a spoon. For coating, dip biscuits or fruits, then tap gently to remove excess. Place on parchment and refrigerate 10 minutes to set.
Conclusion: Elevating Baking Through Proper Chocolate Preparation
Summary of Techniques for Chopping Chocolate
From selecting the right knife and board to mastering the rocking chop, consistency is paramount. By aiming for ~5 mm uniform pieces, you’ll guarantee even melting and stable tempering curves. Utilizing Perfectly chopped chocolate melting tips ensures efficiency and reproducibility in every bake.
Enhancing Baking with Evenly Melted Chocolate
When your chocolate melts smoothly—whether by double boiler or microwave—your ganaches, coatings, and fillings will shine both visually and texturally. The techniques outlined here not only streamline your process but also elevate your creations to professional standards. Embrace these methods, and watch your homemade cakes, cookies, and confections ascend to new heights of chocolate perfection.
Frequently Asked Questions
How does the size of chopped chocolate affect its melting?
The size of the chocolate pieces directly affects melting. Smaller, finely chopped pieces melt more quickly and evenly than larger chunks.
What's the best tool to use for chopping chocolate effectively?
A sharp, heavy knife is the best tool. A serrated knife can also work, but may create more chocolate dust.
Why is even melting important when baking with chocolate?
Even melting ensures a smooth, consistent texture in your baked goods. Unevenly melted chocolate can result in lumpy or grainy results.
What are some tips to prevent chocolate from seizing during melting?
Avoid introducing water or steam to the melting chocolate. Melting chocolate over a double boiler or in short bursts in the microwave are good strategies.
Can I use a food processor to chop chocolate?
Yes, but pulse carefully to avoid over-processing. Over-processing can create chocolate dust or even cause the chocolate to melt from the friction.
Final Reflection: The Art and Science of Perfectly Melted Chocolate
The pursuit of flawlessly melted chocolate, once a niche concern for pastry chefs, has become a widespread quest in home kitchens. The ability to achieve a smooth, lump-free melt is no longer just a mark of professional skill; it's a key to unlocking culinary creativity for everyone, from baking enthusiasts to casual dessert lovers. The impact of mastering this seemingly simple technique extends far beyond the final product; it's about understanding the nuances of ingredients and achieving a satisfying result.
The journey from haphazardly chopped chocolate to a perfectly emulsified ganache is a testament to the power of precision and attention to detail. It's a reminder that even the simplest tasks can yield extraordinary results when approached with care and understanding. This process, for me, has become a meditative practice – a quiet moment of focus amidst the chaos of daily life. The details are not the details. They make the design.
– Charles Eames. This quote perfectly encapsulates the importance of proper chocolate chopping in achieving a truly exceptional final product.
Now, I invite you to consider your own approach to chocolate melting. Do you find yourself rushing the process, or do you take the time to appreciate the small steps? Try applying the techniques outlined in this article to your next chocolate project. Observe the difference in texture and taste. Embrace the process, and discover the joy of perfectly melted chocolate, a small act that can bring immense satisfaction and elevate your culinary creations to a new level.
Unlock Your Chocolate Melting Mastery!
Thanks for taking the time to perfect your chocolate-melting technique! You're now equipped to avoid those dreaded lumps and achieve flawlessly smooth results. Ready to put your newfound skills to the test?
- Master the art of the chocolate chop: Practice your newfound skills on your next baking project—you'll be amazed at the difference!
- Share your perfectly chopped chocolate creations with us on social media! Use #BakeWithEaseChocolate for a chance to be featured.
- Experiment with different types of chocolate and let us know which chopping method works best for you in the comments below!
What's your go-to chocolate recipe that benefits from perfectly chopped chocolate?