
Fixing Pale Crust on Sourdough Bread: A Baker's Secret

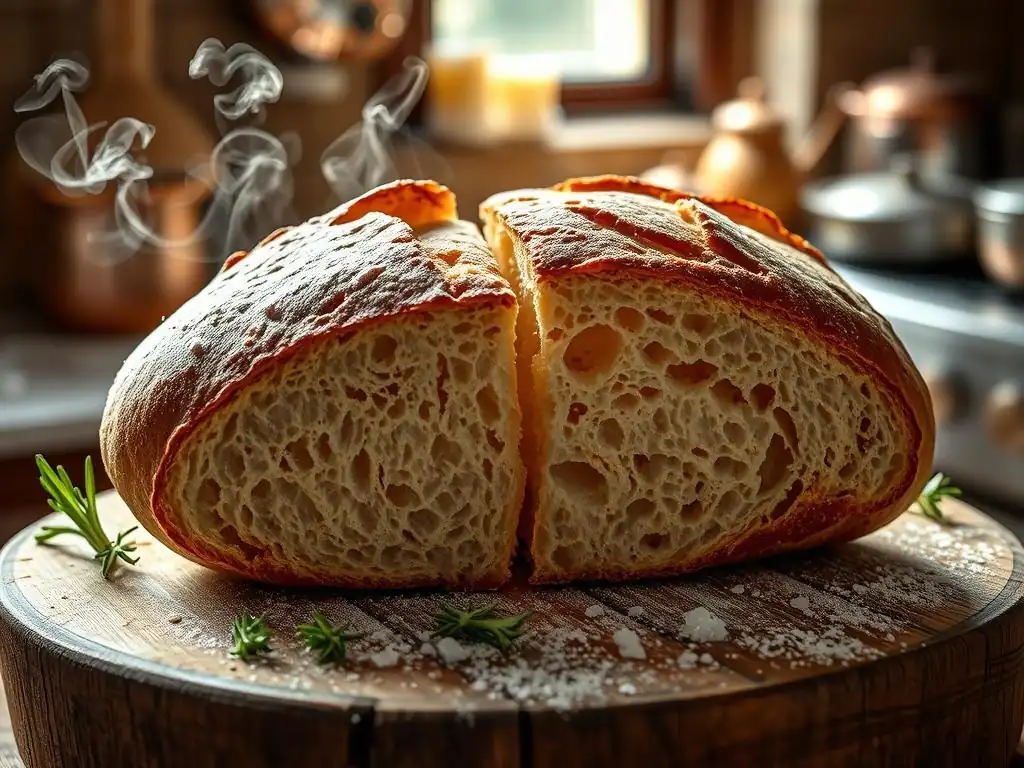
Welcome to BakeWithEase, your kitchen companion for all things baking! Ever wondered why your sourdough crust is stubbornly pale, even after what feels like an eternity in the oven? You're not alone! In this article, we delve into common causes and reveal the baker's secrets for achieving that perfect, golden-brown crust you've been dreaming of. Prepare to troubleshoot your pale sourdough crust and unlock the full potential of your homemade bread. Let's get baking!
- Understanding Pale Sourdough Crust: Identifying the Problem
-
Pale Sourdough Crust Troubleshooting: Proven Solutions
- 1. Optimizing Oven Temperature for Perfect Sourdough Crust Color
- 2. Mastering Steam Injection for a Rich, Brown Sourdough Crust
- 3. Sugar's Role in Sourdough Crust: Enhancing Browning
- 4. Adjusting Baking Time for Optimal Sourdough Crust Color
- 5. Improving Dough Handling for Better Sourdough Crust
- 6. Troubleshooting Issues with Your Sourdough Starter
- Preventing Pale Sourdough Crust: Proactive Baking Strategies
- Achieving the Perfect Sourdough Crust: A Summary of Best Practices
-
Frequently Asked Questions
- How does oven temperature affect the color of my sourdough crust?
- What role does steam play in achieving a darker sourdough crust?
- Could my proofing process be contributing to a pale sourdough crust?
- Are there specific ingredients that can help darken my sourdough crust?
- How does the type of flour I use impact the color of my sourdough crust?
- Final Reflection: The Golden Crust and the Baker's Journey
- Unlock Your Sourdough's Golden Crust!
Understanding Pale Sourdough Crust: Identifying the Problem
When you pull your beautiful sourdough loaf from the oven, you expect a deep, golden-brown crust that crackles when you slice it. But sometimes, despite your best efforts, the crust turns out disappointingly pale. This isn't just an aesthetic issue; a pale sourdough crust often indicates underlying problems in the baking process that affect the bread's overall texture and flavor. Recognizing the signs early is the first step in successful pale sourdough crust troubleshooting.
A pale crust can feel soft or leathery rather than crisp and firm. It might lack the complex caramelized flavors that a well-browned crust provides. Understanding why your sourdough isn't browning properly is crucial before you can implement effective solutions. It's a common hurdle for many home bakers, but thankfully, one with well-established fixes.
Recognizing Under-Baked Sourdough: Key Indicators
A pale crust is often a tell-tale sign of under-baked sourdough. Beyond the color, several other indicators can help you diagnose the issue. Visually, the crust might appear matte and dull, lacking the glossy sheen of a properly baked loaf. When you tap the bottom of the loaf, it might sound dense and muted rather than hollow and resonant.
Internally, under-baked sourdough often has a gummy or wet texture, especially in the center. The crumb structure might be dense and uneven, rather than open and airy. A reliable way to check for doneness is using an instant-read thermometer; properly baked sourdough should reach an internal temperature of around 205°F to 210°F (96°C to 99°C). If your pale loaf is below this range, it's likely under-baked.
Why Isn't My Sourdough Crust Browning? Common Causes of Pale Crust
Several factors contribute to the desirable browning of a sourdough crust, primarily the Maillard reaction and caramelization, which require sufficient heat and time. If your crust is pale, it's usually due to one or a combination of these issues: insufficient oven temperature, lack of adequate steam during the initial bake, too short a baking time, or even the dough's composition itself.
For instance, baking at a temperature that is too low, perhaps below 450°F (230°C), often prevents the crust from developing properly. Similarly, without sufficient steam in the oven during the first 15-20 minutes, the crust forms too quickly and becomes rigid, hindering oven spring and resulting in a thinner, less capable-of-browning crust. Doughs with very low sugar content or those made with a weak starter might also struggle to achieve a deep color. Addressing these specific causes is key to effective pale sourdough crust troubleshooting.
Pale Sourdough Crust Troubleshooting: Proven Solutions
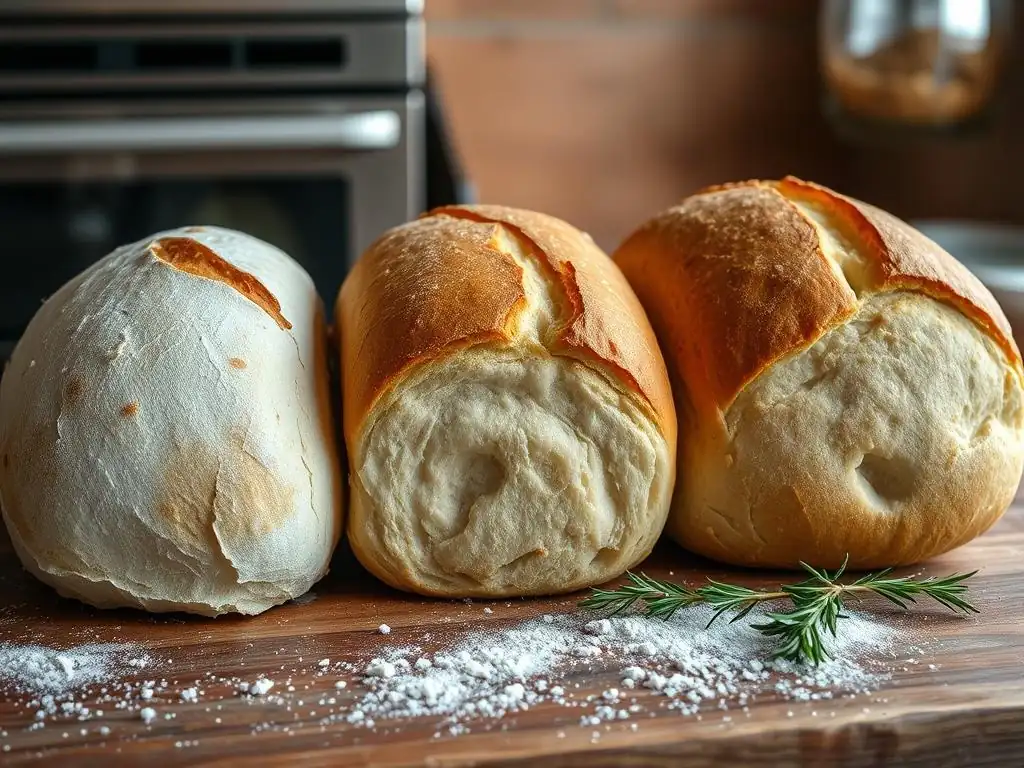
Dealing with a pale sourdough crust can be frustrating, but it's a common issue with several practical solutions. By systematically addressing potential problems in your baking process, you can significantly improve your crust color and texture. Here, we explore the most effective strategies for pale sourdough crust troubleshooting.
1. Optimizing Oven Temperature for Perfect Sourdough Crust Color
Temperature is paramount in achieving a rich, brown sourdough crust. The high heat of the oven is what drives the complex chemical reactions responsible for browning. If your oven temperature is too low or inconsistent, the crust simply won't develop properly.
Ensuring your oven is accurately calibrated and reaches the target temperature is the first step. Many home ovens can be off by as much as 25-50°F (15-30°C). Using an oven thermometer can help you verify the actual temperature. Once you know your oven's quirks, you can adjust accordingly.
Increasing Oven Temperature: Finding the Sweet Spot
Most sourdough recipes call for baking at high temperatures, typically between 450°F and 500°F (230°C to 260°C). This initial blast of high heat is essential for maximum oven spring and rapid crust development. If your crust is consistently pale, try increasing your oven temperature towards the higher end of this range.
For example, if you've been baking at 450°F (230°C), try raising it to 475°F (245°C) or even 500°F (260°C). Monitor your loaf closely, especially in the later stages of baking, to ensure it doesn't burn. A higher temperature promotes faster browning, helping you achieve that desirable deep color.
Preheating Your Oven Thoroughly: A Crucial Step
Preheating isn't just about reaching the target temperature; it's about saturating your baking vessel (like a Dutch oven) or baking surface (like a stone or steel) with enough heat to transfer efficiently to the dough. This stored heat is critical for achieving a good crust and oven spring from the moment the dough enters the oven.
Allowing your oven to preheat for a significant amount of time – often 45 minutes to an hour at the target high temperature – ensures that your Dutch oven or baking stone is radiating intense heat. Placing the dough onto or into a properly preheated surface provides the powerful initial heat transfer needed to kickstart crust development and browning, a vital part of effective pale sourdough crust troubleshooting.
2. Mastering Steam Injection for a Rich, Brown Sourdough Crust
Steam plays a vital, albeit temporary, role in the initial stages of baking sourdough. It's counterintuitive, but adding moisture to a hot oven helps achieve a dry, crispy, and well-browned crust later on.
The presence of steam prevents the surface of the dough from hardening too quickly. This keeps the crust pliable, allowing the loaf to expand fully during oven spring. Once the steam dissipates (usually after 15-20 minutes), the crust is then exposed to the dry, high heat, which causes it to quickly crisp up and brown beautifully. Without sufficient steam, the crust sets prematurely, restricting expansion and resulting in a thinner, paler, and less desirable texture.
The Importance of Steam: How Steam Affects Crust Development
During the first phase of baking, as the dough experiences the intense heat of the oven, trapped gases expand rapidly, causing the loaf to rise (oven spring). Steam surrounding the loaf keeps the outer layer moist and elastic, allowing it to stretch with the expanding dough. This prevents the formation of a hard, brittle crust early on.
Once the steam is gone, the temperature of the crust surface can rise rapidly, facilitating the Maillard reaction and caramelization – the processes responsible for browning and flavor development. Think of it like this: steam buys your loaf time to grow before the crust hardens, setting the stage for vibrant color and texture later in the bake.
Creating Steam in Your Home Oven: Effective Techniques (Dutch Oven, Water Pan)
There are several reliable methods for creating the necessary steam environment in a home oven. One of the most popular and effective is baking in a Dutch oven.
- Dutch Oven: The simplest method. Preheat the Dutch oven with the lid on at your target temperature. When you place the dough inside and replace the lid, the moisture naturally released by the dough is trapped within the pot, creating a steamy micro-environment. After 15-20 minutes, removing the lid allows the steam to escape, exposing the loaf to dry heat for browning. This method is highly effective for pale sourdough crust troubleshooting.
- Water Pan/Steam Tray: If baking on a baking stone or steel, you need to actively create steam. Place a heat-safe pan (like a cast iron skillet or a metal baking tray) on the bottom rack of your oven while it preheats. Just before loading the dough, carefully pour about 1 cup of hot water (boiling is best) into the hot pan. This will instantly create a cloud of steam. Some bakers add lava rocks or a rolled-up towel wrapped in foil to the pan to increase the surface area for steam production. Close the oven door quickly after loading the dough and adding water to trap the steam.
3. Sugar's Role in Sourdough Crust: Enhancing Browning
While traditional sourdough relies solely on the natural sugars produced during fermentation for browning, sometimes a little help is needed, especially if you're struggling with a pale sourdough crust. Sugars are key reactants in both the Maillard reaction and caramelization, the processes that give the crust its color and flavor.
Adding a small amount of sugar or malt to your dough formula can significantly boost crust browning. Even a seemingly small addition can make a noticeable difference in overcoming a pale sourdough crust issue.
Adding a Touch of Sugar or Malt: The Maillard Reaction Explained
The Maillard reaction is a complex chemical process between amino acids and reducing sugars that occurs at high temperatures (above 300°F or 150°C). It's responsible for the browning of many foods, including bread crust, and creates hundreds of flavor compounds. Caramelization, the browning of sugars themselves, also contributes at higher temperatures (above 320°F or 160°C).
Sourdough fermentation consumes much of the simple sugars in the flour. Adding a small amount of sugar (like 1-2% of the total flour weight) or diastatic malt powder (which helps break down starches into sugars) provides extra fuel for these browning reactions during baking. This directly addresses a potential cause of pale sourdough crust.
Understanding the Impact of Sugar on Sourdough Flavor and Texture
While adding sugar or malt helps with browning, it can also subtly impact the flavor and texture of your sourdough. Sugar can make the crust slightly sweeter and potentially softer if used in larger quantities. Malt can add a slightly malty flavor and can also affect the crumb structure due to its enzymatic activity.
The key is moderation. Adding just enough to aid browning (e.g., 5-10g of sugar per 500g of flour) is often sufficient without drastically altering the characteristic tangy flavor and chewy texture of sourdough. Experiment with small amounts to find the balance that works for your recipe and addresses your pale sourdough crust troubleshooting needs.
4. Adjusting Baking Time for Optimal Sourdough Crust Color
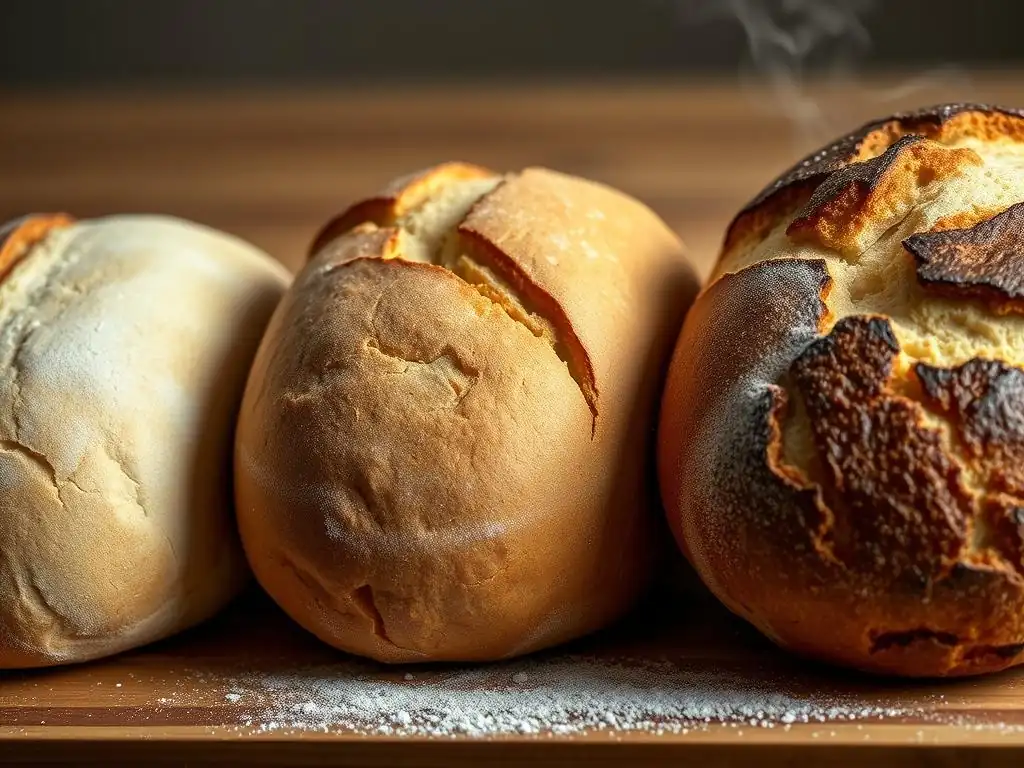
Sometimes, the simplest solution for a pale sourdough crust is just more time in the oven. Even if the internal temperature indicates the bread is technically cooked, extending the baking time, particularly in the later stages, allows the crust to continue developing color and crispness.
Don't be afraid to let your loaf bake until it reaches the desired depth of color. While recipes provide guidelines, oven performance, dough composition, and loaf size all influence the actual baking time required for perfect results. Pale sourdough crust troubleshooting often involves trusting your eyes more than the clock in the final minutes.
Extending Baking Time: Monitoring Internal Temperature
After the initial steaming period (if using a Dutch oven or steam pan), remove the lid or steam source and continue baking. This is when the crust begins to truly brown. If your crust is still pale after the recommended time, extend the baking by 5-15 minutes or even longer.
Keep a close eye on the loaf. While you want a deep brown, you don't want it to burn. Monitor the internal temperature using an instant-read thermometer inserted into the center of the loaf. While 205-210°F (96-99°C) is the target for doneness, the crust color is your primary indicator for this stage of pale sourdough crust troubleshooting.
Achieving a Deep Brown Crust: Visual Cues and Texture
A properly browned sourdough crust should be a rich mahogany or dark caramel color. It should feel firm and sound hollow when tapped on the bottom. Don't be afraid of dark brown spots – these are areas of intense caramelization and flavor.
If the top is browning much faster than the bottom or sides, you can carefully flip the loaf upside down for the last 5-10 minutes of baking or adjust oven rack positions. Achieving that perfect color is a balance of time, temperature, and observation. A pale sourdough crust can be transformed with just a bit more patience in the oven.
5. Improving Dough Handling for Better Sourdough Crust
How you handle and prepare your dough before it goes into the oven can also impact crust development and color. Proper shaping and scoring are not just for aesthetics; they play a functional role in achieving a beautiful and well-browned crust.
Attention to detail during the final stages of dough preparation contributes to a more uniform bake and better crust potential. This often overlooked aspect is crucial in comprehensive pale sourdough crust troubleshooting.
Proper Shaping Techniques: Enhancing Crust Development
Creating good surface tension during shaping is important. A taut surface helps the loaf hold its shape and provides a smooth canvas for the crust to develop evenly. When shaping, work gently but purposefully to build tension on the outside of the dough ball or batard.
A well-shaped loaf will have better structural integrity in the oven, leading to more predictable expansion and a more uniform crust color. A slack or poorly shaped loaf can spread out too much, resulting in a thinner, less robust crust that may brown inconsistently or remain pale in spots.
Scoring Your Sourdough: Releasing Steam and Promoting Even Baking
Scoring, or cutting the surface of the dough just before baking, serves several purposes. Primarily, it provides controlled vents for the expanding gases during oven spring, preventing the loaf from bursting unpredictably. These cuts also guide the expansion, influencing the final shape and appearance.
Well-placed scores open up cleanly in the oven, exposing more surface area to the heat and steam, which promotes even crust development and browning along the cuts. Inadequate or poorly executed scoring can lead to uneven expansion, tears in the crust (blowouts), and areas that remain pale because they didn't open up properly to the heat. Sharp lame or razor blade and confident cuts are key here for effective pale sourdough crust troubleshooting.
6. Troubleshooting Issues with Your Sourdough Starter
The health and activity of your sourdough starter are fundamental to successful sourdough baking, including crust development. A weak or sluggish starter can indirectly contribute to a pale sourdough crust.
A vigorous starter produces a well-fermented dough with good structure and the ability to achieve strong oven spring. It also contributes to the development of simple sugars in the dough through enzymatic activity, which are necessary for the Maillard reaction and caramelization during baking.
Weak Starter and its effect on Sourdough color
A weak starter may not ferment the dough sufficiently, resulting in poor gluten development and less production of the sugars needed for browning. Dough made with a weak starter often has less oven spring, leading to a denser loaf.
A dense loaf with poor expansion may not receive heat as effectively throughout, potentially resulting in a pale and underdeveloped crust. If you suspect your starter is the culprit behind your pale sourdough crust issues, focusing on its health is essential.
Revitalizing Your Starter: Feeding Schedules and Maintenance
To ensure your starter is vigorous, maintain a consistent feeding schedule. For a starter stored at room temperature, feeding it once or twice a day is common. If stored in the refrigerator, feeding it at least once a week is recommended, followed by a few room-temperature feedings to wake it up before baking.
Feed your starter with a consistent ratio of starter, water, and flour (e.g., 1:1:1 or 1:2:2 by weight). Use good quality flour and filtered water. Look for signs of a healthy, active starter: it should reliably double or triple in volume within 4-8 hours after feeding (depending on temperature and ratio), have a pleasant tangy aroma, and be bubbly and airy. A healthy starter is a foundational step in solving pale sourdough crust problems.
Preventing Pale Sourdough Crust: Proactive Baking Strategies
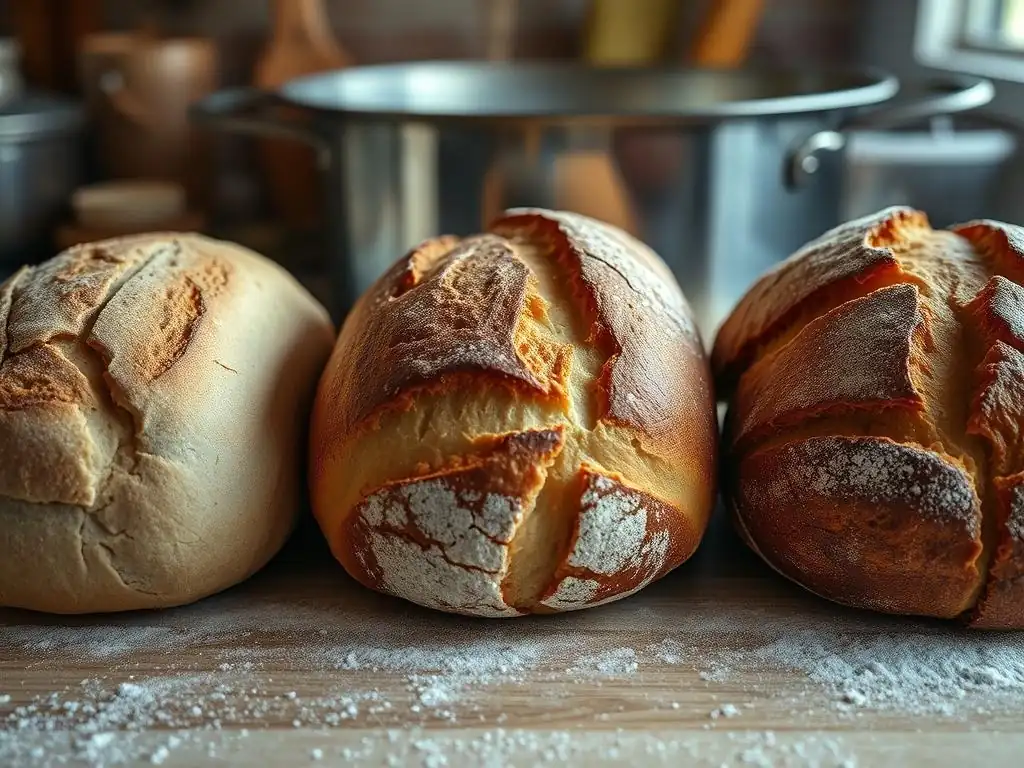
Prevention is often easier than troubleshooting. By adopting consistent baking practices and paying attention to your environment, you can minimize the chances of ending up with a pale sourdough crust in the first place.
Monitoring Your Sourdough Baking Environment
Environmental factors like ambient temperature and humidity can affect your dough's fermentation and proofing times. While not directly causing a pale crust, inconsistent fermentation can indirectly impact dough readiness and performance in the oven.
- Use a consistent location for fermentation and proofing.
- Note ambient temperatures and adjust timings accordingly.
- Consider using a proofing box or your oven with the light on for a more stable temperature.
Ensuring your dough is properly proofed (not under or overproofed) before baking is crucial for achieving good oven spring and, consequently, a well-developed crust.
Maintaining Consistent Baking Practices
Consistency in your baking routine is key to identifying what works and what doesn't. Using the same flour brands, water sources, temperatures, and timings each time helps you pinpoint variables when issues like a pale sourdough crust arise.
- Weigh ingredients precisely using a scale.
- Use a timer for fermentation, proofing, and baking stages.
- Record your baking process, including temperatures, times, and outcomes.
By maintaining detailed records, you can track changes and understand how different adjustments affect your final loaf, making future pale sourdough crust troubleshooting much more efficient.
Achieving the Perfect Sourdough Crust: A Summary of Best Practices
Achieving a beautifully browned sourdough crust is a rewarding part of the baking process. While encountering a pale sourdough crust can be disappointing, it's a common challenge that can be overcome with attention to detail and systematic troubleshooting.
By focusing on key areas such as optimizing oven temperature and preheating, mastering steam injection, considering the role of sugar or malt, adjusting baking time, refining dough handling and scoring, and ensuring a healthy, active starter, you can significantly improve your results. Remember that effective pale sourdough crust troubleshooting involves understanding the underlying causes and applying targeted solutions.
Key Takeaways for Troubleshooting Pale Sourdough Crusts
Here's a checklist of actions to take if you're dealing with a pale sourdough crust:
- [ ] Verify your oven temperature with a thermometer.
- [ ] Ensure thorough preheating of your oven and baking vessel/surface (45-60 mins at high temp).
- [ ] Implement an effective steam method (Dutch oven or water pan) for the first 15-20 minutes.
- [ ] Consider adding a small amount (1-2%) of sugar or diastatic malt to your dough formula.
- [ ] Extend baking time, especially after removing steam, monitoring color and internal temp (target 205-210°F).
- [ ] Practice proper shaping to create surface tension.
- [ ] Use a sharp blade for confident, effective scoring.
- [ ] Ensure your sourdough starter is active and vigorous through consistent feeding.
- [ ] Monitor environmental factors during fermentation and proofing.
- [ ] Maintain consistent baking practices and keep records.
By systematically addressing these points, you'll be well on your way to banishing the pale sourdough crust and achieving that coveted deep, flavorful brown that makes homemade sourdough so special. Happy baking!
Frequently Asked Questions
How does oven temperature affect the color of my sourdough crust?
A lower oven temperature often results in a pale crust. Increase the temperature slightly to promote better browning and a darker, more appealing crust.
What role does steam play in achieving a darker sourdough crust?
Steam is crucial. It keeps the crust moist initially, allowing for maximum expansion and later, better browning. Insufficient steam can lead to a pale, dull crust. Use a Dutch oven or add ice cubes for steam.
Could my proofing process be contributing to a pale sourdough crust?
Yes, both under-proofing and over-proofing can affect crust color. Under-proofed dough may lack the sugars needed for browning. Ensure proper fermentation for optimal crust development.
Are there specific ingredients that can help darken my sourdough crust?
While sourdough relies on natural fermentation, a tiny addition of malt extract or a light sugar wash (brushed on before baking) can enhance browning and crust color if needed. However, use sparingly.
How does the type of flour I use impact the color of my sourdough crust?
Different flours have varying sugar contents. Bread flour generally yields a darker crust than all-purpose flour due to its higher protein content, which contributes to caramelization during baking.
Final Reflection: The Golden Crust and the Baker's Journey
The quest for a deeply golden, crackling sourdough crust is a journey as much as it is a recipe. Many bakers, myself included, have stared in disappointment at a pale loaf, a testament to the subtle yet powerful forces at play in sourdough fermentation. This article explored those forces, offering practical solutions to achieve that coveted crust, and highlighting the importance of understanding the nuances of your starter, hydration, and baking process.
The pursuit of the perfect crust is more than just aesthetics; it's a reflection of our connection to the ancient art of bread making. It's a testament to patience, observation, and the rewarding feeling of transforming simple ingredients into something truly beautiful and nourishing. Bread is the staff of life,
they say, and a beautifully browned crust is the crown jewel of that staff. The subtle variations in color and texture, the satisfying crackle, all speak to the dedication and understanding poured into each loaf. This journey of troubleshooting pale crusts has deepened my own appreciation for the process, reminding me that even imperfections can lead to valuable lessons.
Now, I invite you to reflect on your own baking experiences. What challenges have you faced in achieving your ideal sourdough crust? What adjustments have you made, and what have you learned along the way? Remember, every loaf is a step forward, a chance to refine your technique and deepen your understanding. Don't be discouraged by a pale crust; embrace it as an opportunity to learn, adapt, and ultimately, to bake a loaf that truly reflects your skill and passion. The golden crust awaits!
Unlock Your Sourdough's Golden Crust!
Thanks for diving deep into the world of sourdough with us! We hope you now feel empowered to conquer that pesky pale crust issue. Ready to take your baking to the next level?
- Master the art of scoring: Experiment with different scoring techniques (think deeper cuts, sharper blades!) to find what works best for your loaf and achieve that gorgeous, crackly crust you've always dreamed of. This is your key to success!
- Share your sourdough journey: Post a picture of your perfectly browned loaf on social media and tag us—we'd love to see your baking triumphs!
- Explore our other sourdough resources: Check out our comprehensive guide to sourdough hydration for further improvements to your baking.
Ready to bake the most beautiful sourdough of your life? What scoring technique are you most excited to try?