
Thermal Shock Tactics: How and When to Lower Oven Temps During Baking

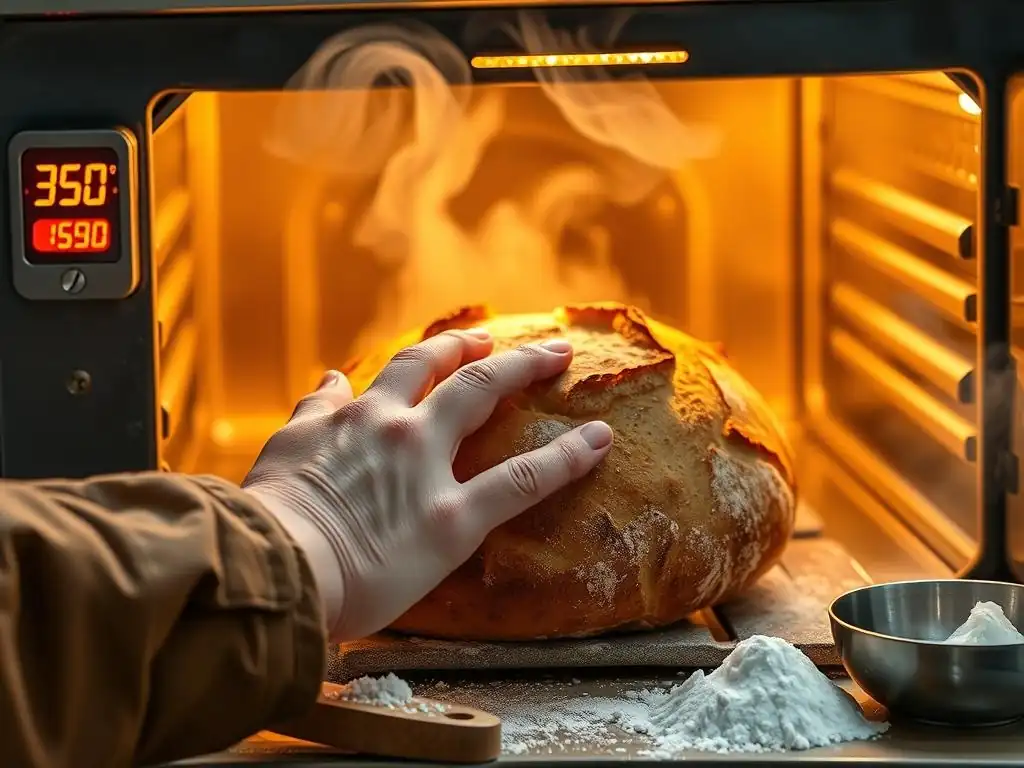
Welcome to BakeWithEase, your trusted guide to baking bliss! Ever wondered if lower oven temperature baking tips could be the secret to your perfectly risen loaf or exquisitely tender cake? Dive into our latest article, "Thermal Shock Tactics," and discover how strategically adjusting your oven's heat can revolutionize your baking game. Intrigued? Let's unlock the secrets to even baking and unforgettable flavors, one temperature tweak at a time!
- Introduction: Mastering Oven Temperature Control for Baking Perfection
- Understanding Thermal Shock in Baking: The Science Behind It
- When to Employ Thermal Shock Tactics: Specific Baking Scenarios
- How to Lower Oven Temperature During Baking: A Step-by-Step Guide
- Tips for Successfully Lowering Oven Temperature While Baking
- Troubleshooting: Common Issues and Solutions When Lowering Oven Temperature
- Advanced Techniques: Fine-Tuning Oven Temperature for Specific Baking Goals
- Conclusion: Mastering the Art of Lower Oven Temperature Baking
-
Frequently Asked Questions
- How does lowering the oven temperature mid-bake prevent thermal shock?
- What types of baked goods benefit most from lowering the oven temperature?
- When should I start lowering the oven temperature during baking?
- By how much should I lower the oven temperature?
- Can lowering the oven temperature affect the baking time?
- Final Reflection: Embracing the Art of Temperature Control in Baking
- Unlock Baking Mastery: Take Control of Your Oven!
Introduction: Mastering Oven Temperature Control for Baking Perfection
Baking is often described as a science, and at its heart lies the precise control of temperature. The oven temperature isn't just a single number you set and forget; it's a dynamic environment that profoundly impacts the final texture, appearance, and flavor of your baked goods. Mastering how and when to adjust this temperature can elevate your baking from good to exceptional, tackling common issues like burnt crusts, raw centers, or dense textures.
Understanding the nuances of oven heat is key to achieving consistent results. Different stages of baking require different heat levels to promote proper leavening, crust formation, and interior cooking. Learning the strategies for managing these thermal demands, including specific lower oven temperature baking tips, allows you to take control of the baking process and achieve the perfect outcome for everything from delicate cakes to robust artisan breads.
Understanding Thermal Shock in Baking: The Science Behind It
What is Thermal Shock and How Does it Affect Baked Goods?
Thermal shock in baking refers to the rapid change in temperature experienced by a baked good, typically when it's placed in a very hot environment or when the oven temperature is suddenly dropped. While often discussed in the context of placing cold dough on a hot baking stone, adjusting oven temperature mid-bake is a controlled application of thermal change designed to optimize results. A sudden, uncontrolled temperature change can cause issues like cracking or uneven expansion, but a planned reduction helps manage heat penetration and moisture retention.
The science behind it involves the transfer of heat and its effect on the structure of the dough or batter. High initial heat provides a burst of energy for leavening agents, setting the structure quickly and promoting oven spring. However, maintaining this high heat can lead to the exterior cooking much faster than the interior, resulting in a burnt crust before the inside is done. Strategically lowering the temperature allows the interior to catch up, ensuring even cooking throughout while preventing the exterior from overcooking.
The Impact of Initial High Heat on Crust Formation and Leavening
Starting your bake at a high temperature, often between 400°F and 500°F (200°C to 260°C), is crucial for initiating several vital processes. This initial burst of heat quickly activates yeast or chemical leaveners, causing rapid expansion and 'oven spring,' where the dough or batter dramatically increases in volume. Simultaneously, the high heat causes the outer layer to rapidly dehydrate and begin forming a crust through the Maillard reaction and caramelization, contributing to color and flavor.
For many baked goods, particularly breads and some pastries, this rapid crust formation is desirable as it helps set the shape and creates a pleasing texture. For example, baking artisan bread in a Dutch oven preheated to 450°F (230°C) for the first 20 minutes traps steam and promotes maximum oven spring and a thin, crisp crust. However, if this high temperature is maintained, the crust can become too thick, tough, or even burn before the interior is fully cooked, especially in larger items. This is where learning lower oven temperature baking tips becomes essential.
How Lowering Oven Temperature Prevents Over-Browning and Undercooking
Once the initial structure and crust are set, reducing the oven temperature allows the heat to penetrate more gently into the center of the baked good. This slower, less intense heat transfer ensures that the interior cooks thoroughly without the exterior burning. For instance, after the initial high-heat phase for bread, dropping the temperature to around 375°F to 400°F (190°C to 200°C) allows the crumb to develop fully and dry out appropriately without the crust becoming excessively dark or hard.
This technique is particularly valuable for items that require a longer baking time, such as large cakes, dense loaves of bread, or substantial pastries. By employing lower oven temperature baking tips, you can extend the baking duration needed for the interior to reach its target temperature (e.g., 200-210°F / 93-99°C for bread, 205°F / 96°C for enriched doughs) without the outer layers becoming dry or burnt. It's a strategic move to achieve that perfect balance of a well-cooked interior and a beautifully colored, not-burnt exterior.
When to Employ Thermal Shock Tactics: Specific Baking Scenarios
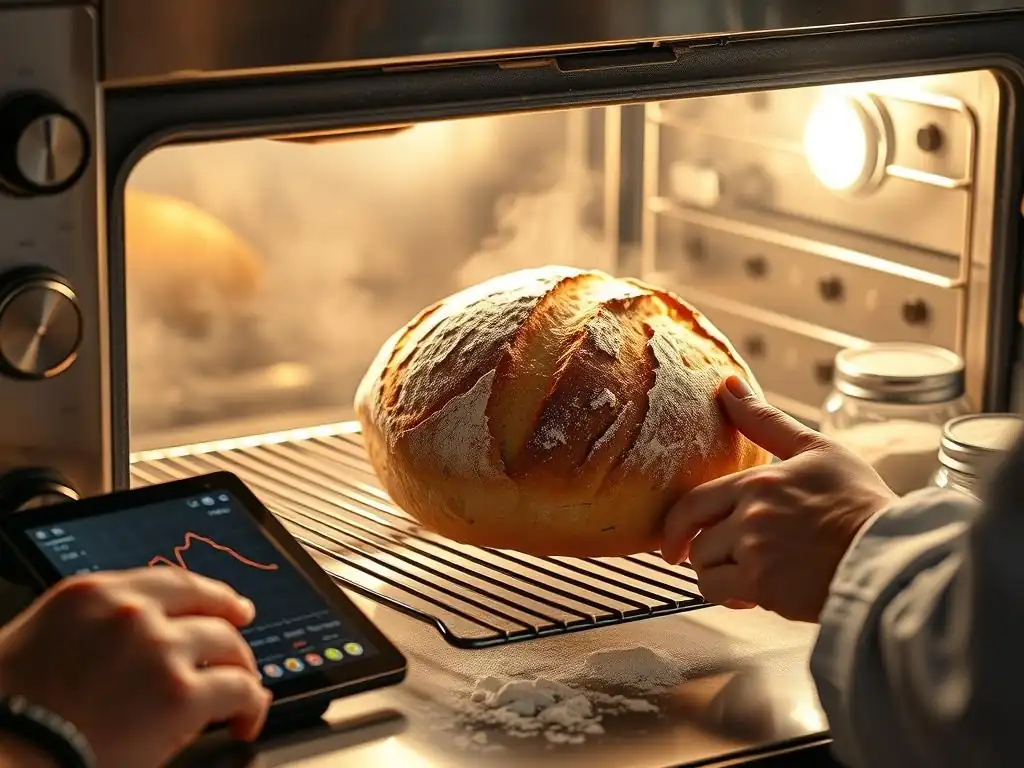
Baking Cakes: When to Reduce Oven Temperature for Even Baking
Cakes, especially larger or denser ones like pound cakes or fruitcakes, are prime candidates for temperature adjustment during baking. Often, recipes call for starting at a moderately high temperature, say 350°F to 375°F (175°C to 190°C), for the initial phase. This helps the batter rise quickly and set the edges. However, maintaining this temperature for the entire baking time can lead to the edges and bottom cooking and browning much faster than the center, potentially resulting in a dry exterior and an undercooked middle.
Introducing lower oven temperature baking tips for cakes means reducing the heat after the cake has set and risen, typically around the halfway or two-thirds point of the total baking time. Dropping the temperature by 25°F to 50°F (15°C to 30°C) allows the internal temperature to rise gradually, ensuring the center cooks through without the outer parts becoming tough or burnt. This method is particularly effective for preventing the common issue of a cake that looks done on the outside but is still wet in the middle.
Preventing Domed Cakes with Lower Oven Heat
A common frustration for cake bakers is the dreaded domed top, often accompanied by cracks. This occurs because the outside of the cake cooks and sets faster than the inside. As the inside continues to rise, it pushes up the still-liquid center, creating a dome. Extreme temperature differences between the oven and the batter, or baking at too high a constant temperature, exacerbate this issue.
Employing lower oven temperature baking tips can help mitigate this. While methods like using cake strips are popular, reducing the oven temperature after the initial rise slows down the rate at which the exterior sets. This allows the center to catch up in terms of structure setting, leading to a flatter, more even top. For instance, if a recipe suggests 350°F (175°C) for 40 minutes, you might try 350°F for 20 minutes, then reduce to 325°F (160°C) for the remaining time.
Achieving a Moist Cake Crumb Through Temperature Adjustments
Moisture is key to a tender cake crumb. Baking at too high a temperature for too long can evaporate too much moisture, resulting in a dry, dense cake. While recipe formulation plays a major role, oven temperature control is a critical factor in moisture retention.
Lowering the oven temperature after the initial rise significantly reduces the risk of drying out the cake. The gentler heat allows the starches and proteins to set more slowly and evenly, trapping moisture within the crumb structure. This technique is particularly beneficial for cakes with high sugar content, which are prone to burning before the interior is cooked. By applying these lower oven temperature baking tips, you help ensure that your cake remains wonderfully moist and tender throughout.
Baking Bread: Utilizing Temperature Drops for Optimal Crust and Interior
Baking bread often starts with a high-temperature blast to maximize oven spring and initiate crust development. Temperatures ranging from 450°F to 500°F (230°C to 260°C) are common for the first segment of the bake, especially for lean artisan loaves. This intense heat quickly sets the structure and creates a thin, crisp crust due to rapid water evaporation from the surface.
However, maintaining such high heat can lead to the crust becoming excessively thick, hard, or burnt while the interior might still be slightly doughy. This is where strategic lower oven temperature baking tips come into play. After the initial 15-25 minutes at high heat (or after removing the lid if using a Dutch oven), reducing the temperature to 375°F to 400°F (190°C to 200°C) allows the internal temperature of the loaf to rise gradually to the desired 200-210°F (93-99°C) range without overcooking the exterior.
Creating a Crisp Crust and Soft Interior in Artisan Breads
The hallmark of great artisan bread is a crackling, crisp crust and a light, open, and soft interior crumb. Achieving this balance requires careful management of heat and steam. The initial high temperature, often combined with steam (either from a Dutch oven or added to the oven), is responsible for the rapid expansion and initial crust set, keeping it thin and pliable long enough for maximum rise.
Once the desired oven spring is achieved and the crust begins to set but before it hardens completely, applying lower oven temperature baking tips by reducing the heat allows the interior to finish cooking. This slower cooking prevents the crumb from becoming dry or dense. For example, baking a sourdough loaf at 475°F (245°C) for 20 minutes in a Dutch oven, then removing the lid and lowering the temperature to 425°F (220°C) for another 20-25 minutes, is a classic approach to achieve that perfect crisp exterior and soft interior.
Avoiding a Doughy Center in Loaf Breads by Lowering the Temperature
A doughy or gummy center is a common issue, especially with larger or enriched loaf breads. This typically indicates that the interior of the loaf did not reach a high enough temperature (at least 200°F / 93°C) to fully cook the starches and set the gluten structure. While under-proofing can contribute, insufficient internal cooking due to overly rapid external cooking is a frequent culprit.
Lowering the oven temperature after the initial high-heat phase addresses this directly. By reducing the heat, you slow down the rate at which the crust continues to cook and thicken. This allows the heat to penetrate more evenly and gradually into the core of the loaf, giving the center sufficient time to cook through without the exterior burning. This specific lower oven temperature baking tip is particularly useful for dense rye breads or loaves containing additions like cheese or nuts, which require longer baking times.
While many cookie recipes use a single temperature, often around 350°F (175°C), adjusting the oven temperature can significantly impact spread, chewiness, and crispness. Higher temperatures generally lead to faster setting and less spread, while lower temperatures promote more spread and a chewier texture. However, starting slightly higher then dropping can offer unique benefits.
For instance, some recipes for thin, crispy cookies might start at a higher temp like 375°F (190°C) for a few minutes to initiate rapid spread and crisping, then drop to 350°F (175°C) to finish baking evenly without burning the edges. Conversely, for thicker, chewier cookies, you might start at 350°F (175°C) to set the edges slightly, then lower to 325°F (160°C) to ensure the center stays soft while the edges finish baking without becoming brittle. Understanding these lower oven temperature baking tips opens up possibilities for texture control.
Preventing Over-Spreading in Cookies with Reduced Heat
Cookies that spread too much often end up thin, brittle, and sometimes oily. While factors like butter temperature and flour type play roles, oven temperature is a major contributor. If the oven temperature is too low initially, the butter melts and spreads before the cookie structure has a chance to set, leading to excessive spread.
While not a case of lowering the temperature mid-bake, starting at the correct temperature (which might be higher than you'd think for less spread) is crucial. However, if you notice cookies spreading too rapidly in an oven that seems calibrated correctly, a slight mid-bake reduction after the edges have just begun to set can help slow further spread while allowing the interior to cook. This is a more nuanced application of lower oven temperature baking tips focused on managing the rate of spread.
Achieving Chewy vs. Crispy Cookies: The Temperature Factor
The final texture of a cookie—whether it's delightfully chewy or satisfyingly crisp—is heavily influenced by the baking temperature and time. Higher temperatures over shorter periods tend to produce crispier cookies because the sugar caramelizes faster and more moisture evaporates. Lower temperatures over longer periods generally result in chewier cookies as the slower bake allows the interior to cook without excessive moisture loss, while the edges set gently.
To achieve a cookie that is crispy on the edge but chewy in the center, a common goal, a technique involves starting at a moderate temperature (e.g., 350°F / 175°C) to get some initial spread and edge setting, then potentially lowering the temperature slightly (e.g., to 325°F / 160°C) to finish the bake. This allows the edges to continue crisping slowly while the center cooks through more gently, retaining moisture. Experimenting with these lower oven temperature baking tips is key to finding your perfect cookie texture.
Baking Pastries: Managing Flakiness and Color with Temperature Regulation
Flaky pastries like croissants, puff pastry, and danishes rely on steam created from melting butter layers to separate the dough into distinct sheets. This process requires high heat initially to rapidly melt the butter and create steam before the fat renders out completely. Temperatures from 400°F to 425°F (200°C to 220°C) are common starting points.
However, these delicate pastries also contain sugar and butter on their exterior, which can brown very quickly at high temperatures. To prevent the outside from burning while ensuring the interior layers are fully cooked and airy, applying lower oven temperature baking tips is often necessary. After the initial dramatic rise and layering occurs (typically 10-15 minutes), reducing the temperature to 375°F to 400°F (190°C to 200°C) allows the pastry to finish baking to a beautiful golden brown without the edges becoming excessively dark or the butter leaking out and burning on the pan.
Ensuring a Golden Brown Crust on Pastries Without Burning
Achieving that perfect golden brown color on pastries is a delicate balance. The sugar and butter on the surface caramelize and brown, contributing significantly to flavor and appearance. However, this browning happens rapidly at high temperatures. If the temperature remains too high for the entire bake, the pastry can go from golden to burnt in just a few minutes, especially around thinner edges.
By starting at a high temperature to establish flakiness and rise, then reducing the temperature using lower oven temperature baking tips, you slow down the rate of surface browning. This allows the interior to continue cooking and the layers to crisp up gently while the exterior reaches a beautiful golden hue without scorching. This is particularly important for pastries containing fruit fillings, where sugar leakage can exacerbate burning.
Promoting Flaky Layers in Puff Pastry Through Temperature Control
The magic of puff pastry lies in its countless airy, flaky layers. This flakiness is created by steam pushing apart thin layers of dough separated by butter. The initial high oven temperature is critical because it melts the butter quickly, generating steam that forces the layers apart before the butter can melt and be absorbed into the dough.
Once the layers have separated and the pastry has achieved significant lift (usually within the first third of the baking time), the role of the temperature shifts. Reducing the heat with lower oven temperature baking tips allows the layers to set and crisp up more slowly and evenly. If the temperature remains too high, the exterior can set and brown too quickly, trapping moisture inside and preventing the inner layers from fully crisping. A strategic temperature drop ensures thorough cooking and maximum flakiness throughout.
How to Lower Oven Temperature During Baking: A Step-by-Step Guide
Implementing lower oven temperature baking tips isn't complicated, but it requires attention to timing and procedure. The process is straightforward once you understand the goal: providing intense heat initially for structure and lift, then gentler heat to cook the interior evenly.
Here is a simple step-by-step guide to successfully lowering your oven temperature mid-bake for various goods.
Step 1: Preheating Your Oven to the Initial Temperature
Begin by preheating your oven to the higher temperature specified in your recipe or chosen for the initial phase of baking. This temperature is typically hotter than the average baking temperature and serves to provide a rapid infusion of heat to the surface of your baked good. Ensure your oven is fully preheated; ideally, let it sit at the target temperature for 10-15 minutes after the preheat indicator comes on to ensure the walls and racks are also hot.
Accurate preheating is crucial for successful execution of lower oven temperature baking tips. Placing your item into an oven that hasn't reached the target temperature will result in poor initial rise and structure setting. Using an oven thermometer inside the oven is highly recommended to verify that your oven's thermostat is accurate and that you've truly reached the desired starting temperature.
Step 2: Baking at the Initial Temperature
Place your dough, batter, or pastry into the preheated oven. Bake at this initial high temperature for the duration specified in the recipe or until the desired initial structural development and crust formation have occurred. The exact time will vary greatly depending on the item – it could be as short as 5-10 minutes for small pastries or cookies, or up to 20-30 minutes for larger loaves of bread or cakes.
During this phase, observe the baked good. For bread, look for significant oven spring and the beginning of crust color. For cakes, watch for the edges to set and the top to start rising evenly. For pastries, look for dramatic puffing and layer separation. This initial phase is critical for setting the stage for a successful bake employing lower oven temperature baking tips.
Step 3: Reducing the Oven Temperature
Once the initial baking phase is complete, reduce the oven temperature to the lower temperature specified in your recipe or plan. This is typically done by simply adjusting the oven dial or digital control. Do not open the oven door unnecessarily while doing this, as letting out heat defeats the purpose of a controlled temperature environment. Modern ovens adjust relatively quickly, but the temperature inside the oven cavity won't drop instantaneously.
The amount you lower the temperature will depend on the recipe and the item being baked, but common reductions are between 25°F and 75°F (15°C and 40°C). For instance, going from 450°F to 400°F (230°C to 200°C) for bread, or from 375°F to 325°F (190°C to 160°C) for cake. This is the core action of implementing lower oven temperature baking tips.
Step 4: Continuing to Bake at the Lower Temperature Until Done
After reducing the temperature, continue baking your item at this lower setting for the remainder of the baking time. This phase allows the heat to penetrate more gently and evenly into the interior, ensuring it cooks through without the exterior burning or drying out. The duration of this phase will be longer than the initial high-heat phase.
Monitor the baked good for signs of doneness, such as achieving the target internal temperature (use an instant-read thermometer), golden-brown color, or testing with a cake tester or skewer. Remember that reducing the temperature might slightly increase the total baking time compared to baking at a single, constant temperature, so be prepared to add a few extra minutes if necessary. Mastering lower oven temperature baking tips includes learning to judge doneness effectively at the reduced heat.
Tips for Successfully Lowering Oven Temperature While Baking
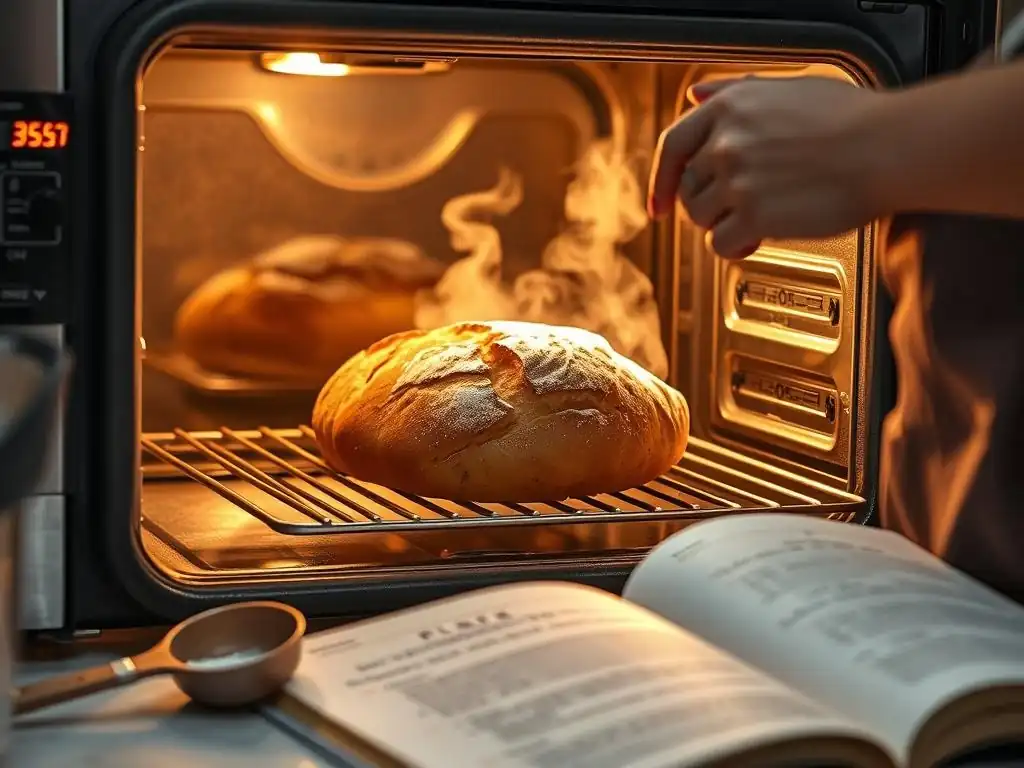
Successfully implementing lower oven temperature baking tips involves more than just turning a dial. Paying attention to your equipment and the specifics of your bake will lead to more consistent and satisfying results. Here are some essential tips to help you master this technique.
Using these tips will help you refine your approach and achieve better outcomes when you lower oven temperature baking.
Using an Oven Thermometer for Accurate Temperature Monitoring
Oven thermostats are notoriously inaccurate. They can be off by as much as 25°F to 50°F (15°C to 30°C) in either direction. Relying solely on your oven's built-in display can lead to inconsistent results, especially when precise temperature control is needed for techniques like lowering the temperature mid-bake. An external oven thermometer, placed near your baked good, provides a true reading of the air temperature inside the oven cavity.
Checking the actual temperature with a thermometer is vital for both the initial high-heat phase and the subsequent lower temperature phase. Knowing the true temperature allows you to make necessary adjustments to your oven's dial and ensures that your lower oven temperature baking tips are based on accurate thermal conditions, not just what the oven says the temperature is.
Adjusting Baking Times Based on Temperature Reduction
When you lower the oven temperature during baking, you are inherently slowing down the rate of heat transfer to the interior. This means that the total baking time will likely be slightly longer than if you baked the item at a single, higher average temperature. Recipe times are often guidelines based on specific assumptions (like a perfectly calibrated oven), so be prepared to adjust.
There's no universal formula for how much extra time is needed, as it depends on the specific item, the degree of temperature reduction, and your oven. As a general rule, expect to add anywhere from 5% to 20% to the total baking time when employing lower oven temperature baking tips. Always rely on visual cues and internal temperature (if applicable) to determine doneness rather than strictly adhering to the original recipe time.
Experimenting with Different Temperature Adjustments for Various Recipes
The optimal initial temperature, the amount of the temperature drop, and the timing of the reduction can vary significantly depending on the type of baked good and even specific recipes within that category. What works perfectly for a crusty sourdough might not be ideal for a delicate sponge cake or a rich brioche.
Don't be afraid to experiment and take notes. Try a recipe using the recommended lower oven temperature baking tips, then perhaps try it again with a slightly different initial temperature, a larger or smaller drop, or adjusting the timing of the drop. Documenting your results will help you understand how different adjustments impact the final product and allow you to fine-tune the technique for your specific recipes and oven.
Understanding Your Oven's Hot Spots and Adjusting Accordingly
Most ovens have hot spots – areas where the temperature is consistently higher or lower than the average. These are often near the heating elements or vents. Baking at a single temperature can sometimes highlight these inconsistencies, leading to uneven browning or cooking.
When you lower oven temperature baking, hot spots can still play a role. If you notice one side of your bread or cake is browning faster even after reducing the temperature, you may need to rotate the item halfway through the second phase of baking. Understanding where your oven's hot spots are (which you can test by baking toast or biscuits on a full sheet pan) helps you anticipate potential issues and make necessary adjustments to ensure even cooking at the lower temperature.
Troubleshooting: Common Issues and Solutions When Lowering Oven Temperature
While employing lower oven temperature baking tips is a powerful technique, you might encounter some challenges. Knowing how to identify and address these common issues will help you achieve successful results consistently.
Here are a few problems you might face and practical solutions.
What to Do if Your Baked Goods are Taking Too Long to Bake
You've lowered the temperature, and now your item seems to be taking significantly longer than expected to finish baking, perhaps the interior is still undercooked according to an internal thermometer. This can happen if the initial high-heat phase wasn't long enough to build sufficient latent heat, or if the temperature reduction was too drastic.
Ensure your oven thermometer is accurate – the lower temperature might be even lower than you intended. If the exterior is already well-colored, you can tent the item loosely with foil to prevent further browning while the interior catches up. If the exterior isn't overcooked, you can slightly increase the temperature by 10-15°F (5-8°C) for the last part of the bake to speed things up, or simply extend the baking time, checking frequently for doneness. Next time, consider a slightly longer initial high-heat phase or a less significant temperature drop when applying lower oven temperature baking tips.
Addressing a Soggy Bottom Crust After Lowering the Temperature
A soggy or pale bottom crust can occur, particularly with pies, tarts, or even some breads baked directly on a lower rack. This happens because the heat source is primarily from the top after the temperature is lowered, and the bottom doesn't receive enough direct heat to crisp up or cook fully.
To combat this when using lower oven temperature baking tips, ensure you are baking on the correct rack position. For items needing a crisp bottom, using a baking steel or stone preheated during the initial high-heat phase can provide a significant thermal boost from below even after the air temperature is reduced. If you notice a soggy bottom late in the bake, you can try carefully moving the item to a lower rack for the final 5-10 minutes, or place a baking sheet on the rack above it to shield the top while the bottom gets more direct heat.
Preventing Over-Browning Even After Temperature Reduction
Despite lowering the oven temperature, the top or edges of your baked good might still be browning too quickly. This can be due to hot spots, high sugar content, or the initial high-heat phase being slightly too long for that specific item.
If you notice rapid browning after the temperature drop, you can loosely tent the top of the item with aluminum foil. This acts as a shield, deflecting radiant heat from the top element while allowing the rest of the item to continue cooking at the lower air temperature. If the edges are browning excessively, small strips of foil can be wrapped around them. For future bakes applying lower oven temperature baking tips to this recipe, consider reducing the initial high-heat time slightly, or reducing the subsequent temperature a bit more.
Advanced Techniques: Fine-Tuning Oven Temperature for Specific Baking Goals
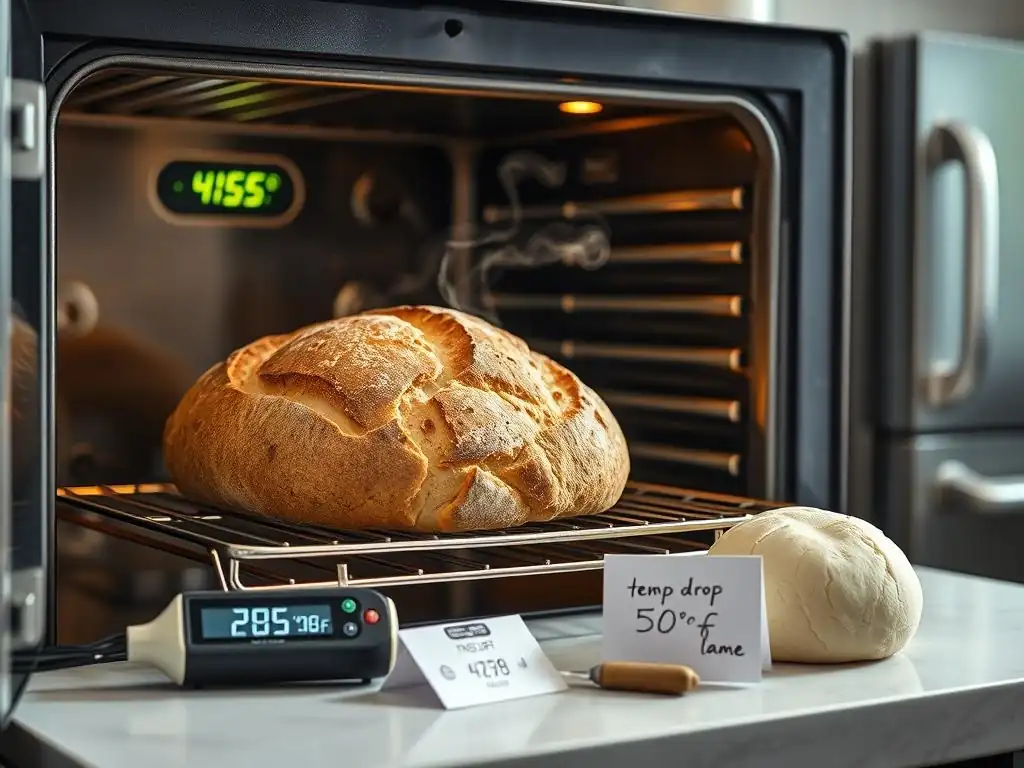
Beyond the basic principle of starting high and finishing lower, mastering oven temperature control allows for advanced manipulation of texture and appearance. These techniques require a deeper understanding of how heat interacts with different ingredients and structures.
Exploring these advanced lower oven temperature baking tips allows for greater precision in achieving desired outcomes.
Achieving a Specific Crust Color Through Precise Temperature Control
The color of your crust is a direct result of the Maillard reaction and caramelization, both of which are heavily influenced by temperature and time. Different temperatures create different color profiles. A constant moderate temperature might yield a uniform light brown, while a high initial temperature followed by a lower one can create a deeper, richer color with more variation.
For a very dark, robust crust typical of some artisan breads, you might maintain a slightly higher "lower" temperature or extend the duration of the bake at the reduced temperature. Conversely, for a lighter, more delicate crust on a brioche or challah when using lower oven temperature baking tips, you might reduce the temperature more significantly or tent the loaf sooner. Precise temperature monitoring and experimentation are key to consistently hitting your target crust color.
Manipulating Texture by Adjusting Temperature During Baking
Temperature adjustments don't just affect the crust; they profoundly influence the interior texture. A faster bake at higher temperatures tends to create a drier, more open crumb (like ciabatta), while a slower bake at lower temperatures promotes a moister, tighter crumb (like pound cake or enriched bread).
By adjusting the timing and degree of your temperature drop when employing lower oven temperature baking tips, you can steer the internal texture. For a chewier bread crumb, you might maintain a slightly higher temperature during the second phase to encourage a bit more drying. For a moister cake, a more significant temperature drop to a lower setting will slow moisture evaporation. Understanding the relationship between heat exposure time and moisture retention is crucial for this advanced technique.
Baking at Low Temperatures: The Benefits of Slow Baking
While this article focuses on lowering temperature mid-bake from an initial high heat, it's worth noting the technique of baking entirely at low temperatures (e.g., 250°F to 300°F / 120°C to 150°C) for extended periods. This method, often called slow baking, is distinct but shares the principle of gentle heat transfer.
Slow baking is excellent for very delicate items, custards, meringues, or achieving incredibly tender results in items like cheesecakes or fruitcakes. It minimizes temperature gradients, preventing cracks and ensuring uniform texture from edge to center. While different from the high-to-low method, understanding low-temperature baking expands your repertoire of lower oven temperature baking tips for different scenarios.
Conclusion: Mastering the Art of Lower Oven Temperature Baking
Controlling oven temperature is a fundamental skill in baking, and the technique of starting at a higher temperature before employing lower oven temperature baking tips is a powerful tool in your arsenal. This method allows you to harness the benefits of intense initial heat for rise and crust development while mitigating the risks of burning and undercooking by finishing at a gentler temperature.
By understanding the science behind thermal shock, knowing when and how to apply temperature drops for different baked goods, and utilizing tips for accuracy and troubleshooting, you can significantly improve your baking results. This approach helps achieve perfect crusts, moist interiors, and even cooking, transforming common baking frustrations into consistent successes.
Embrace Experimentation and Refine Your Baking Skills.
The journey to mastering lower oven temperature baking tips is one of practice and observation. Each oven is unique, and each recipe responds slightly differently. Don't be discouraged if your first attempt isn't perfect. Pay attention to how your baked goods react at different temperatures and timings.
Keep notes on your adjustments and outcomes. Over time, you'll develop an intuitive sense for when and how much to lower the temperature for various items in your specific oven. Embrace the process of experimentation, and you'll unlock a new level of control and consistency in your baking, leading to more delicious and beautiful results every time you bake.
Frequently Asked Questions
How does lowering the oven temperature mid-bake prevent thermal shock?
Lowering the oven temperature gradually reduces the difference in temperature between the outside and inside of the baked good, minimizing thermal shock and preventing rapid expansion or contraction. This helps maintain a more even texture.
What types of baked goods benefit most from lowering the oven temperature?
Delicate items like cheesecakes, custards, and tall cakes benefit most. These are prone to cracking or collapsing if exposed to sudden temperature changes. Slower baking ensures even cooking.
When should I start lowering the oven temperature during baking?
It depends on the recipe. Generally, lower the temperature about halfway through the baking time or when the top surface starts to brown too quickly. Watch for signs of over-browning as your cue.
By how much should I lower the oven temperature?
Typically, reduce the temperature by 25-50 degrees Fahrenheit (15-30 degrees Celsius). Adjust based on your oven and the specific recipe instructions. Monitor closely for the desired internal temperature and doneness.
Can lowering the oven temperature affect the baking time?
Yes, lowering the temperature will usually extend the baking time. Monitor your baked good carefully and use a thermometer to ensure it reaches the proper internal temperature for doneness.
Final Reflection: Embracing the Art of Temperature Control in Baking
In the world of baking, mastering the intricacies of temperature is not just a technical skill; it is an essential ingredient for success. The insights shared in this article about lowering oven temperatures during baking resonate deeply with both novice and seasoned bakers alike. As we navigate the complexities of baking, understanding how and when to adjust oven temperatures can mean the difference between a culinary triumph and a baking blunder. This knowledge is not merely a tip; it is a transformative approach that empowers bakers to achieve the perfect balance of flavors and textures.
The influence of temperature control extends far beyond the kitchen; it reflects a broader understanding of patience and precision in our everyday lives. As we embrace these thermal shock tactics, we are reminded that baking is an art form that requires both science and intuition. The ability to adapt and adjust, much like in life, can lead to unexpected and delightful outcomes. Baking is both an art and a science; it requires a delicate balance of creativity and precision.
This ongoing dialogue between technique and creativity shapes our culinary experiences and enriches our connection to food.
As you reflect on the lessons shared in this article, I invite you to consider how you can apply these principles of temperature control in your own baking journey. Take a moment to experiment with lowering your oven temperature and observe the results. Let this be a reminder that in baking, as in life, the willingness to adapt and learn can lead to extraordinary results. Embrace the process, savor the journey, and allow your creativity to flourish in the warmth of your kitchen.
Unlock Baking Mastery: Take Control of Your Oven!
Thanks for diving into the world of thermal shock baking! You've now learned how to expertly manage oven temperatures for perfect results. Ready to put your new skills to the test?
- Bake a masterpiece today! Try lowering your oven temperature for one of your favorite recipes – you might be surprised by the difference!
- Share your baking triumphs (and challenges!) Let's build a supportive baking community. Tell us about your experience using thermal shock techniques in the comments below.
- Explore new recipes with lower oven temps. Challenge yourself to find a new recipe specifically designed for lower temperature baking.
What delicious creation will you bake using your newfound thermal shock expertise?