
Troubleshooting Pale Cake Tops: Get That Golden Hue

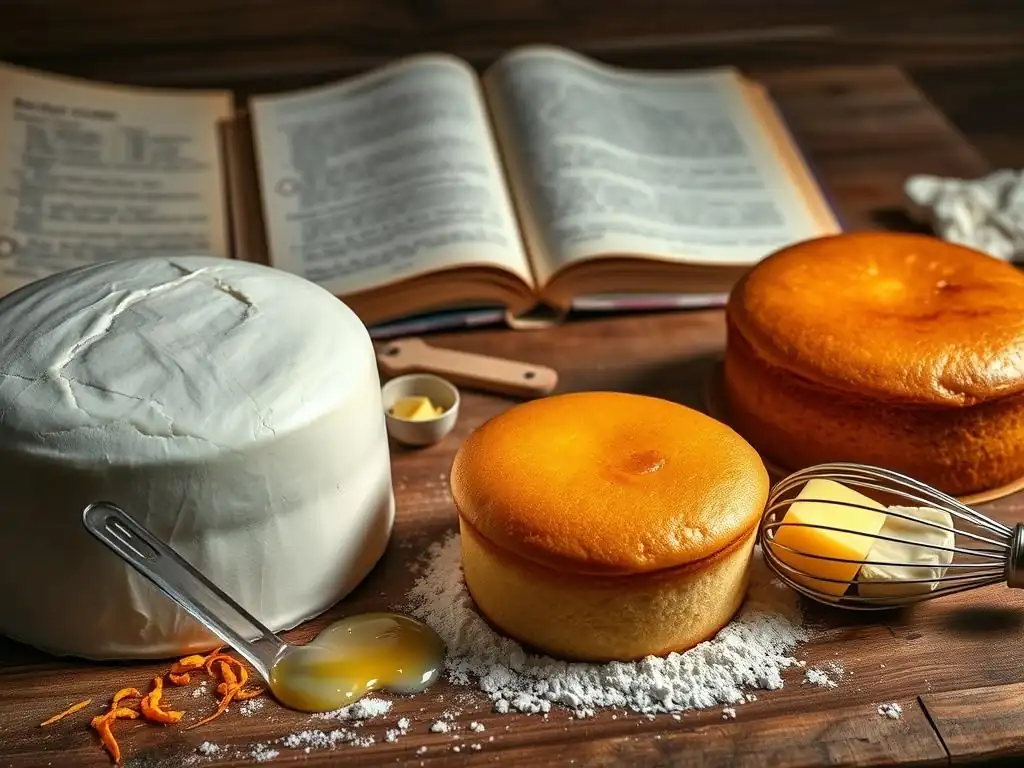
Welcome to BakeWithEase, where we unravel the mysteries of baking, one delicious recipe at a time! Ever wondered why your cakes stubbornly refuse to achieve that perfect golden-brown hue? In this article, we dive deep into the common culprits behind pale cake tops and offer practical solutions to help you achieve baking perfection. Ready to unlock the secrets to beautifully browned cakes? Let's get baking!
- Understanding Pale Cake Tops: Why Your Cake Isn't Browning
-
Pale Cake Top Solutions: Achieving the Perfect Bake
- Solution 1: Oven Temperature Adjustments for Better Browning
- Solution 2: Baking Time and Its Impact on Cake Color
- Solution 3: Rack Placement for Even Heat Distribution
- Solution 4: Sugar Content and Browning
- Solution 5: Milk Solids and Fat Content in the Batter
- Solution 6: Using a Broiler (Carefully!) for a Quick Color Boost
- Preventing Pale Cake Tops: Tips for Future Baking
- Pale Cake Top Troubleshooting: Quick Checklist
- Achieving the Perfect Golden-Brown Cake: Final Thoughts
- Frequently Asked Questions
- Final Reflection: Baking Beyond the Pale – Achieving Cake Perfection
- Unlock Your Cake's Golden Potential!
Understanding Pale Cake Tops: Why Your Cake Isn't Browning
Getting that beautiful, golden-brown crust on your cake top is often the sign of a perfectly baked treat. However, sometimes cakes emerge from the oven looking frustratingly pale, lacking that appealing color and potentially missing out on crucial flavor development. This common issue can stem from various factors, often related to heat, time, and even the ingredients themselves. Understanding the underlying causes is the first step towards achieving that desirable bake.
A pale cake top isn't just a cosmetic problem; it can indicate that the cake hasn't fully undergone the necessary chemical reactions during baking, particularly the Maillard reaction and caramelization. These processes contribute significantly to the cake's flavor profile and texture. A lack of sufficient browning can result in a cake that tastes underdeveloped or slightly doughy on top, even if the inside is cooked through. Identifying the specific reason behind your pale cake tops is key to finding the right solution.
What Causes Light Colored Cake Tops? Common Reasons
Several common culprits can lead to a cake top that refuses to brown. One of the most frequent issues is an inaccurate oven temperature. If your oven runs cooler than the setting indicates, the cake won't reach the necessary temperature for the Maillard reaction (which typically starts around 280°F or 140°C) and caramelization (sugar browning, starting around 320°F or 160°C) to occur effectively on the surface. A cooler oven prolongs the baking time needed for the interior to cook, but the top might still not get enough direct heat exposure.
Another significant factor is the position of the cake within the oven. If the cake is placed too low, the heat source from the top element (in many ovens) might not be strong enough to brown the top adequately before the rest of the cake is done. Ingredient ratios also play a role; batters with lower sugar or fat content, or those with a high proportion of acidic ingredients, may brown less readily. Over-mixing can also contribute by developing too much gluten, which can affect the crumb structure and surface texture, sometimes hindering even browning.
The Importance of a Golden-Brown Cake Top: Beyond Aesthetics
While a beautiful golden-brown color certainly enhances a cake's visual appeal, its importance extends far beyond mere aesthetics. The browning that occurs on the cake's surface is primarily due to two chemical processes: the Maillard reaction and caramelization. The Maillard reaction, a complex series of reactions between amino acids and reducing sugars, creates hundreds of flavor compounds responsible for the rich, savory, and sometimes nutty notes in baked goods. Caramelization, the browning of sugars, adds sweet, slightly bitter, and complex flavors.
A pale cake top often means these flavor-enhancing reactions haven't fully taken place on the surface. Consider the difference in flavor between lightly toasted bread and untoasted bread; the browning process fundamentally changes the taste. Similarly, a properly browned cake top will have a more developed, nuanced flavor compared to one that remains pale. Furthermore, the browning process contributes to the cake's texture, creating a slightly firmer, more satisfying crust that contrasts nicely with the soft interior. Achieving that golden hue is therefore crucial for both the flavor and texture of your final product.
Pale Cake Top Solutions: Achieving the Perfect Bake
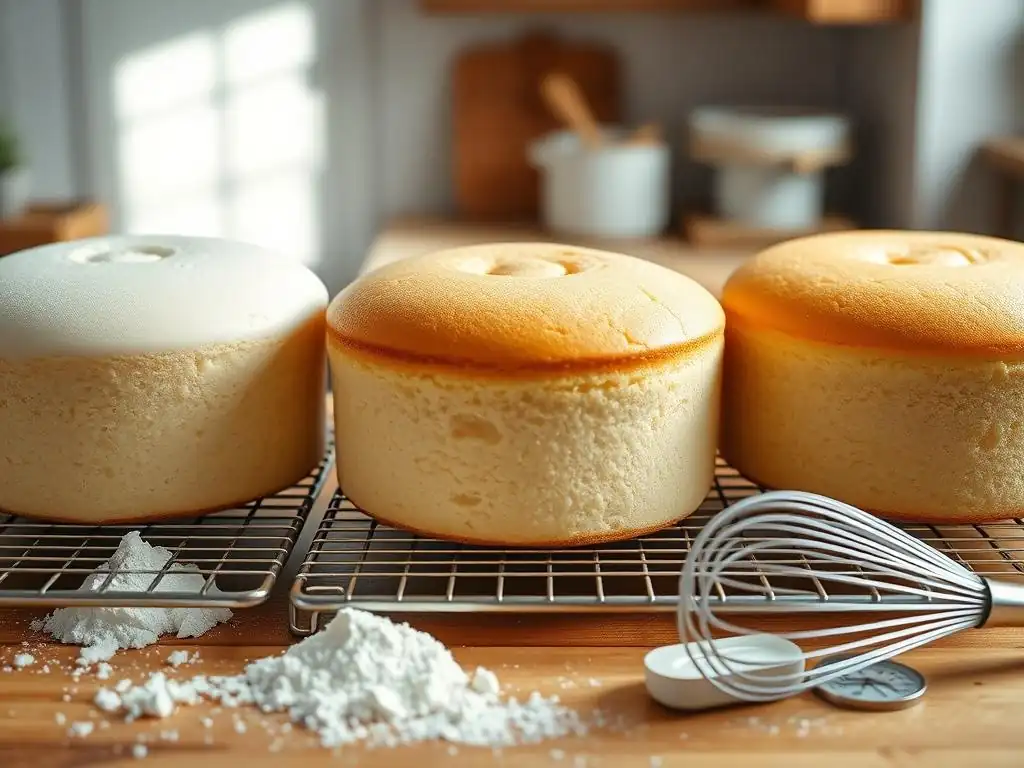
Now that we understand why cake tops might stay pale, let's explore effective solutions to achieve that desired golden-brown finish. These pale cake tops solutions address the common causes and provide actionable steps you can take in your next baking adventure.
Solution 1: Oven Temperature Adjustments for Better Browning
Oven temperature is arguably the most critical factor in achieving proper browning. If your cake tops are consistently pale, the first thing to investigate is whether your oven is heating accurately. Many home ovens have temperature variations of 25°F (about 14°C) or more from the set temperature, which can significantly impact baking results. A simple oven thermometer placed inside the oven is an inexpensive tool that can reveal if your oven is running cool, hot, or cycling inconsistently.
If your oven thermometer indicates the oven is running cool, this is a likely culprit for pale cake tops. To compensate, you might need to increase the oven temperature slightly. For example, if a recipe calls for 350°F (175°C) but your oven thermometer reads 325°F (160°C), try setting your oven to 375°F (190°C) to see if it holds closer to the target temperature internally. Monitor closely, as even a slight increase can accelerate browning. Always start with the temperature recommended by the recipe and make small adjustments based on your oven's behavior and the results you observe.
Checking Your Oven Calibration: Is Your Oven Accurate?
As mentioned, oven calibration is key. Even if your oven says it's at 350°F, it might actually be 320°F or 380°F. This discrepancy is a major reason for pale cake tops or burnt bottoms. To check, place a reliable oven thermometer in the center of your oven. Preheat the oven to a standard baking temperature like 350°F (175°C) and let it stabilize for at least 20-30 minutes.
Observe the thermometer reading over several minutes. Does it consistently match the oven's display? Does it fluctuate significantly? If the reading is consistently lower than the setting (e.g., 20-30 degrees lower), your oven is running cool, explaining the lack of browning. If it's consistently higher, you might be overbaking or burning other things, but pale tops are less likely from high temps unless the cake is done too quickly. Knowing the true temperature allows you to adjust the dial accordingly for future bakes.
Increasing Oven Temperature (Slightly): When and How
If you've confirmed your oven runs cool or if your cake is structurally sound but consistently pale, a slight temperature increase can be an effective pale cake tops solution. This works best for cakes that are otherwise baking correctly internally but lack surface color. For instance, if a recipe calls for 325°F (160°C) and your cake is done inside but pale on top after the recommended time, try increasing the temperature to 335°F or 340°F (168°C or 170°C) for the next bake of the same recipe.
Increase the temperature incrementally, typically by 10-25°F (about 5-14°C). Avoid large jumps, as this can cause the cake to dome excessively, crack, or burn before the inside is cooked. Only increase the temperature if you suspect your oven is cool or if the cake seems structurally fine but lacks color. If the cake is also underbaked inside, the primary issue might be insufficient baking time or extreme oven inaccuracy, and simply raising the temperature could worsen the problem by burning the outside while the inside remains raw.
Solution 2: Baking Time and Its Impact on Cake Color
Sometimes, the simplest pale cake tops solution is allowing the cake a little more time in the oven. Browning takes time; the surface needs prolonged exposure to heat to develop color through the Maillard reaction and caramelization. If you're pulling the cake out the moment the center tests done, the top might not have had sufficient time to brown, especially if the oven temperature is on the lower end of the recommended range or fluctuates.
Extending the baking time by a few minutes can often make a significant difference in surface color. This is particularly true for recipes that bake at lower temperatures (like 300-325°F or 150-160°C). However, care must be taken not to overbake the cake, which can result in a dry, dense texture. The goal is to find the sweet spot where the inside is perfectly cooked and the top has achieved that desirable golden hue.
Extending Baking Time: Finding the Sweet Spot
When extending baking time to address pale cake tops, do so gradually. After the minimum recommended baking time has passed and the cake appears mostly set, check for doneness using the toothpick test (described below). If the toothpick comes out clean or with moist crumbs, but the top is still pale, return the cake to the oven for an additional 3-5 minutes. Check again.
Repeat this process in short intervals (3-5 minutes) until the top reaches the desired color and the toothpick test confirms doneness without any wet batter. This step-by-step approach helps prevent overbaking. Note that extending baking time works best in conjunction with correct oven temperature and rack placement. If your oven is significantly cool, just adding time might not be enough to achieve good browning.
The Toothpick Test: Ensuring Doneness Without Overbaking
The toothpick test is your crucial tool for determining internal doneness while trying to achieve a golden top. Insert a wooden toothpick or a thin skewer into the center of the cake. For most cakes, you want the toothpick to come out clean or with a few moist crumbs attached. If it comes out with wet batter, the cake needs more time.
- Insert the toothpick into the deepest part of the cake, usually the center.
- Avoid inserting it near the edges, which cook faster.
Clean toothpick= Cake is done.Moist crumbs attached= Cake is done (especially for richer cakes).Wet batter= Needs more time.
Use this test in conjunction with visual cues (cake pulling slightly away from the sides, top springing back when lightly touched) to gauge doneness. Only continue baking for color after the toothpick test indicates the cake is nearly or fully cooked internally.
Solution 3: Rack Placement for Even Heat Distribution
The position of your cake pan in the oven significantly impacts how heat is distributed and, consequently, how the top browns. Ovens typically have heating elements at the top and bottom, and the rack's position determines which element's heat is most dominant and how radiant heat circulates around the pan. Placing the cake on the wrong rack can lead to uneven baking, including pale tops.
For most cakes, the middle rack is the ideal position. This allows for even heat distribution from both the top and bottom elements, promoting uniform baking and browning. However, if you're specifically struggling with pale tops and your oven tends to brown bottoms quickly, moving the cake up one rack position (towards the top element) might help encourage more surface browning.
Lower Rack vs. Middle Rack: Which is Best for Browning?
Placing a cake on the lower rack exposes it more directly to the bottom heating element. This is often recommended for pies or items where you want a crisp bottom crust. However, for cakes, a lower position can lead to over-browning or even burning of the bottom while the top remains pale, as it's further from the top heat source.
The middle rack ensures the cake is equidistant from both heating elements, allowing for balanced heat circulation. This promotes even rising and coloring throughout the cake, including the top. If your cake tops are pale, ensure you are using the middle rack first. If that doesn't solve the issue and your bottoms are fine, then consider moving the cake slightly higher, but proceed with caution to avoid burning the top.
Rotating the Cake: Promoting Even Browning
Even in a well-calibrated oven on the middle rack, hot spots can exist. You might notice one side or section of your cake browning faster than the rest. To combat uneven browning and ensure the entire top gets that golden hue, rotate the cake pan halfway through the baking time.
For example, if a cake bakes for 30 minutes, rotate the pan 180 degrees after 15 minutes. This exposes all sides of the cake equally to any variations in oven temperature. This simple step is particularly effective in ovens with known hot spots or when baking multiple items that might obstruct airflow. Rotating helps ensure a uniformly golden-brown surface, providing another effective pale cake tops solution.
Solution 4: Sugar Content and Browning
Sugar is a key ingredient in baking, not just for sweetness but also for its role in structure, moisture, and, importantly, browning. Sugar participates directly in both the Maillard reaction (as a reducing sugar) and caramelization. Recipes with higher sugar content generally brown more easily and achieve a darker color than those with less sugar, assuming other conditions are equal.
If you're modifying a recipe to be lower in sugar and subsequently getting pale cake tops, the reduced sugar content is likely the reason. Different types of sugar also brown differently; brown sugar, for instance, contains molasses, which contributes to richer color and moisture compared to granulated white sugar. Understanding sugar's role is vital for troubleshooting pale cake tops.
The Role of Sugar in Caramelization
Caramelization is the process where sugars break down and polymerize when heated to high temperatures, creating new compounds that provide characteristic brown colors and complex flavors (like nutty, buttery, or slightly bitter notes). Different sugars caramelize at different temperatures. Fructose caramelizes around 230°F (110°C), while sucrose (table sugar) caramelizes around 320°F (160°C).
In a cake batter, the sugars on the surface are exposed to the oven's radiant heat, reaching these caramelization temperatures. The higher the concentration of sugar on the surface, the more significant the caramelization will be, leading to a darker, more golden-brown color. A batter with a lower sugar percentage simply has less material available to undergo this browning process.
Adjusting Sugar Levels for Enhanced Color (with Caution)
While increasing sugar can help with browning, it's a pale cake tops solution that requires careful consideration. Sugar significantly affects cake structure and moisture. Adding too much sugar can make the cake overly sweet, cause it to collapse, or result in a gummy texture. A standard butter cake recipe might have a flour-to-sugar ratio of roughly 1:1 by weight, while a sponge cake might have less.
If you suspect low sugar is the cause of your pale tops, review the recipe's sugar ratio compared to similar recipes. Only consider a slight increase (e.g., 10-15% more sugar) if you are comfortable experimenting with the recipe and understand the potential impact on texture. This is generally a less advisable solution than adjusting temperature or time unless you are confident the original recipe is formulated with unusually low sugar for its type.
Solution 5: Milk Solids and Fat Content in the Batter
Beyond sugar, other ingredients contribute to browning, notably milk solids and fats. Dairy products like milk, buttermilk, yogurt, and butter contain lactose (a sugar) and proteins. When heated, these components participate in the Maillard reaction, contributing to the golden-brown color and savory notes on the surface.
Fats, while not directly participating in the Maillard reaction or caramelization, can influence browning. Fats distribute heat efficiently and can promote more even browning across the surface. They also contribute to a tender crumb, which can indirectly affect how the surface develops. Recipes rich in butter, milk, or other dairy products often brown more readily than lean batters made with water or oil only, or non-dairy alternatives without added browning agents.
Milk Solids: Contributing to Browning
Milk contains lactose, a reducing sugar, and proteins, making it a prime participant in the Maillard reaction. When milk or other dairy products (like butter, which contains milk solids) are present in a cake batter and heated, the lactose and proteins on the surface react, producing browning and complex flavors.
Consider the difference between a cake made with water versus one made with milk. The milk-based cake will almost always achieve a richer, more golden-brown crust due to the presence of milk solids. Using ingredients like buttermilk or yogurt can further enhance this effect due to their acidity and sugar content.
Fat Content: How it Affects Cake Color
Fats, such as butter, oil, or shortening, influence browning in a few ways. They help distribute heat evenly throughout the batter, preventing hot spots that could lead to uneven browning or burning in some areas while others remain pale. Fats also tenderize the crumb and help retain moisture, which can indirectly contribute to a more even and appealing crust development.
A cake batter with sufficient fat content tends to develop a more uniform golden color compared to very low-fat or fat-free recipes, which often remain paler. While you wouldn't drastically alter the fat content as a primary pale cake tops solution (as it affects structure and moisture significantly), understanding its role helps diagnose why a particular recipe might yield a pale result.
Solution 6: Using a Broiler (Carefully!) for a Quick Color Boost
This is a last-resort pale cake tops solution, but it can be effective for adding a quick kiss of color to an otherwise perfectly baked cake. The broiler provides intense, direct heat from the top element, designed to brown or crisp surfaces rapidly. Because of this intensity, it requires extreme vigilance to prevent burning.
- Only use this method if the cake is already fully cooked internally.
- Place the cake on a rack positioned several inches (typically 6-8 inches or 15-20 cm) below the broiler element.
- Keep the oven door slightly ajar (if your oven manual allows) to prevent the oven cavity from getting too hot and to make it easier to watch.
- Turn on the broiler and watch the cake continuously.
Broiling Cake Tops: A Last Resort Technique
Broiling is a very quick process, often taking only 30 seconds to 2 minutes depending on your broiler's strength and the cake's distance from the element. It's best suited for cakes that are only slightly pale and need just a touch of color. It's not a substitute for proper baking technique.
This method works best for cakes that are relatively flat. For cakes with intricate designs or high domes, broiling can be uneven and potentially burn delicate areas. Use this technique sparingly and only when other methods of troubleshooting pale cake tops have failed or weren't applicable during the bake.
Preventing Burning: Watch Closely!
This point cannot be stressed enough: when using the broiler, do not walk away from the oven for even a second. The transition from perfectly golden to burnt can happen in mere moments. The high, direct heat browns the surface sugar very quickly.
Keep your eye glued to the cake through the oven door. As soon as the top reaches the desired shade of golden brown, turn off the broiler and remove the cake from the oven immediately. Even with the broiler off, residual heat can continue the browning process. This technique is high-risk, high-reward for achieving a quickly fixed pale cake tops solution.
Preventing Pale Cake Tops: Tips for Future Baking
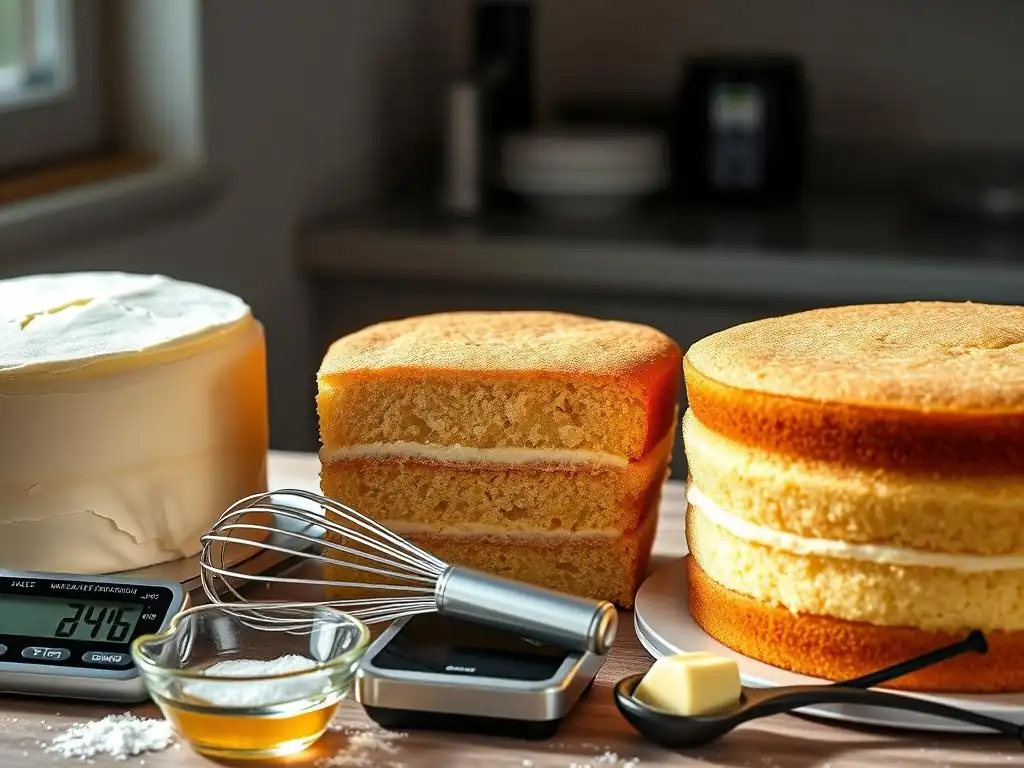
Prevention is always better than troubleshooting. By adopting good baking practices from the start, you can minimize the chances of ending up with pale cake tops in the first place. These tips focus on setting the right conditions for optimal baking and browning.
Preheating Your Oven Properly: A Crucial Step
This is fundamental but often rushed. Preheating your oven to the specified temperature and allowing it ample time to stabilize is crucial for consistent results, including proper browning. Most ovens need at least 15-20 minutes after the preheat light or signal comes on to reach and maintain the set temperature throughout the cavity.
Baking in an oven that hasn't fully preheated means the cake is exposed to a lower temperature initially, slowing down the setting and browning processes. This can lead to pale tops and potentially a denser texture. Always give your oven sufficient time to heat up fully before placing the cake inside. Use an oven thermometer to verify the temperature before you start baking.
Using the Right Pan: Material Matters
The material and color of your baking pan can influence how quickly and evenly your cake browns. Dark metal pans absorb and radiate heat more efficiently than light-colored or shiny metal pans. This means cakes baked in dark pans will typically brown faster and more deeply, especially on the bottom and sides, but also contributing to overall heat circulation that aids top browning.
If you're consistently getting pale tops using light-colored pans, switching to dark, non-stick metal pans might help. However, be mindful that dark pans can sometimes lead to over-browning or burning if the temperature or time isn't adjusted slightly. Silicone or glass pans conduct heat differently and may require temperature or time adjustments compared to metal. For consistent browning, dark metal pans are often preferred.
Avoiding Over-Mixing: Gluten Development and Browning
Over-mixing cake batter, especially after adding flour, develops gluten. While some gluten is necessary for structure, too much can result in a tough, dense cake. Over-developed gluten can also affect the surface texture, sometimes making it less conducive to even browning. A smooth, just-combined batter allows for better heat penetration and distribution to the surface.
Mix until ingredients are just combined, with no dry streaks of flour remaining. Creaming butter and sugar properly incorporates air and creates a good base, while adding eggs and dry/wet ingredients should involve minimal mixing until blended. Gentle mixing helps ensure a tender crumb and a surface texture that is more likely to brown evenly.
Pale Cake Top Troubleshooting: Quick Checklist
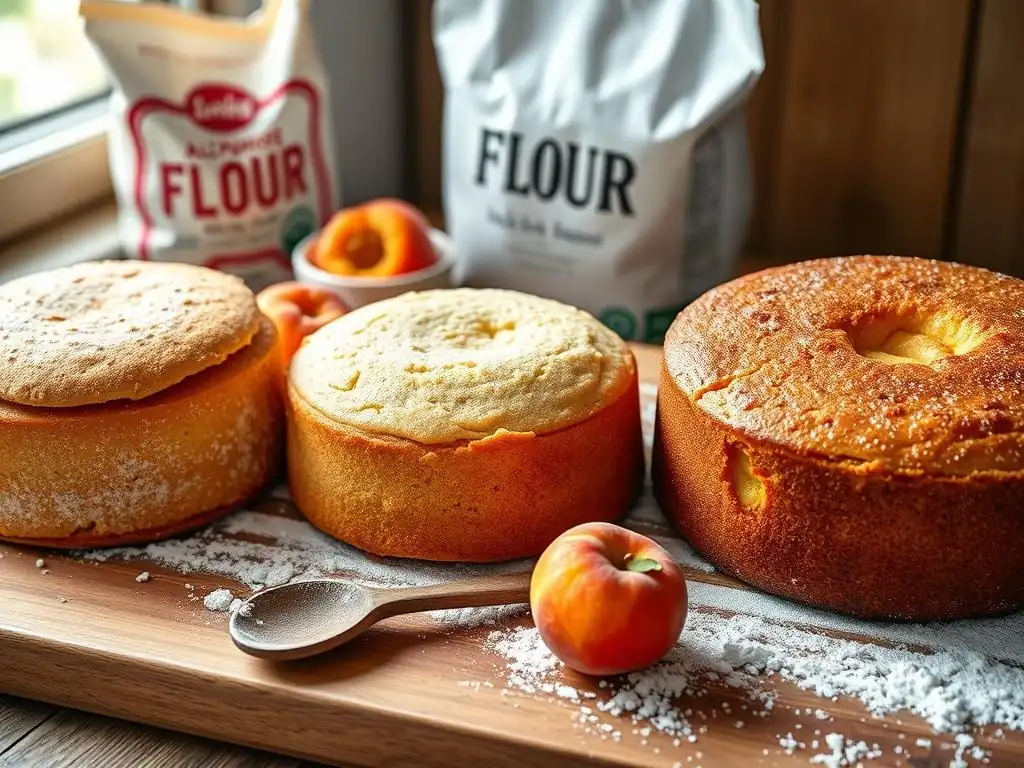
When faced with a pale cake top, run through this quick checklist to identify the potential cause and the appropriate pale cake tops solution.
- [ ] Is My Oven Temperature Correct? (Use an oven thermometer to verify.)
- [ ] Am I Using the Right Rack? (Middle rack is usually best.)
- [ ] Have I Baked it Long Enough? (Use the toothpick test, extend time if needed.)
- [ ] Is My Batter's Formulation Balanced for Browning? (Consider sugar/fat content, though changing this is less common during troubleshooting.)
- [ ] Did I Preheat Properly? (Give the oven enough time.)
- [ ] Am I Using the Right Pan? (Dark metal pans brown better.)
- [ ] Did I Over-Mix? (Mix just until combined.)
- [ ] Do I need a last-resort fix? (Consider the broiler very carefully.)
This checklist provides a systematic approach to identifying the root cause of your pale cake tops and selecting the most relevant solution.
Achieving the Perfect Golden-Brown Cake: Final Thoughts
Achieving that perfect golden-brown cake top is a rewarding part of baking. It signifies that crucial chemical reactions have occurred, contributing not only to visual appeal but also to richer flavor and texture. While pale cake tops can be frustrating, they are a common issue with several identifiable causes and effective pale cake tops solutions.
By understanding the roles of oven temperature, baking time, rack placement, and even ingredient composition like sugar and fat, you can diagnose why your cake tops might be staying pale. Implementing solutions such as verifying oven accuracy, adjusting temperature slightly, extending baking time carefully, or simply ensuring you're using the middle rack can make a significant difference. Remember that prevention through proper preheating, pan choice, and mindful mixing is also key. With a little observation and adjustment, you'll be well on your way to consistently baking cakes with beautifully golden, flavorful tops.
Frequently Asked Questions
Why is my cake top always so pale, even when the inside is cooked?
A pale cake top is often due to insufficient heat from the top element of your oven or uneven oven temperature. Ensure your oven is properly preheated and consider using an oven thermometer.
What's the best oven rack position for achieving a golden cake top?
Generally, the middle rack is ideal for even baking. If your cake consistently has a pale top, try moving the rack one position higher during the last 10-15 minutes of baking.
Can I use a broiler to brown my cake top?
Yes, but with extreme caution. A brief broiling session, closely monitored, can add color. However, it's very easy to burn the cake, so watch it constantly.
Does the type of baking pan affect cake top color?
Yes, darker pans tend to absorb more heat, leading to browner crusts. Lighter pans reflect heat, resulting in paler tops. Adjust your baking time accordingly.
Are there any ingredients I can add to promote browning?
A small amount of milk powder or honey in your cake batter can encourage browning. Also, brushing the top with melted butter or milk before baking can help achieve a golden color.
Final Reflection: Baking Beyond the Pale – Achieving Cake Perfection
The quest for the perfect golden-brown cake top is more than just aesthetics; it's a testament to understanding the delicate dance of baking science. A pale cake top often signals underlying issues, from oven temperature inconsistencies to insufficient baking time, impacting not only the visual appeal but also potentially the texture and taste of your creation. Mastering this seemingly small detail elevates your baking game significantly.
The pursuit of that ideal golden hue reflects a broader cultural appreciation for the artistry of baking. It's a visual cue that speaks to expertise and care, a detail that elevates a simple cake into something special. The proof of the pudding is in the eating,
they say, but in the world of cakes, the proof is often in the perfectly browned top. This seemingly minor detail speaks volumes about the baker's attention to detail and understanding of the process. The journey to mastering this aspect of baking is a continuous learning process, one that I personally find deeply rewarding.
So, the next time you're faced with a pale cake top, remember this isn't a failure, but an opportunity. Don't be discouraged! Use the troubleshooting techniques outlined in this article to diagnose the problem, adjust your approach, and celebrate the delicious triumph of a perfectly golden-brown cake. Embrace the process, learn from each bake, and remember that even the most experienced bakers encounter challenges – it's the learning and the striving for perfection that truly matters. Now, go forth and bake!
Unlock Your Cake's Golden Potential!
Thanks for taking the time to learn how to achieve perfectly golden cake tops! You've now got the knowledge to bake cakes that look as amazing as they taste. Ready to put your new skills to the test?
- Bake your most gorgeous cake yet! Try out one of the tips from the article—adjusting your oven temperature, perhaps? Let us know how it turns out!
- Share your baking triumph (or even your baking mishaps!) on social media using #BakeWithEaseGoldenTops. We'd love to see your results!
- Explore other baking tips and tricks on BakeWithEase.com for more baking mastery.
What’s your go-to tip for achieving a perfect cake top? Let’s chat in the comments!