
The Role of Sugar in Leavening: Mastering the Creaming Method

Welcome to BakeWithEase, your guide to unlocking baking brilliance! Ever wondered how the humble grain of sugar can be a powerful leavening agent? Dive in as we unravel the secrets behind the creaming method, a cornerstone technique that can transform your baked goods. Prepare to discover how understanding this process will elevate your baking from good to extraordinary, starting with our in-depth exploration of The Role of Sugar in Leavening.
- The Role of Sugar in Leavening: Mastering the Creaming Method for Baking
- Understanding the Creaming Method in Baking
- The Science of Sugar in the Creaming Method
- Types of Sugar and Their Impact on the Creaming Method
- The Creaming Process: A Step-by-Step Guide
- Troubleshooting Common Creaming Method Problems
- Recipes Perfect for the Creaming Method
- Tips and Tricks for Mastering the Creaming Method for Baking at Home
- Advanced Techniques: Enhancing the Creaming Method
- Alternatives to the Creaming Method for Different Baking Needs
- Mastering Sugar's Role: Baking Success with the Creaming Method
- Frequently Asked Questions
- Final Reflection: The Sweet Science of Creaming and Baking's Future
- Unlock Your Baking Potential: Mastering the Creaming Method
The Role of Sugar in Leavening: Mastering the Creaming Method for Baking
Understanding the Creaming Method in Baking
What is the Creaming Method and Why is it Important?
The creaming method is a fundamental technique in baking, particularly for cakes, cookies, and some quick breads. It involves vigorously beating softened butter (or another fat) with sugar until the mixture becomes light, fluffy, and significantly increased in volume. This process is crucial because it's the primary way air is incorporated into the batter before chemical leaveners like baking soda or baking powder even begin to work.
The importance of the creaming method lies in its ability to create a stable structure of tiny air pockets throughout the fat-sugar mixture. These air pockets expand during baking as gases (like steam from moisture and carbon dioxide from chemical leaveners) are produced. This expansion is what gives baked goods their lift, tender crumb, and desirable texture. Without proper creaming, cakes can be dense and heavy, and cookies might spread too much or be flat. Mastering this technique is a cornerstone of successful baking.
Optimizing the Creaming Method for Consistent Results
Achieving consistent results with the creaming method requires attention to a few key factors. Foremost among these is ingredient temperature, especially the butter. Butter that is too cold won't cream properly, as the sugar crystals can't effectively cut into the hard fat to create air pockets. Conversely, butter that is too warm (melted or greasy) won't hold the air pockets, resulting in a slick, dense mixture. The ideal temperature for creaming butter is typically around 65-68°F (18-20°C), which is cool to the touch but easily indented with a finger.
Mixing time and speed also play a vital role. Creaming should be done at medium speed on a stand mixer or with a hand mixer, allowing sufficient time for the sugar crystals to work the air into the butter. This process usually takes 5-10 minutes, depending on the quantity and the mixer.
Scrape down the sides of the bowl periodically to ensure even mixing. Over-creaming can sometimes be detrimental, particularly in cookies, potentially leading to excessive spread, while under-creaming will simply not incorporate enough air for proper leavening. Finding the right balance is key to optimizing the creaming method for reliable outcomes in your baking.
The Science of Sugar in the Creaming Method
How Sugar Incorporates Air for Leavening
Sugar plays a pivotal role in the creaming method, acting as a mechanical leavener. When sugar and softened fat (typically butter) are beaten together, the sharp edges of the sugar crystals cut into the fat. As the mixture is continuously mixed, these crystals create tiny cavities or air pockets within the fat matrix. It's not the sugar itself that is air, but rather the voids created around the sugar crystals as they disrupt the fat structure.
This process is sometimes referred to as "mechanical aeration." The harder fat holds onto these newly formed air pockets, preventing them from collapsing. The longer the mixture is beaten, and the more effectively the sugar crystals interact with the fat, the more air is incorporated, leading to a lighter, fluffier mixture. This network of air bubbles provides the initial lift in baked goods made with the creaming method, setting the stage for chemical leaveners to further expand the batter during baking.
The Role of Sugar Crystals in Aeration
The physical form of sugar, specifically its crystalline structure, is essential to its function in the creaming method. Unlike liquid sweeteners or amorphous solids, granulated sugar consists of distinct, relatively sharp-edged crystals. These edges are what allow the sugar to effectively cut into the softened butter. The size and shape of these crystals directly impact the efficiency of air incorporation.
Larger, coarser crystals will create larger, perhaps fewer, air pockets, while finer crystals (like caster sugar) create smaller, more numerous air pockets, leading to a finer crumb texture in the final product. The friction created by the sugar crystals rubbing against the butter also helps to slightly warm the mixture, aiding in the softening of the butter and facilitating the process of trapping air. Understanding the role of these simple crystals is key to appreciating the science behind successful creaming method sugar baking.
Sugar's Influence on Gluten Development
Beyond its primary role in aeration during the creaming method, sugar also impacts the development of gluten in the batter. Flour contains proteins (glutenin and gliadin) that, when hydrated and mixed, form gluten, which provides structure and chewiness. However, excessive gluten development can lead to tough baked goods, especially in cakes and muffins where tenderness is desired.
Sugar acts as a "tenderizer" in part by interfering with gluten formation. It competes with the flour proteins for available moisture in the batter. By binding water, sugar reduces the amount available for gluten development, resulting in a softer, more tender crumb. Additionally, the presence of sugar coats the flour particles, further inhibiting the proteins from bonding and forming a strong gluten network. This is another significant way sugar contributes to the desirable texture of goods made with the creaming method.
Types of Sugar and Their Impact on the Creaming Method
Granulated Sugar: The Standard for Creaming
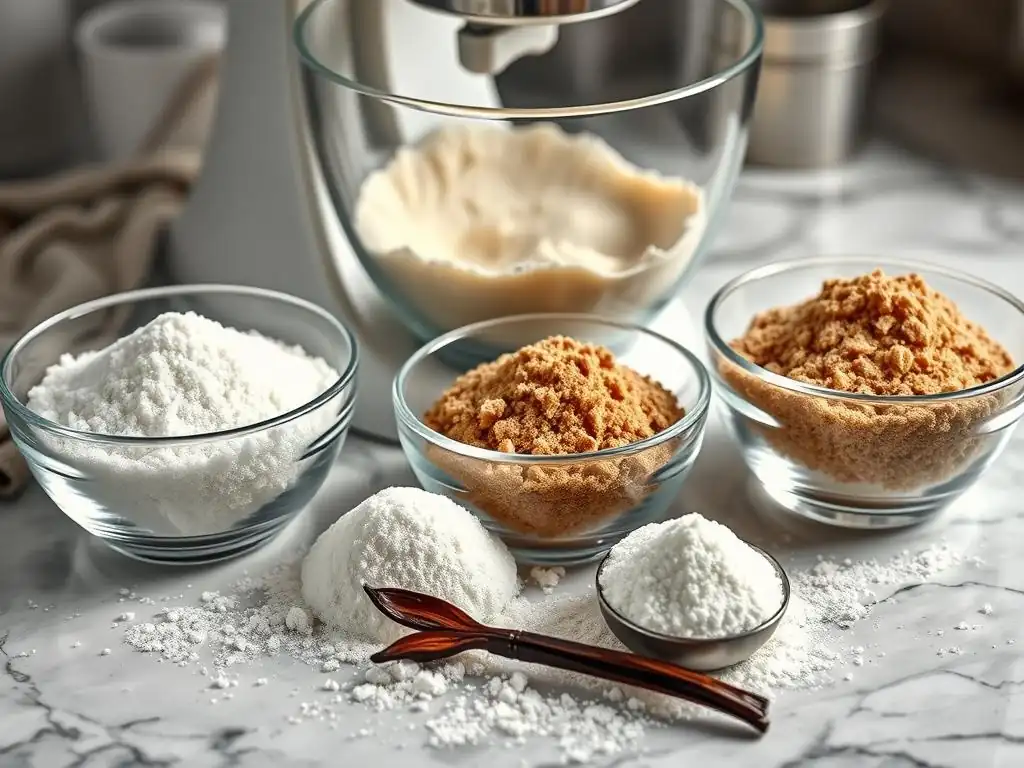
Granulated sugar, also known as table sugar, is the most common type used in the creaming method and is often considered the standard. It consists of medium-sized crystals that are ideal for cutting into softened butter and creating air pockets. Its relatively large crystal size provides sufficient friction and structure to build a stable, aerated mixture.
Recipes that call for the creaming method, such as classic butter cakes, sugar cookies, and many drop cookies, typically rely on granulated sugar. It provides reliable aeration and contributes to a pleasant texture, offering a balance between tenderness and slight chewiness depending on the recipe. While other sugars can be used, granulated sugar is the benchmark for understanding how the creaming method functions.
Caster Sugar: Finer Texture, Enhanced Dissolution
Caster sugar (also known as superfine sugar) has much smaller crystals than granulated sugar. This finer texture means it dissolves more quickly and creates smaller, more evenly distributed air pockets during the creaming process. The result is often a baked good with a finer, more delicate crumb structure, which is particularly desirable in certain cakes and pastries.
Using caster sugar in the creaming method can sometimes reduce the required creaming time slightly due to its faster dissolution. However, the fundamental process of aeration through crystal-fat interaction remains the same. It's an excellent choice when a very smooth, tender texture is the goal, and it's commonly specified in recipes for sponges, some shortbreads, and delicate cake layers.
Brown Sugar: Adding Moisture and Molasses Flavor
Brown sugar, whether light or dark, is essentially granulated sugar with the addition of molasses. The presence of molasses introduces both moisture and a distinct flavor profile to baked goods. In the creaming method, brown sugar's moisture content affects the texture of the resulting batter and the final product.
Because brown sugar is softer and clumpier than granulated sugar, its crystals are less sharp. While it still aids in aeration during creaming, it may not incorporate as much air as granulated sugar alone. However, the moisture from the molasses contributes to a softer, chewier texture in baked goods, like classic chocolate chip cookies. The molasses also adds a rich, caramelized flavor that complements many recipes. Often, recipes will use a combination of brown and granulated sugar to balance aeration, texture, and flavor.
Powdered Sugar: Best Use Cases and Limitations in Creaming
Powdered sugar (also known as confectioners' sugar or icing sugar) is granulated sugar that has been finely ground into a powder, typically with a small amount of cornstarch added to prevent clumping. Its extremely fine texture means it dissolves almost instantly when combined with fat.
While powdered sugar is essential for icings, frostings, and dusting, it is generally not suitable as the primary sugar for the creaming method intended for leavening. Its lack of crystalline structure means it cannot effectively cut into the butter to create and trap air pockets. Using powdered sugar in place of granulated or caster sugar in a standard creaming method recipe will result in minimal aeration and a dense, heavy baked good. Its best use cases involve dissolving quickly into wet mixtures or providing a smooth, non-gritty texture.
The Creaming Process: A Step-by-Step Guide
Step 1: Softening Butter to the Right Consistency
The foundation of successful creaming method sugar baking begins with the butter. It must be properly softened – not melted, not hard from the fridge. Butter is at the correct consistency when it yields easily to gentle pressure from your finger but still holds its shape. This typically occurs when the butter is between 65°F and 68°F (18°C and 20°C).
If your butter is too cold, cut it into smaller pieces and let it sit at room temperature for 30-60 minutes. Avoid microwaving, which softens unevenly and can easily melt parts of the butter. If it's too warm, pop it in the fridge for 10-15 minutes until it firms up slightly. Starting with butter at the ideal temperature is crucial for achieving maximum aeration in the subsequent steps.
Step 2: Combining Butter and Sugar for Optimal Aeration
Once the butter is softened, place it in the bowl of your stand mixer or a large mixing bowl if using a hand mixer. Add the sugar called for in your recipe. Begin mixing on a low speed to combine the butter and sugar without scattering the sugar everywhere. Once combined, increase the speed to medium (usually speed 4-6 on a stand mixer).
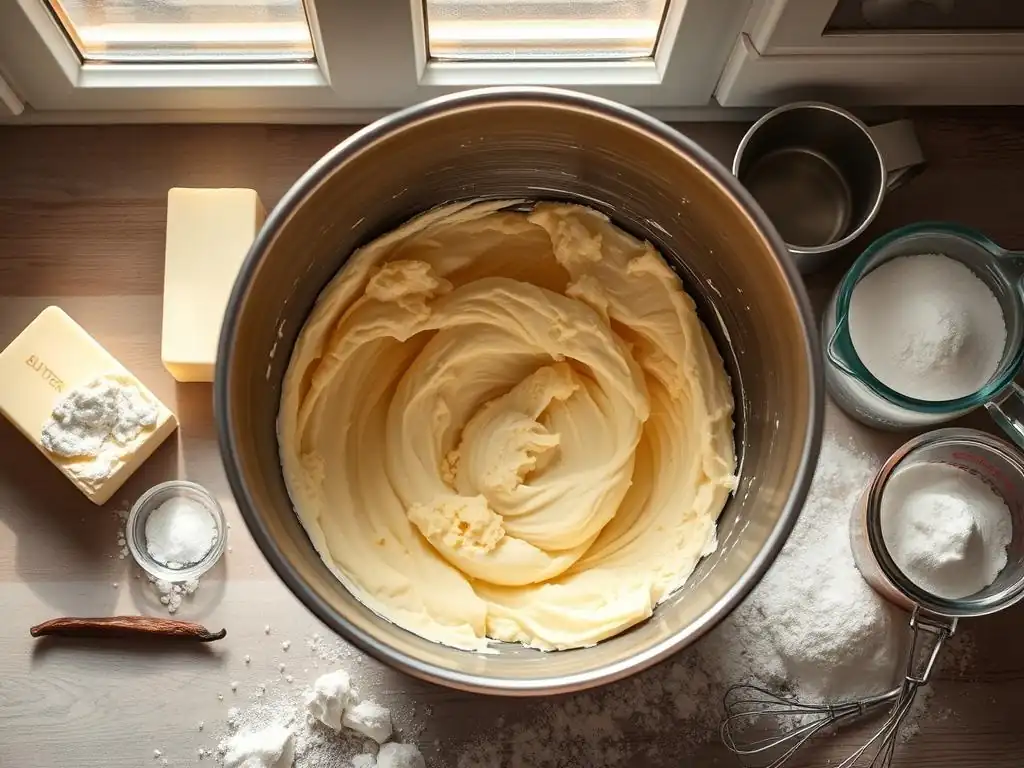
Beat the mixture vigorously. Initially, it will look grainy and yellowish. As you continue to beat, the sugar crystals will work air into the butter. You'll notice the mixture becoming progressively lighter in color (pale yellow to almost white) and increasing in volume as it becomes light and fluffy.
This process can take anywhere from 5 to 10 minutes, depending on the amount and the mixer. Scrape down the sides and bottom of the bowl frequently with a rubber spatula to ensure all parts are being evenly creamed. You're looking for a significant change in texture and appearance – it should be visibly lighter and fluffier than when you started. This is where the magic of the creaming method sugar baking really happens.
Step 3: Incorporating Eggs Gradually
Eggs serve multiple functions in baked goods: they add moisture, richness, structure, and contribute to leavening. After creaming the butter and sugar until light and fluffy, the eggs are typically added one at a time. This gradual addition is important because it allows each egg to be fully incorporated into the aerated mixture without deflating it or causing it to separate.
Beat each egg into the butter-sugar mixture on medium speed until no visible traces of yolk or white remain before adding the next. The mixture may look slightly curdled initially, especially after adding the first egg, but it should come back together as you continue to mix and add subsequent eggs. The emulsifying properties of the egg yolks also help to create a stable batter, preventing separation when the dry ingredients are added.
Step 4: Adding Dry Ingredients and Avoiding Overmixing
The final step in assembling the batter using the creaming method involves adding the dry ingredients (flour, baking powder/soda, salt, spices) and any liquid ingredients (milk, buttermilk, extracts), usually alternating between the two. This is done on low speed, mixing just until the ingredients are combined.
Overmixing at this stage is a common mistake. Once the flour is added, gluten development begins. Excessive mixing will lead to too much gluten formation, resulting in a tough texture. Mix only until you no longer see streaks of dry flour. A few small lumps are acceptable and often preferable to an overmixed, tough batter. This gentle final mixing ensures that the air incorporated during the creaming of butter and sugar is preserved, leading to a tender, well-risen finished product.
Troubleshooting Common Creaming Method Problems
Butter Too Cold: Preventing Proper Aeration
A frequent issue when using the creaming method is starting with butter that is too cold. When butter is straight from the refrigerator (typically around 35-40°F or 2-4°C), it is hard and unyielding. The sugar crystals cannot effectively cut into this hard fat to create the necessary air pockets.
The result of creaming cold butter and sugar will be a mixture that remains dense, heavy, and grainy, even after extended beating. It will not lighten in color or increase significantly in volume. Baked goods made with under-aerated batter due to cold butter will be dense, have a tight crumb, and may not rise adequately, regardless of the chemical leaveners used. Ensuring your butter is properly softened (around 65-68°F) before you begin is the simple solution to this problem.
Butter Too Warm: Resulting in a Greasy Batter
On the other end of the temperature spectrum is butter that is too warm, often described as greasy or partially melted (above 70°F or 21°C). While seemingly soft, butter at this temperature lacks the structure needed to hold onto the air pockets created by the sugar crystals.
When you cream butter that is too warm with sugar, the mixture may combine quickly, but it won't become light and fluffy. Instead, it will likely look slick, greasy, and potentially separated. The air bubbles that are briefly formed collapse almost immediately because the fat is too soft to trap them. Baking with this kind of batter often leads to cookies that spread excessively thin or cakes that have a greasy texture and poor rise. If your butter is too warm, chill it in the refrigerator for 10-15 minutes before proceeding.
Over-Creaming: Leading to a Dense Texture
While sufficient creaming is essential, it is possible to over-cream the butter and sugar mixture, although this is more common with cookies than cakes. Over-creaming can incorporate an excessive amount of air, which might seem counter-intuitive as a cause of density. However, the issue arises later in the process.
In some recipes, particularly cookies, over-creaming can create such a delicate fat-sugar matrix that it collapses when the flour is added or during baking, leading to excessive spread and a thin, sometimes dense, texture rather than a chewy or tender one. For cookies, creaming until just light and fluffy is often sufficient (around 3-5 minutes), whereas cakes often benefit from longer creaming (5-10 minutes) for a finer crumb.
Pay attention to visual cues – stop when the mixture is visibly lighter and significantly increased in volume, but before it looks truly separated or overly aerated for the specific recipe type.
Under-Creaming: Affecting Leavening and Rise
Under-creaming is perhaps the most common issue beginners face when using the creaming method. This occurs when the butter and sugar are not beaten together for long enough or at the correct temperature, resulting in insufficient air incorporation.
A mixture that has been under-creamed will still look somewhat dense, heavy, and yellowish, rather than pale and fluffy. When this batter is baked, it lacks the initial lift provided by the trapped air bubbles. Consequently, chemical leaveners have to do all the work, often resulting in a baked good with poor volume, a tight or heavy crumb, and a less tender texture.
The difference between an under-creamed and properly creamed mixture is significant and directly impacts the success of your creaming method sugar baking. Always visually check that your butter and sugar are lightened and fluffy before moving on to the next step.
Recipes Perfect for the Creaming Method
Classic Vanilla Cake Recipe Using the Creaming Method
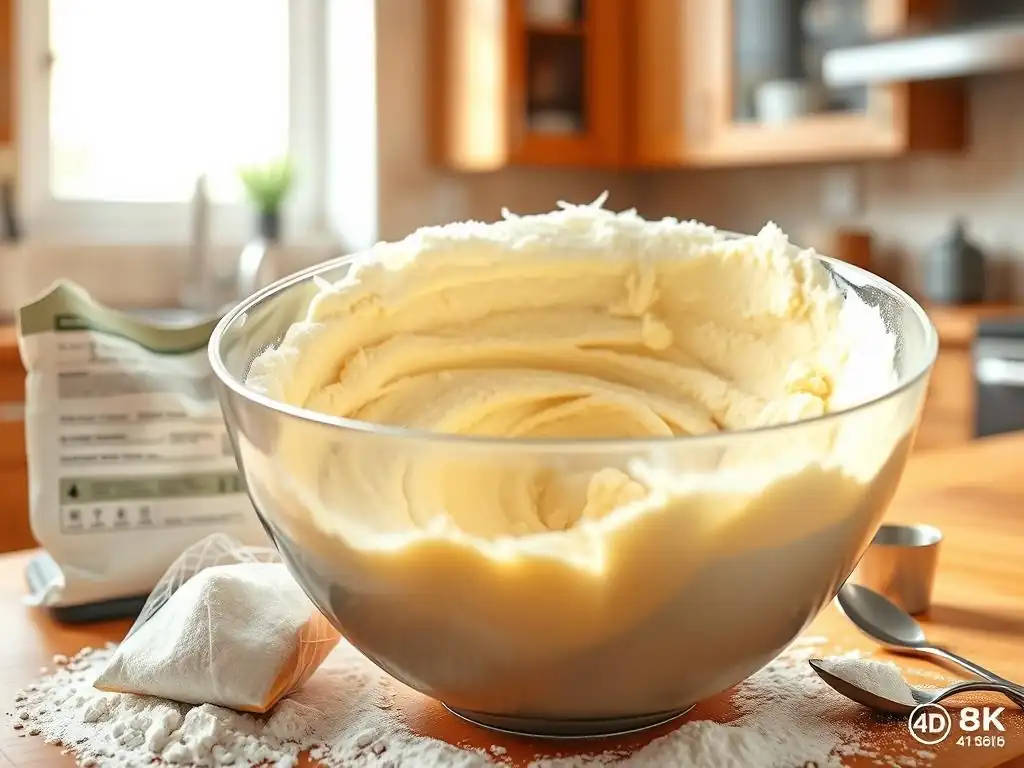
The creaming method is the cornerstone of many classic cake recipes, including the beloved vanilla cake. This technique is essential for creating the cake's signature tender, moist crumb and good volume. The aeration achieved by creaming the butter and sugar provides the initial structure of air pockets that expand during baking, contributing significantly to the cake's rise and light texture.
In a typical vanilla cake recipe, you would cream softened butter and granulated sugar for 5-10 minutes until very light and fluffy. Eggs are then added gradually, followed by alternating additions of dry ingredients (like flour, baking powder, and salt) and wet ingredients (like milk and vanilla extract), finishing with the dry. This sequence ensures that the air incorporated during creaming is preserved while developing just enough gluten for structure, resulting in a perfectly tender and airy vanilla cake.
While there are various methods for making chocolate chip cookies, the creaming method is fundamental for achieving the classic balance of a slightly crisp edge and a soft, chewy center. The amount of creaming time and the ratio of granulated to brown sugar significantly influence the final texture.
For a chewy chocolate chip cookie, a combination of granulated and brown sugar is often used. The creaming process incorporates air using the granulated sugar crystals, contributing to lift and some spread. The brown sugar adds moisture and chewiness due to its molasses content. Creaming for a moderate amount of time (3-5 minutes) is usually sufficient to create the desired texture, preventing excessive spread while still allowing for a good rise and a slightly soft interior. Mastering the creaming method sugar baking for cookies involves finding the sweet spot for aeration relative to the desired chewiness.
Pound Cake: A Creaming Method Staple
Pound cake, traditionally made with a pound each of butter, sugar, eggs, and flour, relies heavily on the creaming method for its dense yet tender crumb. Unlike lighter cakes that use significant amounts of chemical leaveners, pound cake gets much of its lift and texture from the air incorporated during the extensive creaming of butter and sugar.
The process for pound cake often involves creaming the butter and sugar for an extended period, sometimes up to 15-20 minutes, to ensure maximum aeration. This creates a very light and fluffy base. Eggs are then added slowly, followed by the dry ingredients, mixed just until combined. The high ratio of fat and sugar, combined with thorough creaming, results in a cake that is rich, moist, and has that characteristic close-grained, yet tender, texture that defines a classic pound cake.
Tips and Tricks for Mastering the Creaming Method for Baking at Home
Measuring Ingredients Accurately
Accurate measurement is paramount in baking, especially when using the creaming method, where the ratios of fat, sugar, and flour are critical to success. Using too much or too little of any ingredient can throw off the delicate balance required for proper aeration and structure.
It's highly recommended to weigh your ingredients using a kitchen scale for the most precise results, particularly for flour, sugar, and butter. For example, a cup of flour can vary significantly in weight depending on how it's scooped and leveled (often ranging from 4 to 5 ounces or 115 to 140 grams). Using weight ensures you have the exact amount specified by the recipe, leading to more consistent outcomes every time you practice creaming method sugar baking.
Using the Right Equipment (Mixer Types)
The type of mixer you use can impact the time required and the effectiveness of the creaming process. A stand mixer with a paddle attachment is ideal for the creaming method because it provides consistent, powerful mixing over the extended time needed to properly aerate the butter and sugar.
Hand mixers can also be used, but they may require more time and effort to achieve the same level of lightness and fluffiness as a stand mixer. Be sure to use a bowl large enough to accommodate the mixture as it increases in volume and scrape down the sides frequently when using either type of mixer to ensure even creaming. While elbow grease and a wooden spoon are traditional, they are less efficient for achieving optimal aeration compared to electric mixers.
Ensuring Consistent Ingredient Temperature
We've touched on butter temperature, but ensuring all your ingredients are at the correct temperature is important for a smooth batter and consistent results. Eggs and any liquid ingredients like milk or buttermilk should ideally be at room temperature when added to the creamed butter and sugar.
Adding cold eggs or liquids to the creamed mixture can shock the fat, causing it to seize up and the batter to curdle or separate. This can deflate some of the air you've worked hard to incorporate. Taking eggs and liquids out of the refrigerator 30-60 minutes before you begin mixing allows them to warm up to room temperature, ensuring they emulsify smoothly into the creamed butter and sugar, contributing to a stable and well-aerated batter.
Advanced Techniques: Enhancing the Creaming Method
The Two-Stage Creaming Method
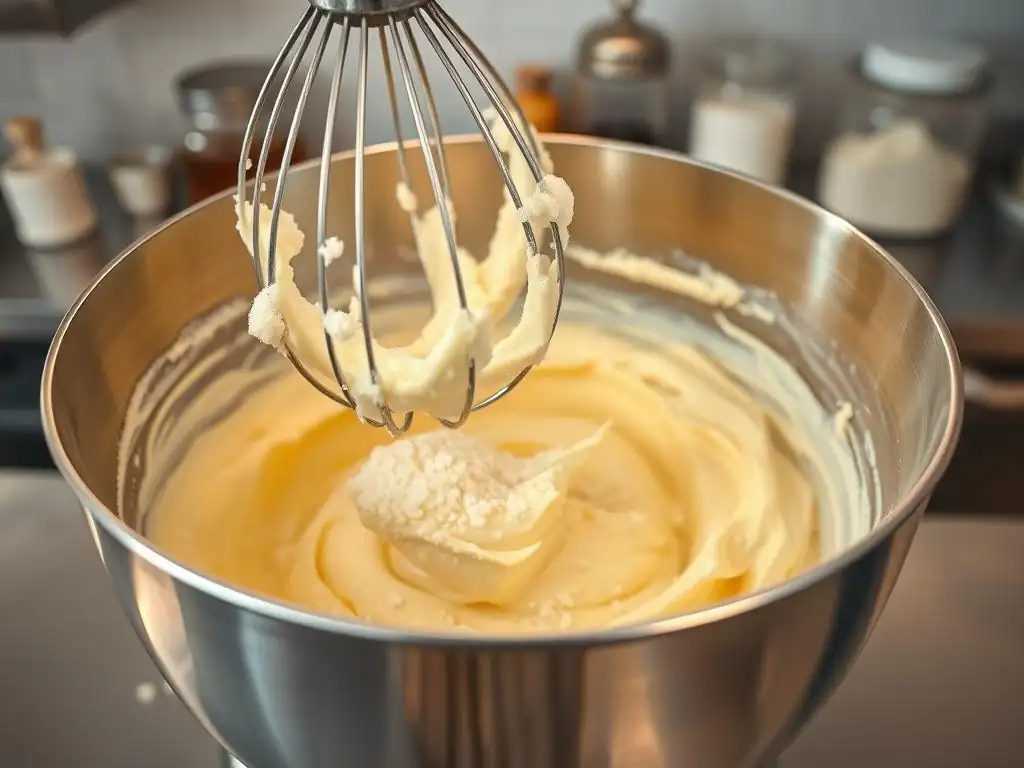
An interesting variation on the standard creaming method is the two-stage method, often used for cakes with a high ratio of liquid, such as those made with oil or a significant amount of buttermilk. In this method, dry ingredients (including sugar) are combined first, and then softened butter is added and mixed until the mixture resembles coarse sand.
Liquids (often including eggs) are then added in stages. This method coats the flour particles with fat and sugar early on, inhibiting gluten development and resulting in an exceptionally tender and moist cake crumb. While different from the traditional butter-sugar creaming, it's an advanced technique that showcases how manipulating ingredient addition order impacts texture, still leveraging the role of sugar and fat.
Using Brown Butter in the Creaming Method
Adding another layer of flavor and complexity, brown butter can be incorporated into the creaming method. Brown butter is made by gently heating butter until the milk solids toast and turn brown, yielding a nutty, rich flavor. Once browned, the butter needs to be cooled and solidified back to a softened state before it can be creamed with sugar.
Using brown butter requires careful handling, as its structure is slightly altered. However, creaming softened brown butter with sugar imparts a deep, caramelized flavor profile to baked goods like cookies or cakes. While the aeration might differ slightly compared to using regular butter, the technique still relies on the interaction between the softened fat and sugar crystals to incorporate air, resulting in a unique and delicious twist on classic recipes.
Incorporating Flavor Extracts and Zests
Flavor extracts and citrus zests are typically added during the creaming process, usually after the eggs have been fully incorporated. Adding them at this stage allows their fat-soluble flavor compounds to disperse evenly throughout the fat-rich mixture.
For example, vanilla extract, almond extract, or lemon zest can be mixed in with the last egg or just after all the eggs are added. The mechanical action of the mixer during the final stages of creaming helps to distribute these flavors thoroughly, ensuring a consistent taste throughout the finished baked good. This simple step is crucial for layering flavor effectively in recipes using the creaming method sugar baking technique.
Alternatives to the Creaming Method for Different Baking Needs
Comparing the Creaming Method to Other Mixing Methods (e.g., Muffin Method)
While the creaming method excels at creating tender, aerated cakes and chewy cookies, it's not the only way to mix batter. The muffin method, for instance, is much simpler and involves combining all the dry ingredients in one bowl and all the wet ingredients (including melted fat or oil and sugar) in another, then quickly mixing the wet into the dry until just combined.
The key difference lies in leavening and texture. The muffin method relies almost entirely on chemical leaveners (baking powder/soda) for lift, resulting in a coarser, more open crumb compared to the fine crumb achieved by the creaming method's initial aeration. The creaming method incorporates significant air before adding flour, leading to a more structured and often more tender result, while the muffin method minimizes mixing after flour is added to prevent toughness, suitable for muffins, quick breads, and some loaf cakes where a rustic texture is desired.
When to Use Alternative Methods Instead of Creaming
Choosing the right mixing method depends entirely on the desired outcome for your baked good. You would opt for an alternative method when the primary goal is not maximum aeration through fat-sugar interaction.
For example, the muffin method is preferred for recipes where minimal gluten development is paramount and a slightly denser, more rustic texture is acceptable, such as muffins, scones (sometimes), and certain quick loaves. Recipes using liquid fats (like oil) also typically use the muffin method or a variation, as oil cannot be creamed with sugar in the same way solid fats can. Understanding the strengths of each method helps you select the best approach for your specific baking project, knowing that the creaming method sugar baking shines when tenderness and a fine crumb are key.
The Biscuit Method: Creating Flaky Layers
Another distinct method is the biscuit method, used for biscuits, scones, and pie crusts. This technique involves cutting cold, solid fat (butter, shortening, or lard) into dry ingredients (flour, salt, leavener) until the mixture resembles coarse crumbs or peas. Liquid is then added to just bring the dough together.
The purpose of using cold fat cut into the dry ingredients is to create layers. During baking, the pieces of fat melt, creating steam that pushes the layers of dough apart, resulting in a flaky texture. Unlike the creaming method, which aims to incorporate tiny, evenly distributed air bubbles throughout a softened fat matrix, the biscuit method focuses on creating distinct pockets of fat that yield visible layers. This highlights how different mixing techniques manipulate fat and flour to achieve vastly different textures in baking.
Mastering Sugar's Role: Baking Success with the Creaming Method
Recap of Key Takeaways for Perfect Creaming
Mastering the creaming method is a fundamental step towards consistent baking success, and understanding sugar's role within this technique is paramount. Key takeaways include:
- Starting with butter at the correct softened temperature (65-68°F / 18-20°C) is non-negotiable for effective aeration.
- Sugar crystals mechanically cut into softened fat, creating vital air pockets that provide initial leavening.
- The type of sugar used (granulated, caster, brown) impacts both aeration efficiency and the final texture and flavor of the baked good.
- Creaming requires sufficient time (5-10+ minutes) and medium speed to achieve a light, fluffy, and pale mixture.
- Accurate ingredient measurement and proper mixing techniques after creaming (gradual egg addition, minimal mixing of dry ingredients) preserve the incorporated air.
Paying close attention to these details when using the creaming method sugar baking process will significantly improve the texture and rise of your cakes, cookies, and other baked goods.
Experimenting with Sugar Ratios for Unique Textures
Once you've mastered the basic creaming method, you can begin to experiment with sugar ratios and types to influence the final texture of your baked goods. For example, increasing the ratio of sugar to flour in a cookie recipe generally leads to a chewier, softer cookie because sugar is a tenderizer and retains moisture.
Conversely, reducing the sugar ratio can result in a firmer, more crumbly texture. Swapping some granulated sugar for brown sugar will increase chewiness and add molasses flavor, while using only caster sugar can yield a finer, more delicate crumb in cakes. By understanding how different sugars behave in the creaming process and their impact on texture, you can confidently adapt recipes or develop your own, tailoring the outcome to your preference and truly mastering the art of creaming method sugar baking.
Frequently Asked Questions
What is the creaming method in sugar baking?
The creaming method is a baking technique where butter and sugar are beaten together until light and fluffy. This process incorporates air, which helps leaven the baked good.
Why is sugar important for leavening in the creaming method?
Sugar crystals cut into the butter, creating air pockets. These air pockets expand during baking, resulting in a lighter and more tender final product.
What types of sugar are best suited for the creaming method?
Granulated sugar is typically recommended for the creaming method. Its coarse texture is ideal for creating those crucial air pockets within the butter.
How do I know if I've properly creamed the butter and sugar?
The mixture should be pale, light, and fluffy. It should look almost like whipped cream and have increased significantly in volume compared to the starting ingredients.
What happens if I over-cream the butter and sugar?
Over-creaming can lead to a dense or tough baked good. The air pockets can collapse during baking, resulting in a less-than-ideal texture.
Final Reflection: The Sweet Science of Creaming and Baking's Future
The delicate balance of sugar and fat in the creaming method isn't just a baking technique; it's the foundation of countless beloved recipes, impacting the texture and taste of our daily bread (quite literally!). Understanding this fundamental process unlocks a world of culinary possibilities, allowing for greater control and precision in achieving the perfect crumb and rise. This knowledge isn't just for professional bakers; it empowers home cooks to elevate their baking to a new level.
The creaming method's influence extends far beyond the kitchen; it represents a connection to culinary history and tradition. It's a testament to the power of simple ingredients, skillfully combined, to create something truly extraordinary. Baking is at once child's play and adult joy. And love, of course.
- This quote, while not directly about the creaming method, perfectly encapsulates the feeling of accomplishment and satisfaction derived from mastering this technique, and the joy it brings to both baker and eater.
Now, it's your turn. Consider the role of sugar in your own baking. Experiment with different types of sugar, varying quantities, and observe the impact on your creations. Don't be afraid to fail; each experiment is a step towards a deeper understanding of this fundamental baking process. Embrace the sweet science, and unlock the potential of the creaming method to create your own signature bakes. The possibilities are as limitless as your imagination.
Unlock Your Baking Potential: Mastering the Creaming Method
Thanks for diving into the world of the creaming method! We hope you now feel confident in understanding how sugar plays a crucial role in creating light and airy baked goods. Ready to put your newfound knowledge into practice?
- Bake a batch of your favorite cookies or cake using the creaming method. Notice the difference in texture and taste! This is where the real magic happens.
- Share your baking success (or even your baking mishaps!) with us in the comments below. We'd love to hear your experiences and learn from each other.
- Try experimenting with different types of sugar to see how they affect the final product. What surprising results will you discover?
What delicious creation will you bake first, using your enhanced understanding of the creaming method?