
Rolling Pin Rundown: French, Tapered, and Adjustable Pin Best Uses

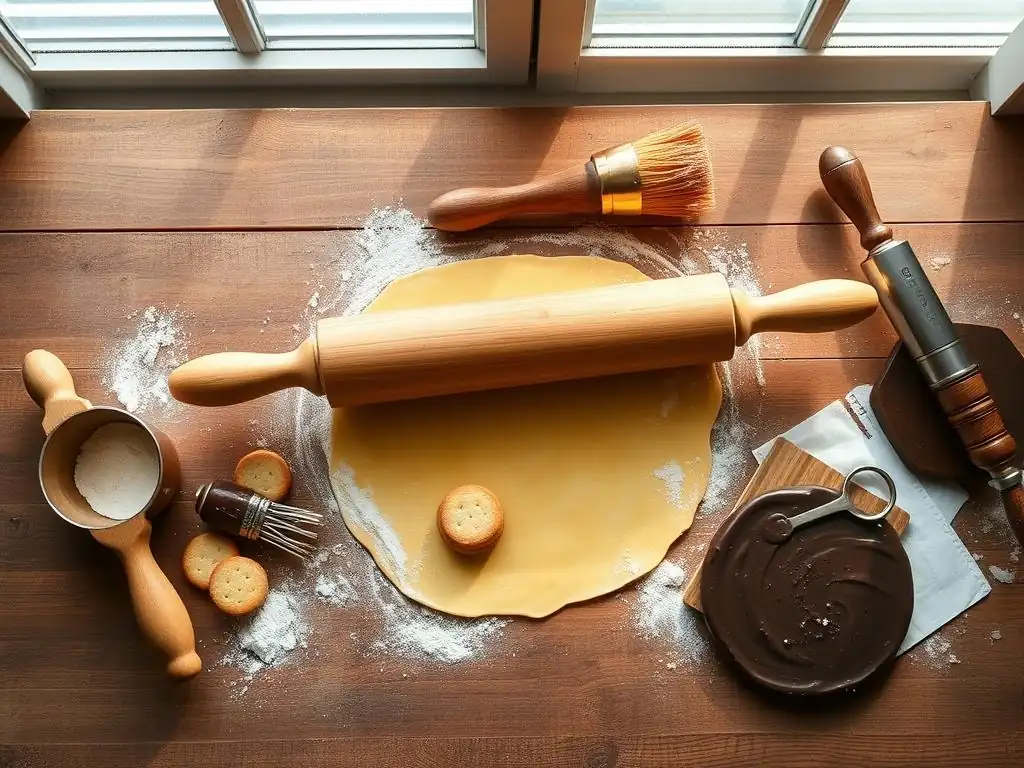
Welcome to BakeWithEase, your partner in baking perfection! Ever wondered if your rolling pin is truly working for you? It might be time to rethink your toolset. Dive into our latest article, " Rolling Pin Rundown: French, Tapered, and Adjustable Pin Best Uses," where we unravel the secrets behind French rolling pin uses and other essential pin variations. Discover how these versatile tools can revolutionize your dough-handling skills and elevate your baking game. Ready to unlock the full potential of your pastries and breads? Let's roll!
- Choosing the Right Rolling Pin: French, Tapered, and Adjustable
- A Baker's Guide to Rolling Pins
- French Rolling Pin: Versatility and Control
- Tapered Rolling Pin: Precision for Intricate Pastries
- Adjustable Rolling Pin: Consistent Thickness for Uniform Baking
- Comparison: French, Tapered, and Adjustable
- Choosing the Best Rolling Pin for Your Baking Style
- Care and Maintenance Tips
- Elevate Your Baking
-
Frequently Asked Questions
- What are the main advantages of using a French rolling pin compared to a standard rolling pin?
- Can a French rolling pin be used for all types of dough, or are there specific doughs where it excels?
- How does the tapered design of a French rolling pin affect its use in rolling out dough?
- What are some alternative uses for a French rolling pin besides rolling out dough?
- How do I clean and maintain a French rolling pin to ensure its longevity?
- Final Reflection: The Rolling Pin's Enduring Legacy
- Unlock Your Baking Potential: Master the Perfect Roll!
Choosing the Right Rolling Pin: French, Tapered, and Adjustable
A Baker's Guide to Rolling Pins
Why the Right Rolling Pin Matters
Choosing the correct rolling pin is far more impactful than many novice bakers realize. The right tool can dramatically affect the texture, thickness, and overall quality of your dough.
Using a rolling pin that isn't suited for the task can lead to uneven dough thickness, which in turn causes inconsistent baking – think cookies that are burnt on the edges and raw in the center, or a pie crust that's tough in some spots and tender in others. A well-chosen rolling pin provides better control, allowing you to achieve uniform results consistently, whether you're working with flaky pastry or delicate cookie dough.
Beyond just achieving evenness, the design of a rolling pin influences how you interact with the dough. Some pins allow for a more intuitive feel, letting your hands directly sense the dough's thickness and resistance. Others provide features that mechanically ensure precision. Understanding these differences helps you select the best tool for specific baking projects, making the process smoother and the outcome more successful. For instance, the best French rolling pin uses often involve recipes where feel and control are paramount, like laminated doughs or delicate tarts.
French Rolling Pin: Versatility and Control
Characteristics of a French Rolling Pin
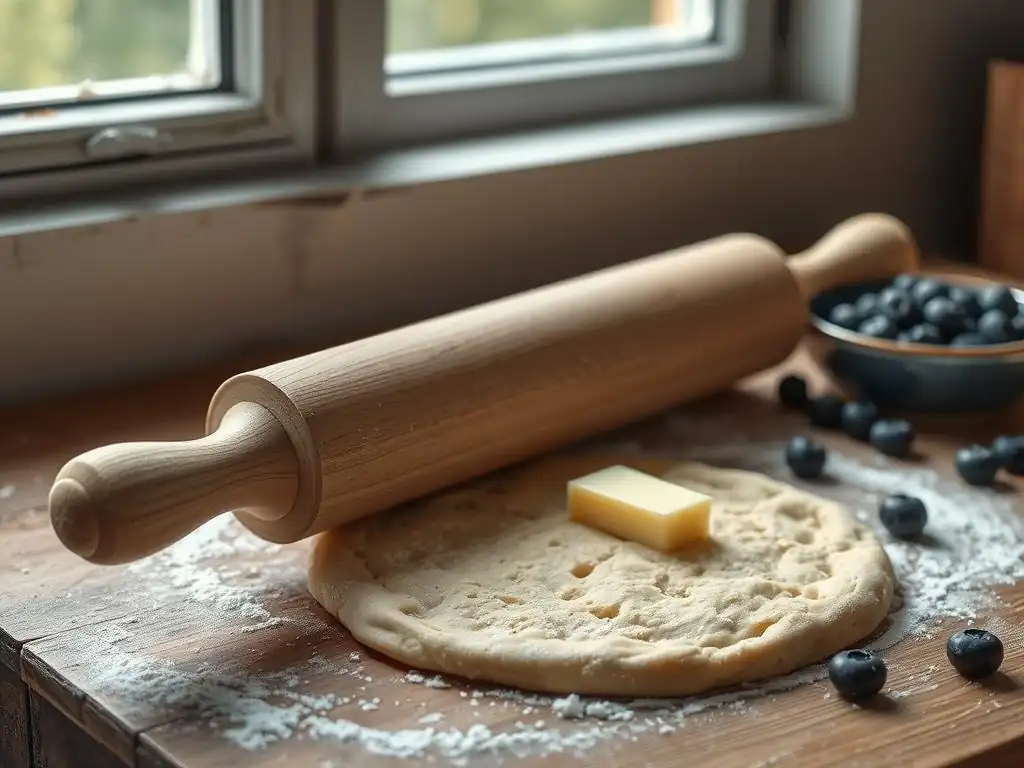
The French rolling pin is easily identifiable by its simple, handle-less design. It is typically a single piece of wood, often maple or beech, that tapers from a thicker center towards thinner ends. This tapering is key to its functionality, allowing bakers to apply pressure precisely where needed on the dough. Unlike rolling pins with handles on bearings, the French pin requires direct contact with the dough through your hands, offering a very tactile experience.
These pins vary in length, commonly ranging from 18 to 24 inches. The lack of handles means your hands are placed directly on the tapered ends. This design reduces the overall weight compared to some handle-style pins, making it feel lighter and more maneuverable. The smooth, unfinished or lightly finished wood surface interacts directly with the dough, and proper flouring is essential to prevent sticking, especially when exploring various French rolling pin uses.
Best Uses: Pie Crusts and Delicate Doughs
The French rolling pin excels in tasks requiring finesse and control, making it ideal for pie crusts, tart shells, and delicate pastry doughs like puff pastry or croissants. Its tapered design allows you to focus pressure on specific areas, helping to shape rounds or rectangles without overworking the edges. For a standard 9-inch pie crust, you need dough rolled to about 1/8 inch thickness. The French pin's sensitivity lets you feel this thickness developing under your hands, helping you achieve a uniform layer before transferring it to the pie plate.
Another primary area for French rolling pin uses is working with laminated doughs. The ability to pivot and apply uneven pressure allows bakers to gently coax the dough into shape, preserving the delicate layers of butter and dough essential for flaky croissants or kouign amanns. The direct contact provides feedback, helping you avoid tearing the dough or collapsing the layers. This control is less intuitive with heavier, handled pins.
Techniques for Even Dough
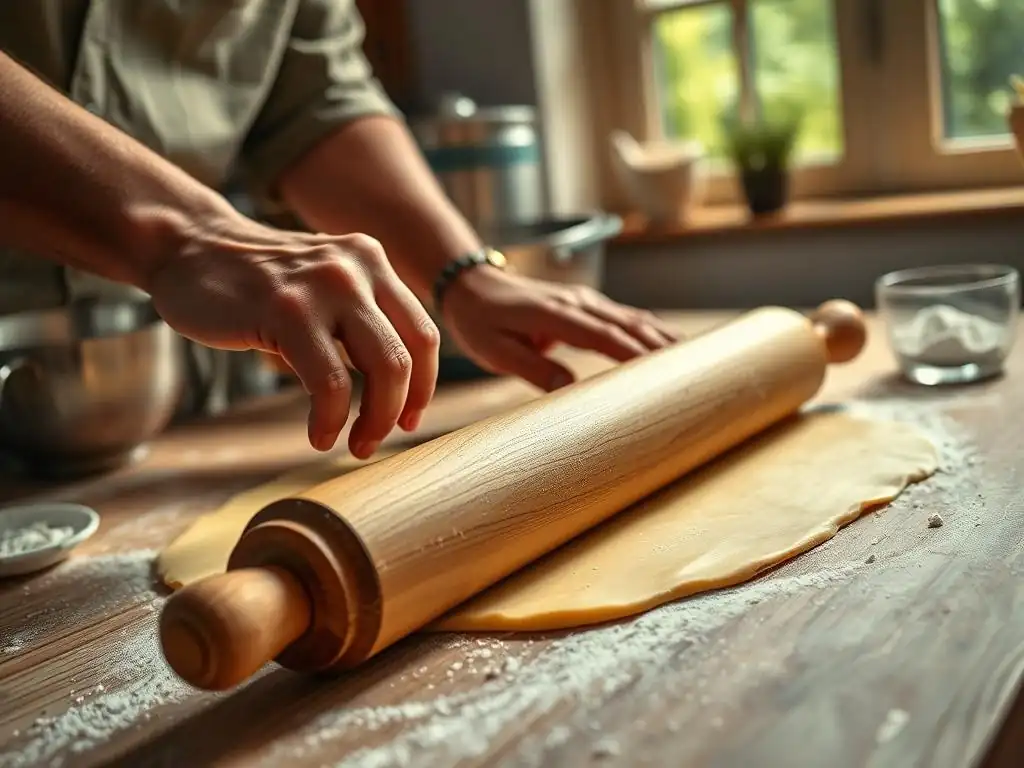
Achieving even dough thickness with a French rolling pin relies on technique and feel. Start by placing your hands on the tapered ends, applying gentle, even pressure from the center of the dough outwards. Rotate the dough frequently (about a quarter turn each time) to ensure even expansion and prevent sticking to your surface. Use light, sweeping motions rather than heavy, forceful pushes.
For stubborn spots or edges that are too thick, the tapered design allows you to apply slightly more pressure to that specific area without disturbing the rest of the dough. For example, if one side of your pie crust dough is slightly thicker, you can shift your weight slightly onto the hand on that side of the pin as you roll, gradually evening it out. This precise control is a hallmark of effective French rolling pin uses.
Tips for Mastering the French Rolling Pin
Mastering the French rolling pin takes practice, but a few tips can speed up the process. Always start with well-chilled dough; cold dough is less sticky and easier to roll thinly and evenly. Generously flour both your work surface and the rolling pin, but brush off excess flour from the dough before folding or cutting. Excess flour can make the dough tough.
Pay attention to the feel of the dough beneath the pin. As you gain experience, you'll learn to gauge the thickness just by the resistance and texture you feel through the wood. Don't be afraid to lift the dough frequently to prevent it from sticking and to check for evenness. Consider starting with simpler recipes like sugar cookies or basic pie crusts to get comfortable with the pin's movement and the pressure required before tackling more complex French rolling pin uses like puff pastry.
Comparison with Other Types
Compared to a traditional American-style rolling pin with handles and a central cylinder, the French pin offers greater direct control and sensitivity. The lack of handles means your hands are closer to the dough, allowing for more precise pressure application. While the American pin's weight can sometimes assist with heavier doughs, the French pin's maneuverability is superior for delicate or irregularly shaped pieces.
Against an adjustable rolling pin, the French pin sacrifices the mechanical guarantee of uniform thickness. With the French pin, achieving evenness relies entirely on the baker's skill and feel. However, this also grants more flexibility to intentionally create varied thicknesses within a single piece of dough if a recipe requires it, or to quickly correct uneven spots, which is a core advantage in many French rolling pin uses.
Tapered Rolling Pin: Precision for Intricate Pastries
Design and Functionality Explained
The tapered rolling pin is similar to the French pin in that it lacks handles and tapers towards the ends, but often features a more pronounced or continuous taper along its entire length. Some are symmetrical, tapering from the center outwards, while others might taper more dramatically towards one or both ends. This design allows for exceptional control over the edges of the dough and is often shorter and lighter than a typical French pin, making it perfect for smaller tasks.
This specific taper allows bakers to roll out dough in tight spaces or to work on intricate shapes with precision. The ability to apply focused pressure with the thinner part of the pin makes it easy to shape dough edges or roll out small pieces without disturbing the main body of the dough. The wood type is usually similar to French pins, prioritizing a smooth, non-stick surface when properly floured.
Ideal Applications: Intricate Designs and Small Batches
Tapered rolling pins shine when working with small quantities of dough or when intricate shaping is required. Think of rolling out dough for decorative pastry tops, lattice work, or small individual tarts. Their size and shape make them easy to maneuver on a crowded counter or when working with just a portion of dough. They are also excellent for rolling out dough for cookies that require precise cutouts, allowing you to get into corners and edges effectively.
For example, rolling out gingerbread dough for detailed cookie cutters benefits greatly from a tapered pin. You can work with smaller sections of dough, rolling them just enough to get a crisp edge on your cutter without overworking the rest. This precision is also valuable when making components for complex pastries, like rolling thin strips for a woven pie top or small rounds for mini quiches.
Achieving Finesse: Techniques and Tips
Using a tapered rolling pin effectively means leveraging its design for focused control. Use the thinner parts of the pin to gently push and shape the edges of your dough, creating clean lines or helping to form precise circles or rectangles. For small pieces, use light, short strokes, rotating the dough often. Because they are often lighter, you need to be mindful of applying enough pressure, but their size makes it easier to feel the dough's thickness.
When working on detailed areas, such as thinning the edge of a tart shell to fit snugly into a pan, the tapered pin's end is invaluable. You can use a rolling motion combined with gentle pressure from the tapered tip to shape the dough exactly where you need it. Practice makes perfect with this pin, focusing on controlled movements and feeling the dough's response.
Mastering for Professional Results
To achieve professional results with a tapered rolling pin, focus on consistency and precision in your movements. Always start with well-chilled dough and a lightly floured surface. Learn to use the different parts of the taper for specific tasks – the thicker middle for initial flattening and the thinner ends for shaping edges and details.
Consider using guide strips if absolute uniform thickness is critical, although the tapered pin's strength lies more in its shaping ability than guaranteed evenness across a large sheet. Master the technique of rotating the dough frequently and lifting it to prevent sticking. This pin is about control in miniature, allowing you to bring a high level of detail to your baked goods.
Adjustable Rolling Pin: Consistent Thickness for Uniform Baking
Features and Benefits
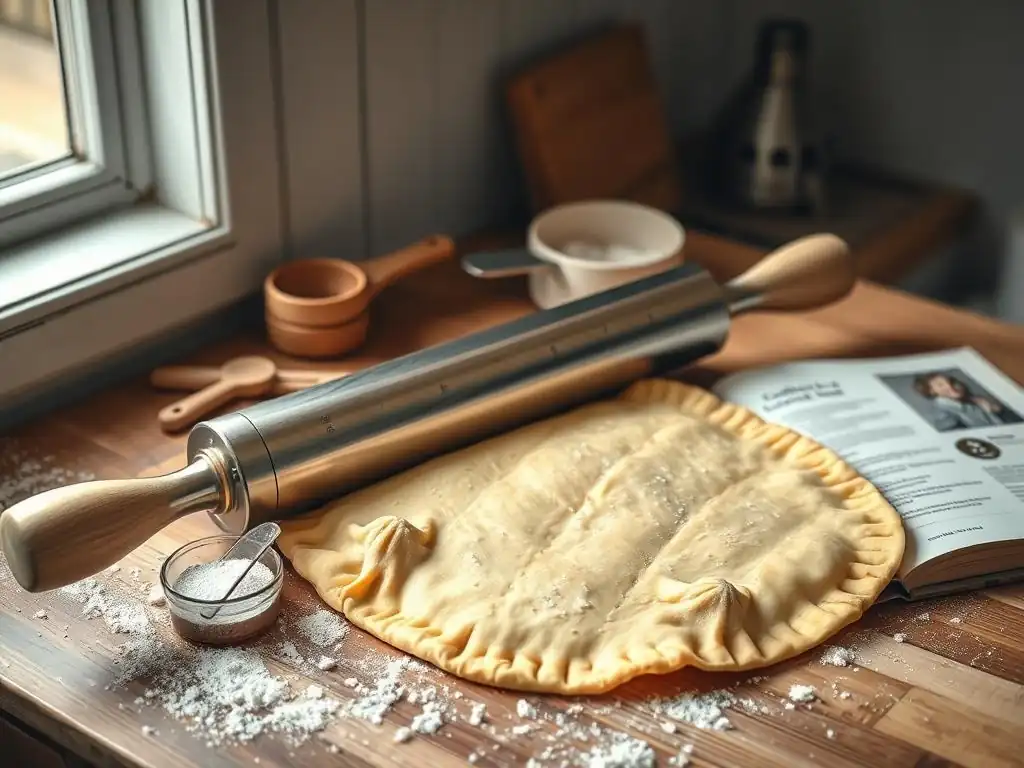
The adjustable rolling pin is designed with one primary goal: ensuring uniform dough thickness. It typically features removable rings or discs on the ends of the pin. These rings elevate the pin off the work surface, acting as guides that prevent the dough from being rolled thinner than the height of the rings. Common ring sizes might allow for thicknesses like 1/16 inch, 1/8 inch, 1/4 inch, and 3/8 inch.
The main benefit of this design is eliminating guesswork and skill reliance for achieving consistent thickness. This is particularly helpful for recipes where uniform baking is critical, such as cookies, crackers, or the base layer of a layered cake. The pin itself can be made from various materials, including wood or non-stick plastic, and often includes measurement markings along the barrel.
Step-by-Step Guide for Uniform Dough
Using an adjustable rolling pin for uniform dough is straightforward. First, select the desired thickness ring (e.g., the 1/4-inch ring for sugar cookies). Attach the rings securely to both ends of the rolling pin. Place your dough in the center of your floured surface. Begin rolling from the center outwards, just as you would with any other pin.
Continue rolling, applying even pressure, until the edges of the rolling pin's rings are in contact with your work surface across the entire width of the dough. At this point, you know the dough is precisely the thickness of the rings. Rotate the dough as needed, but the key is to stop rolling once the rings consistently touch the surface, indicating uniform thickness has been achieved.
Consistent dough thickness is paramount for even baking. When cookies are rolled to a uniform 1/4 inch, they will all bake at roughly the same rate, preventing some from burning while others remain underdone. Similarly, a pie crust rolled to a consistent 1/8 inch thickness will bake evenly, ensuring a flaky texture throughout.
An adjustable pin guarantees this uniformity, taking the variability out of the rolling process. For recipes like cutout cookies, rolling to a precise 1/4 inch ensures that each cookie, regardless of its position on the baking sheet, receives the same amount of heat exposure relative to its thickness. This leads to a batch of cookies that are all perfectly golden brown and cooked through.
Maintenance for Long-lasting Performance
Maintaining an adjustable rolling pin involves caring for both the pin itself and the rings. The pin should be cleaned according to its material – wood pins require gentle wiping and drying, while plastic ones can often be washed with soap and water. Ensure the pin is completely dry before storing.
The rings, often made of plastic or silicone, should be washed thoroughly after each use, especially if dough has accumulated around them. Store the rings with the pin in a way that keeps them together and prevents them from getting lost. Check the rings periodically for any signs of wear or damage that might affect their height and therefore the dough thickness.
Comparison: French, Tapered, and Adjustable
French Rolling Pin: Pros and Cons
- Pros: Excellent control and feel, ideal for delicate doughs (like those needed for many French rolling pin uses), maneuverable, often lighter weight, easy to clean (simple design).
- Cons: Requires skill and practice to achieve consistent thickness, no built-in thickness guide.
Tapered Rolling Pin: Strengths and Weaknesses
- Strengths: Great precision for intricate shaping and small batches, maneuverable for detailed work, good for shaping edges.
- Weaknesses: Less effective for rolling large sheets of dough, requires skill for evenness, no thickness guide.
Adjustable Rolling Pin: Advantages and Disadvantages
- Advantages: Guarantees uniform dough thickness, simplifies rolling for consistent results, helpful for novice bakers or specific recipes (cookies, crackers).
- Disadvantages: Can be bulkier than other types, rings can sometimes shift or be misplaced, less tactile feedback than handle-less pins, not ideal for intentional varied thickness.
Choosing the Best Rolling Pin for Your Baking Style
Consider Your Needs: Dough Types, Recipes, Skill Level
Selecting the right rolling pin depends heavily on what you bake most often, the types of dough you work with, and your current skill level.
- If you frequently make pies, tarts, croissants, or laminated doughs where feel and shaping are key, a French rolling pin (or a tapered one for smaller tasks) might be your best bet. Many classic French rolling pin uses center around these types of pastries.
- If you prioritize perfect, uniformly thick cookies, crackers, or cake layers, especially as a beginner or for specific recipes, an adjustable rolling pin is invaluable.
- If you often work with small batches or intricate decorative elements, a tapered pin offers the precision you need.
Experimenting to Find Your Perfect Match
Ultimately, the "best" rolling pin is often a matter of personal preference and what feels most comfortable and effective in your hands. Many bakers eventually own more than one type to suit different tasks.
- Consider trying a simple, inexpensive French pin first to see if you like the feel and control it offers for common French rolling pin uses like pie crusts.
- If you struggle with uneven cookies, invest in an adjustable pin.
- Don't be afraid to ask fellow bakers for recommendations or try out pins if you have the opportunity.
[ ] Consider primary baking focus (pastries vs. cookies vs. bread)
[ ] Evaluate current challenges (uneven baking? difficulty shaping?)
[ ] Based on needs, select a starting point (French, Tapered, or Adjustable)
[ ] Practice with the chosen pin on simple doughs
[ ] Assess results and decide if another type might be beneficial
Care and Maintenance Tips
Cleaning and Storing for Longevity
Proper care extends the life of your rolling pin. For wooden pins (French or Tapered), never soak them in water. Wipe them clean with a damp cloth immediately after use to remove any dough residue. If needed, use a pastry brush to remove excess flour. Dry thoroughly with a clean towel and allow to air dry completely before storing. Avoid harsh detergents. Store wooden pins away from excessive heat or humidity, which can cause warping.
Adjustable pins, depending on material, might be more forgiving. Follow the manufacturer's instructions, especially for the rings. Ensure all parts are clean and dry before storing. Store pins horizontally or hanging if possible to prevent pressure on one side, which could potentially lead to warping over long periods, although this is less common with modern designs.
Troubleshooting Common Issues: Sticking Dough
Dough sticking to your rolling pin is a common frustration, but usually easy to remedy.
- Ensure dough is properly chilled: Warm dough is much stickier.
- Flour generously: Lightly flour both your work surface and the rolling pin. Add more flour as needed during rolling, but remember to brush off excess from the dough itself.
- Use a pastry cloth or silicone mat: These surfaces often require less flour and can help prevent sticking.
- Consider the dough recipe: Some doughs are naturally stickier. Adjusting the flour-to-liquid ratio slightly can sometimes help, but be careful not to make the dough tough.
- Keep the pin clean: Dough buildup on the pin will cause more sticking. Wipe it down as needed during rolling.
Elevate Your Baking
Recommended Resources
To further refine your rolling pin skills, seek out resources specific to the type of baking you enjoy. Look for online tutorials or videos demonstrating proper technique for French rolling pin uses in pastry making. Many excellent cookbooks on pie making or laminated doughs provide detailed instructions on using handle-less pins. For adjustable pins, recipe blogs often include notes on the recommended thickness for various cookies or crusts.
Consider joining online baking communities or forums where experienced bakers share tips and troubleshoot problems. Watching someone demonstrate the specific motion for rolling out a perfect pie crust with a French pin can be incredibly helpful. Look for resources that emphasize technique over just recipes.
The Importance of Quality Equipment
Investing in quality baking equipment, including your rolling pin, can genuinely elevate your results. A well-made rolling pin, regardless of type, will be balanced, durable, and have a smooth surface that interacts correctly with your dough. Cheaply made pins can warp, splinter, or have uneven surfaces that hinder rather than help.
A good rolling pin is an extension of your hands in the baking process. It allows you to manipulate the dough with precision and control. While skill is paramount, having the right tool for the job, whether it's a classic French rolling pin for delicate work or an adjustable pin for guaranteed consistency, makes the journey from ingredients to finished baked good smoother, more enjoyable, and ultimately, more successful.
Frequently Asked Questions
What are the main advantages of using a French rolling pin compared to a standard rolling pin?
French rolling pins, also known as tapered pins, offer greater control and maneuverability. Their lack of handles allows you to feel the dough and apply even pressure.
Can a French rolling pin be used for all types of dough, or are there specific doughs where it excels?
While versatile, French rolling pins are excellent for delicate doughs like pastry or pie crust, where precise control is needed to prevent overworking the gluten.
How does the tapered design of a French rolling pin affect its use in rolling out dough?
The taper allows for rolling dough in circles or specific shapes more easily than a standard rolling pin, offering flexibility for various baking projects.
What are some alternative uses for a French rolling pin besides rolling out dough?
Beyond dough, French rolling pins can be used to crush cookies or crackers for pie crusts or to tenderize meat in a pinch.
How do I clean and maintain a French rolling pin to ensure its longevity?
Most French rolling pins are made of wood. Simply wipe clean with a damp cloth and allow to air dry completely. Avoid soaking or using harsh detergents.
Final Reflection: The Rolling Pin's Enduring Legacy
The humble rolling pin, a seemingly simple kitchen tool, reveals a surprising depth of culinary artistry and cultural significance. Its seemingly straightforward function belies a world of nuanced techniques and preferences, as demonstrated by the distinct advantages of French, tapered, and adjustable rolling pins. Understanding these differences isn't just about achieving the perfect pie crust; it's about connecting with a rich history of food preparation and appreciating the craftsmanship behind even the most basic tools.
The impact of the rolling pin extends far beyond the kitchen; it's a symbol of home-baked goodness, family traditions, and the enduring power of handcrafted items in a mass-produced world. The best things in life are homemade,
a sentiment perfectly encapsulated by the simple act of rolling out dough with a well-chosen pin. This seemingly small act connects us to generations past, reminding us of the importance of patience, precision, and the satisfaction derived from creating something beautiful and delicious with our own hands. The subtle differences between rolling pin types highlight the importance of finding the right tool for the job, a principle that applies far beyond baking.
Consider the implications of this exploration. What other seemingly simple tools hold hidden depths of functionality and cultural significance? I encourage you to examine your own kitchen, your own craft, and identify the tools that not only serve a purpose but also connect you to a larger narrative.
Perhaps it's time to rediscover the joy of using a well-crafted tool, to appreciate the nuances of its design, and to understand how even the smallest detail can elevate the final product. Let the rolling pin serve as a reminder of the importance of mindful creation and the enduring power of tradition.
Unlock Your Baking Potential: Master the Perfect Roll!
Thanks for exploring the wonderful world of rolling pins with us! You've now got the knowledge to choose the perfect tool for any baking project. Ready to put your new expertise to the test?
- Master a new recipe: Try using your chosen rolling pin to create a classic French baguette or delicate pie crust – the possibilities are endless! This is your chance to elevate your baking skills.
- Share your baking journey: Show off your perfectly rolled creations on social media using #BakeWithEase and tag us! We love seeing your results.
- Experiment with different doughs: Challenge yourself by trying different types of dough, from delicate pastry to sturdy bread dough. Notice the difference your chosen pin makes!
What amazing baked goods will you create with your new rolling pin mastery?