Tough Bread? It Might Be Your Kneading Technique
🍞 Struggling with tough bread? Discover how proper bread kneading technique tips can transform your baking. At BakeWithEase.com, we simplify the process…
Read article
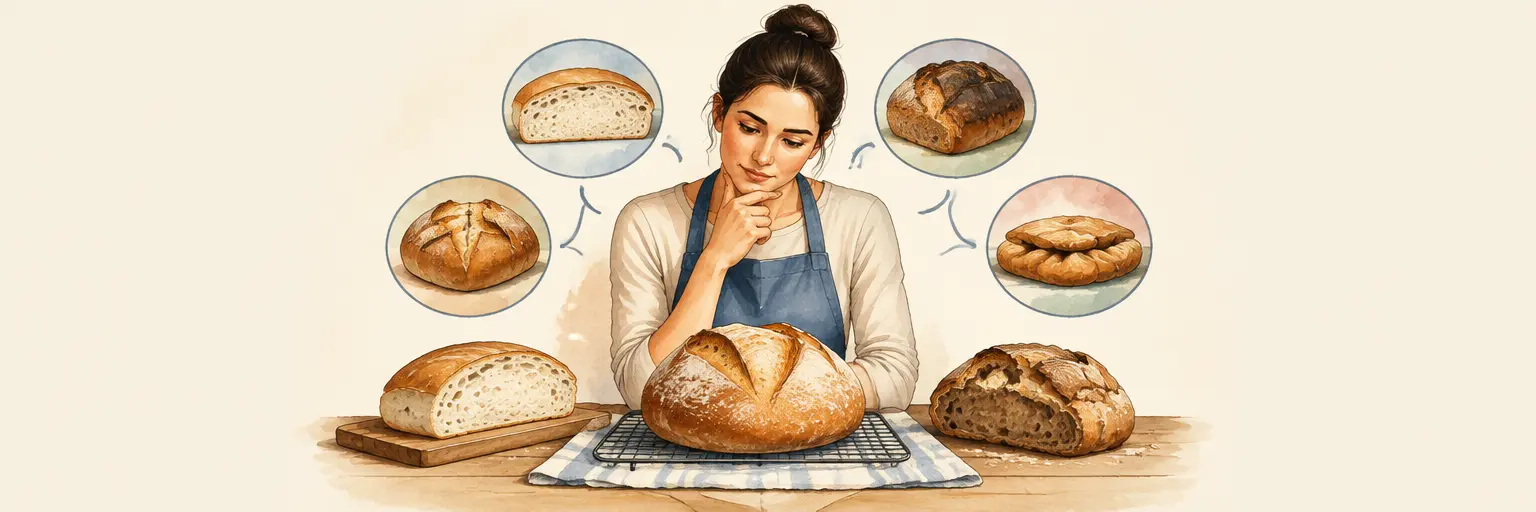
Struggling with dense loaves, sticky dough, or a cracked crust? You’ve come to the right place. Bread baking troubleshooting is the key to turning frustrating fails into bakery-worthy successes. Whether you’re a novice kneading your first batch or a seasoned sourdough enthusiast, this guide breaks down common issues like over-proofing, under-baking, and poor oven spring with clear, actionable fixes. Learn why your bread collapses, how to fix a gummy texture, and master the art of hydration and fermentation. With practical tips on temperature, yeast activity, and shaping, you’ll bake with confidence and consistency. Perfect your loaves, baguettes, and brioche by diagnosing problems early—no more wasted flour. Explore proven solutions for crust color, crumb structure, and storage, and transform every bake into a triumph. Your journey from “what went wrong?” to “wow, that’s perfect!” starts here.
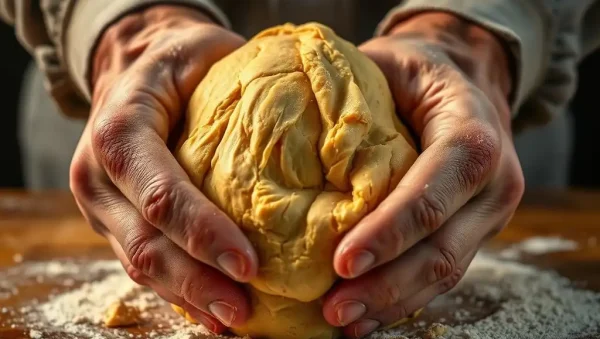
🍞 Struggling with tough bread? Discover how proper bread kneading technique tips can transform your baking. At BakeWithEase.com, we simplify the process…
Read article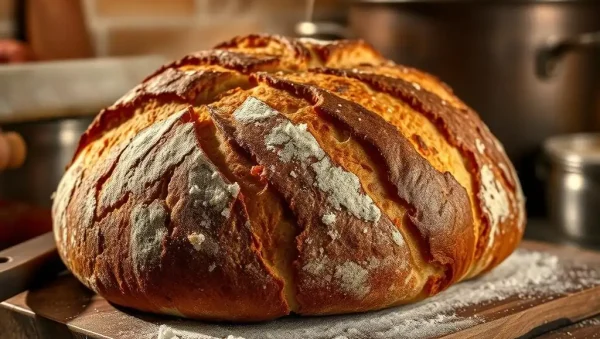
🔥 Struggling with a lackluster crust? Unlock the Crispy Bakery Crust Secrets Reveal and elevate your bread with perfect steam techniques. BakeWithEase.com…
Read article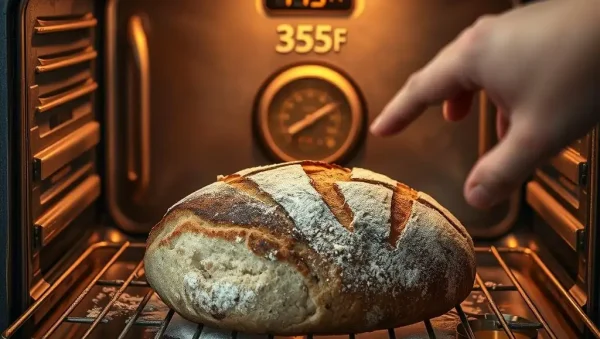
🔥 Struggling with a dense bottom crust? Discover common causes of oven temperature inconsistent baking crusts and learn effective troubleshooting tips to…
Read article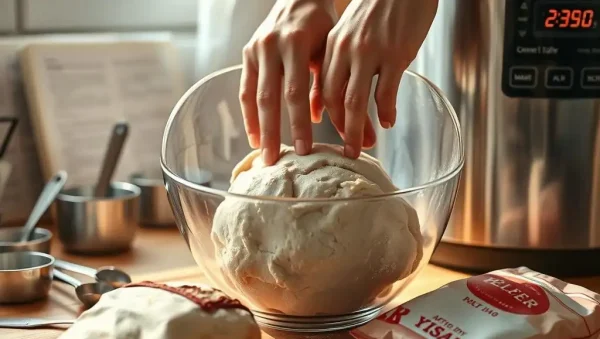
✨ Discover essential bread machine dough troubleshooting tips to fix common issues and ensure perfect loaves every time. Whether you're a beginner…
Read article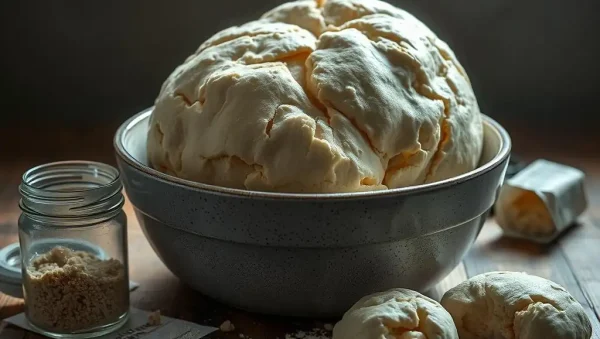
😊 Struggling with yeast problems in baking? Learn how to identify and fix excess yeast in your dough with expert tips from…
Read article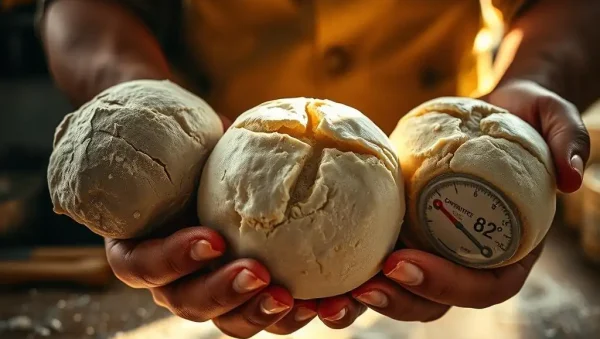
🌟 Struggling with why bread won't rise? Discover how temperature plays a crucial role in yeast activation and fermentation. Learn simple troubleshooting…
Read article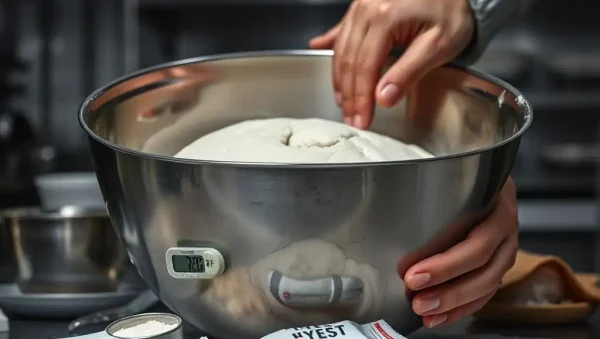
🔍 Struggling with "Why dough not rising"? Discover essential troubleshooting tips to identify common issues like yeast activity, temperature, and kneading techniques,…
Read article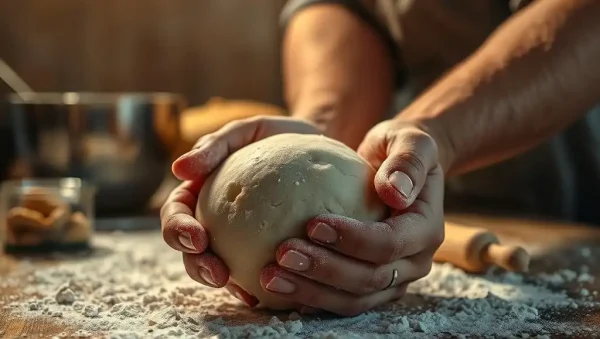
😊 Struggling with flat dough? Discover effective tips on how to fix flat dough and rescue your baking. BakeWithEase.com offers simple techniques…
Read article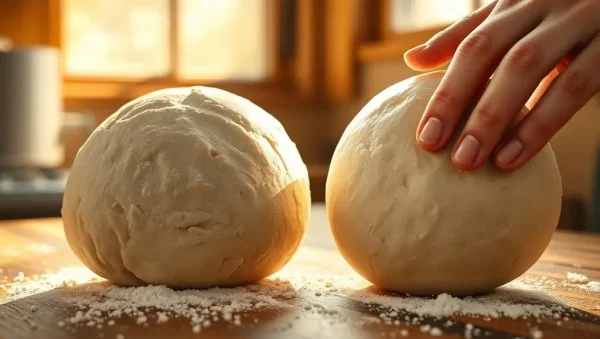
😊 Discover how to knead dough properly and recognize when it’s perfectly kneaded, avoiding under- or over-kneading. BakeWithEase.com guides you through simple…
Read article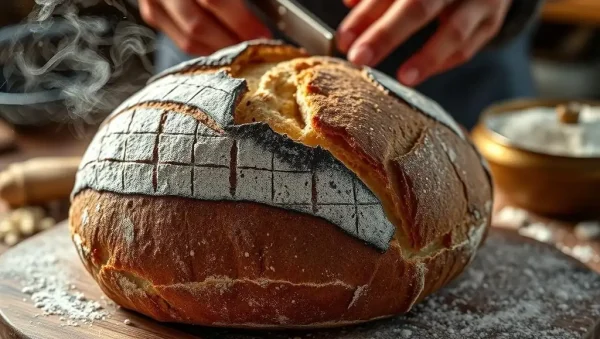
😊 Discover how to perfect your sourdough crust texture with expert tips and simple techniques from BakeWithEase.com. Unlock the secrets to achieving…
Read article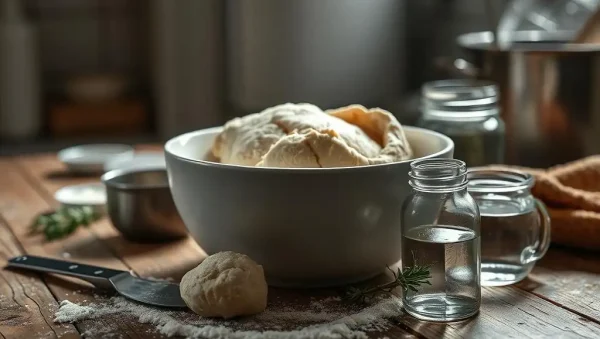
🧪 Unsure if your yeast is still alive? Discover our easy "Yeast Not Rising Test" to quickly check if your yeast is…
Read article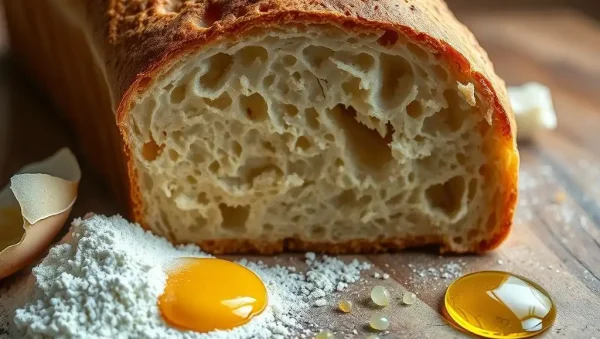
😊 Struggling with a gummy bread texture? Discover effective Gummy bread texture fix tips on BakeWithEase.com to transform your baking results. Learn…
Read articleWelcome to the Bread Baking Troubleshooting hub at BakeWithEase.com, where we transform baking frustrations into delicious successes. Whether you’re facing dense crumb, burnt crusts, or sticky dough, this subcategory is your practical guide. We cover common issues, science-backed fixes, and pro tips for bread baking at any skill level. Explore our step-by-step solutions, from gluten development to oven spring, and bake with confidence.
A dense loaf often stems from under-proofing, insufficient gluten development, or using old yeast. When dough hasn’t risen enough, the crumb remains tightly packed and heavy. Check your yeast’s freshness by testing it in warm water with sugar—it should foam within 10 minutes. Also, knead for the full recommended time to build strong gluten strands. For whole wheat flours, add vital wheat gluten to improve structure.
Another culprit is over-flouring during shaping, which dries the dough. Instead, use a light dusting or oil your hands. If your loaf still feels dense, increase hydration slightly—wet doughs create lighter crumbs. Finally, ensure your oven is hot enough (450°F/230°C) and use steam in the first 10 minutes to boost oven spring. These tweaks will give you that airy, bakery-quality texture.
This classic issue occurs when oven temperature is too high, especially for large loaves. The outside sets before the inside cooks. Always preheat your oven fully and use an oven thermometer—many ovens run hotter than dialed. Reduce temperature to 375°F (190°C) for denser doughs and bake longer. Tent your loaf with foil halfway through to prevent over-browning while the center finishes.
Also, consider steam injection early in baking—it keeps crusts soft initially so the interior expands. For sourdough, use a Dutch oven with the lid on for the first 20 minutes. If the crust bakes too dark, place a baking sheet on the rack below to shield bottom heat. Remember, internal temperature should reach 200–210°F (93–99°C) for a fully baked center, not just rely on color.
Sticky dough often indicates over-hydration or under-kneading, especially in high-humidity climates. First, weigh your flour rather than using cups—humidity changes flour absorption. Reduce water by 10–15% if dough clings excessively. For high-gluten flours, extend kneading time to fully develop strands; use the windowpane test (stretch a small piece until translucent without tearing).
If moisture persists, incorporate a rest period (autolyse) for 20–30 minutes before adding salt and yeast. This lets flour absorb water evenly. Also, sprinkle your work surface with rice flour, which doesn’t absorb like wheat, or use a bench scraper. For wet doughs like ciabatta, use a wet-hands folding method instead of heavy kneading. These adjustments keep your dough manageable without sacrificing a soft crumb.
Oven spring failure usually comes from under-proofing or a weak gluten network. If dough is proofed too little, it lacks strength to expand. Let it rise until it has increased by 50–75% and springs back lightly when poked. Additionally, heat must be intense—preheat to 450°F (232°C) and create steam by placing a pan of hot water at the bottom. Steam delays crust formation, allowing more expansion.
Another cause is dead yeast or excessively cold dough. Use room-temperature water (75–80°F/24–27°C) and proof in a warm spot. For sourdough, ensure your starter is active and bubbly before mixing. Also, slash the top of your loaf with a lame—this weakens the crust at a scored line, directing expansion. If needed, add a tiny amount of ascorbic acid (vitamin C) to strengthen dough structure and boost rise.
Dry, crumbly loaves often come from overbaking, too little fat, or insufficient hydration. Remove bread from the oven as soon as internal temp reaches 200°F (93°C). Adding fats like olive oil, butter, or milk powder increases tenderness and moisture retention. For lean doughs, try an enriched recipe with a tangzhong (cooked flour-water paste) to lock in water.
Also, store bread properly—wrap in a clean cloth or paper bag, not plastic, to maintain a crisp crust while preventing the crumb from drying. If your loaf is already dry, sprinkle it with water and reheat in a 350°F (175°C) oven for 5 minutes. For future bakes, increase liquid by 2–3 tablespoons and use a longer, slower bake to dehydrate less. These steps keep every slice moist and pliable.
Yeast performance depends on temperature and fermentation time. Too cold slows activity, while too hot kills it—optimal range is 75–85°F (24–29°C). Use a digital thermometer for water and dough. If your dough rises too slowly, place it in a slightly warmed oven (just turned off) with a bowl of hot water. Conversely, a hot kitchen might overproof; refrigerate dough for a slow, controlled rise.
Fermentation also affects flavor. A long, cold proof (12–24 hours) in the fridge develops complex sour notes without decreasing yeast vitality. Watch for over-fermentation signs: a sour, alcoholic smell or a flat, slack dough. Use the poke test—if the indentation springs back slowly but not fully, it’s ready. Adjust proofing time according to room temperature and recipe guidance to achieve consistent results every baking session.
Dry dough often lacks hydration or has too much flour. Increase liquid by 5–10% and ensure you’re measuring flour correctly—spoon and level rather than scooping. Also, cover dough during rising to prevent a skin from forming. If cracks appear, mist with water and let rest before shaping.
Falling apart indicates a weak gluten network or over-proofing. Ensure you knead long enough to develop gluten, and don’t allow dough to over-rise before baking. Let bread cool completely on a wire rack—cutting warm dough damages structure. Add a tablespoon of vital wheat gluten for extra support.
Yes, quickly remove the loaf and place it on a wire rack. Use a cheese grater to gently scrape off the burnt layer, or trim it away. For prevention, lower oven temperature by 25°F (14°C) and tent with foil for the final 15 minutes. The interior remains intact.
Large holes often come from over-proofing or poor dough shaping. Trap air pockets by degassing gently and shaping tightly. Ensure dough isn’t too wet; reduce hydration slightly. Also, score the dough deeply to prevent air escaping irregularly during baking.
Gummy centers are underbaked but safe to eat if internal temperature reached 200°F (93°C). To improve, bake longer at a lower temperature and use a thermometer. For future loaves, reduce hydration and increase oven spring by adding steam during the first 10 minutes.