Dipping Strawberries with Tempered Chocolate: A StepbyStep Guide.
🍓 Discover how to elevate your treats with our easy Tempered Chocolate Strawberry Dipping Recipe. Perfect for bakers of all levels, this…
Read article
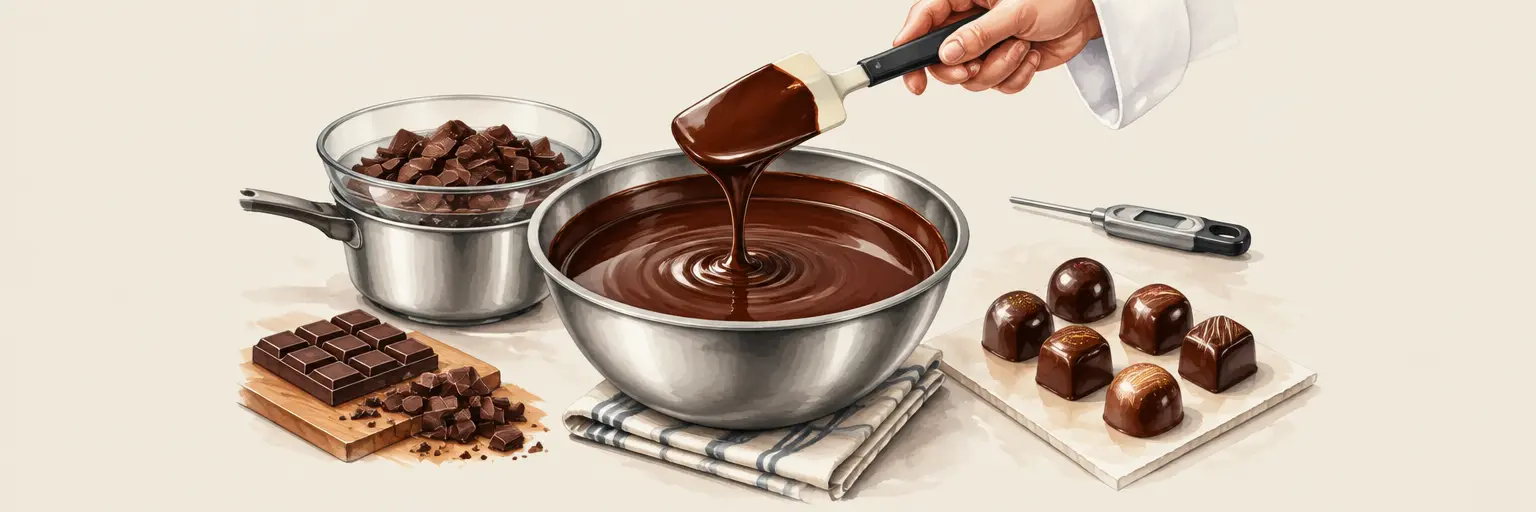
Unlock the glossy, professional finish that elevates every dessert with chocolate tempering —the secret behind perfectly snappy, beautifully shiny chocolate. Whether you’re dipping truffles, molding bonbons, or crafting delicate decorations, mastering this advanced baking technique transforms your creations from homemade to haute. With our step-by-step guidance, you’ll learn the seeding, tabling, and microwave methods, understand the science of cocoa butter crystallization, and troubleshoot common pitfalls like blooming or dull streaks. From dark, milk, to white chocolate, we’ll show you how to achieve that satisfying *crack* and mirror-like shine every time. Perfect your craft, impress your guests, and make every bite irresistible. Dive into precision, patience, and pure chocolate artistry—your desserts will never be the same. ✨🍫

🍓 Discover how to elevate your treats with our easy Tempered Chocolate Strawberry Dipping Recipe. Perfect for bakers of all levels, this…
Read article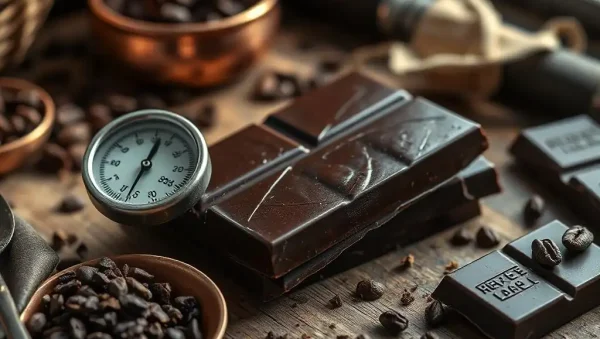
✨Discover the essential tips in our Temper Chocolate Thermometer Guide and learn whether you truly need a thermometer to achieve perfect tempering.…
Read article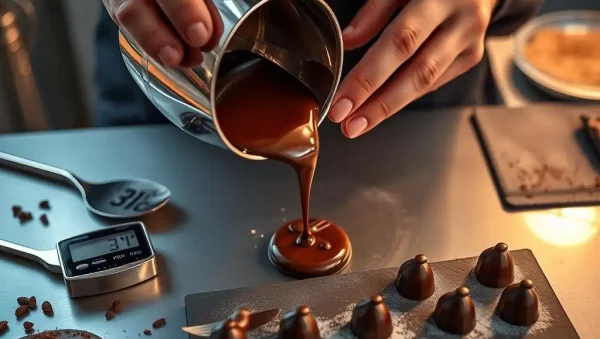
🍫 Discover the secrets of professional chocolate craftsmanship with our guide to tempered chocolate molding techniques. Perfect your skills and create stunning,…
Read article
🍫 Discover the importance of chocolate tempering basics explained to achieve perfect shine, snap, and stability in your confections. Elevate your baking…
Read article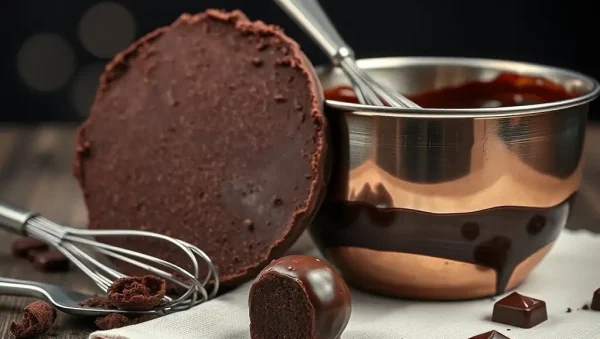
😊 When tempering chocolate goes awry, don’t despair—learn how to fix tempered chocolate easily with our expert tips. At BakeWithEase.com, we guide…
Read article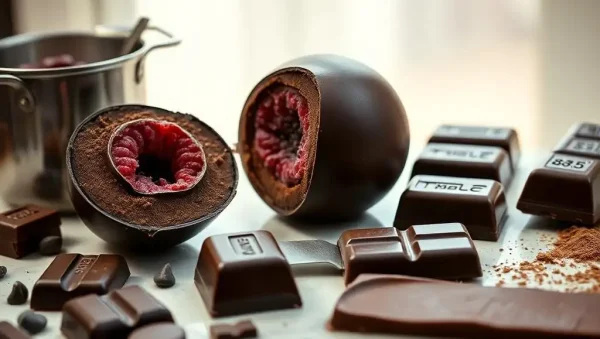
🍫 Unlock the secret to flawless treats with our insider Perfectly Tempered Chocolate Recipe Tips. BakeWithEase.com guides you through simple techniques to…
Read article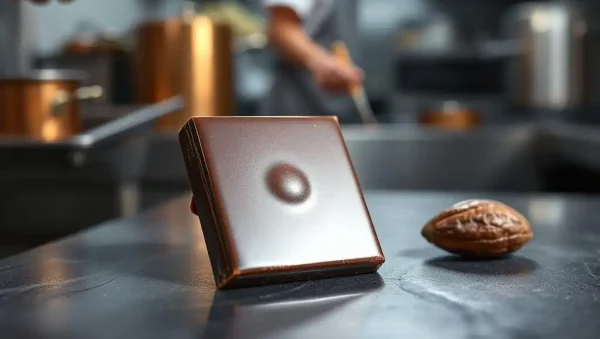
✨ Discover the secrets to achieving a stunning, glossy shine with tempered chocolate. BakeWithEase.com guides you through simple techniques to perfect your…
Read article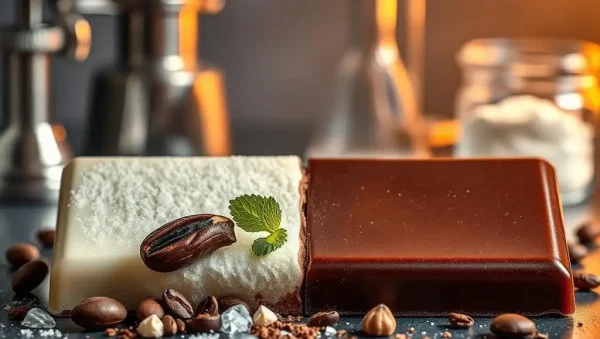
🌟 Discover why your chocolate develops bloom and learn essential chocolate bloom prevention tips to keep it smooth and glossy. Perfect for…
Read article
😊 Unlock the secret to stunning desserts with our Perfectly Tempered Chocolate Desserts Recipe. Elevate your baking skills and impress with glossy,…
Read article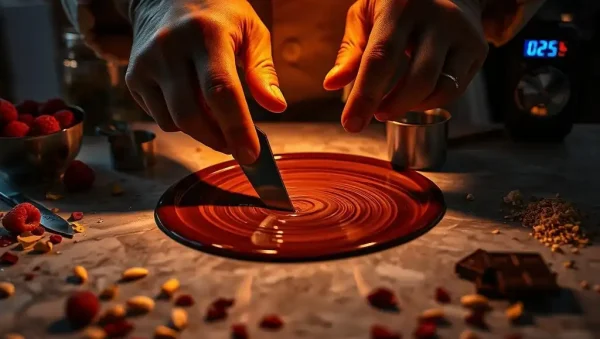
🍫 Discover how tempering chocolate for desserts elevates your confections with a glossy finish and perfect texture. BakeWithEase.com guides you through simple…
Read article
😊 Learn how to avoid seizing when tempering chocolate with simple tips and quick fixes. BakeWithEase.com helps you master perfect tempering, ensuring…
Read article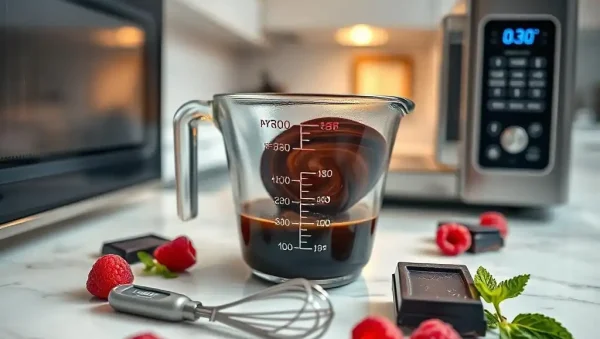
🌟 Discover how to microwave tempering chocolate quickly with simple, step-by-step techniques. Perfect your confections effortlessly and elevate your baking game with…
Read articleWelcome to the definitive guide on chocolate tempering and advanced chocolate techniques, tailored exclusively for the passionate bakers of BakeWithEase.com. Whether you’re crafting glossy dipped strawberries, delicate molded pralines, or crisp chocolate decorations, proper tempering is the secret behind a professional snap and shine. This subcategory goes beyond simple melting, offering step-by-step methods, troubleshooting wisdom, and creative applications that elevate your desserts from homemade to haute pâtisserie. Explore everything from seeding and tabling to using a tempering machine, plus tips on humidity, storage, and flavor pairing—all with easy-to-find ingredients and clear instructions.
Understanding the crystalline structure of chocolate is the foundation of all successful tempering. When chocolate melts, its cocoa butter crystals break apart; if cooled haphazardly, it forms unstable crystals that result in a dull, soft, and streaky finish. Proper tempering encourages the formation of stable Beta crystals, which give chocolate its characteristic glossy appearance, crisp snap, and ability to release cleanly from molds. In this section, you’ll learn the precise temperature curves for dark, milk, and white chocolate—commonly 115–120°F, 110–115°F, and 104–110°F respectively—and why cooling to the working range (88–92°F, 86–90°F, 84–88°F) ensures perfect consistency. Mastering this science transforms your baking, preventing common issues like fat bloom or poor demolding, and ensures every batch is reliably professional.
We break down tempering into digestible steps, emphasizing that even at home, you can achieve café-quality results. The most accessible method is the seeding technique, where you add finely chopped unmelted chocolate to melted chocolate to introduce stable crystals. Alternatively, the tabling method, favored by professionals, involves spreading melted chocolate on a marble surface and working it with a spatula—an engaging, hands-on approach that gives you ultimate control. By understanding why tempering works, you’ll become less dependent on recipes and more confident in improvising, whether you’re adjusting for ambient temperature or experimenting with new chocolate brands. This scientific base is the first step toward becoming an advanced chocolatier.
While you don’t need a professional kitchen, having the right tools makes tempering more predictable and enjoyable. A reliable digital instant-read thermometer is non-negotiable—accuracy within a degree or two prevents overheating, which causes seized, gritty chocolate. Consider investing in a heatproof spatula, a sturdy mixing bowl (preferably stainless steel for even heat distribution), and a marble slab or a clean, cool countertop for the tabling method. A hair dryer or heat gun is a handy trick for gently rewarming the edges of a bowl, eliminating cold spots that cause premature thickening. For those who temper frequently, a small tempering machine, like a tabletop model, automates the process and maintains perfect temperature without constant stirring—worth the investment if you produce large quantities or work weekly.
Beyond basic equipment, think about workspace setup. Humidity is the enemy—chocolate absorbs moisture, which leads to dullness and a grainy texture. Work in a cool, dry room (ideally 65–70°F) and avoid open windows or steaming kettles. Use a silicone or paper towel to wipe any water droplets from your bowl before starting. Also, choose high-quality couverture chocolate with at least 32% cocoa butter for best results—chocolate chips often contain stabilizers that hinder proper tempering. With these tools and a well-prepared space, you’ll minimize variables and achieve a flawless temper on the first try, turning your kitchen into a mini-chocolatier’s studio.
Tempered chocolate is your artistic medium, and this section unlocks a world of decorative possibilities. Learn to create shimmering molded bonbons using polycarbonate molds—just brush with a thin layer of tempered chocolate, let it set, fill with ganache or caramel, then seal with a final chocolate base. For dipping, whether strawberries, pretzels, or cookies, maintain the chocolate’s working temperature by reheating briefly every 10–15 minutes, and use a fork to gently tap off excess for a neat foot. You’ll also discover how to make elegant chocolate curls, leaves, and piping decorations by spreading a layer of tempered chocolate on a clean surface, letting it partially set, then scraping with a bench scraper or rolling onto itself. These techniques instantly upgrade cakes, cupcakes, and tarts with a professional finish.
Color and texture play a major role in presentation. Use cocoa butter paints to hand-paint intricate designs inside molds before adding chocolate—this creates vibrant, edible art that impresses clients and guests. Dusting with luster dust, gold leaf, or airbrushing after demolding adds a luxurious touch. For a rustic look, intentionally break tempered chocolate slabs into shards for a dramatic garnish. Each technique relies on the proper viscosity of your tempered chocolate—thicker for coating, slightly thinner for piping—which you control by gently warming (never above 90°F) while stirring. With these creative skills, you’ll move beyond simple bars and unlock endless dessert garnishing potential that showcases your advanced baking expertise.
Even experienced bakers face hiccups, so this section provides practical fixes for the most frequent tempering challenges. If your chocolate seizes—becoming thick and grainy—it’s often due to water contact or overheating. Instantly rescue it by adding a small amount of warm cream or melted cocoa butter (1 tsp at a time) while stirring vigorously; this rehydrates the mixture, though you may lose temper, so re-temper after cooling. Bloom, appearing as white spots or streaks, occurs when chocolate is tempered incorrectly or stored at fluctuating temperatures. While you can’t reverse bloom, you can remelt and re-temper the chocolate to restore its texture and shine. If your chocolate won’t harden quickly, your room may be too warm—place the tray in a cool spot or fridge for 1–2 minutes, but avoid condensation.
Another common issue is chocolate that’s too thick for dipping. Simply rewarm gently to 88–90°F, but do not exceed the working range or you’ll lose temper. Conversely, if it’s too runny, cool it slightly by stirring on a marble surface or adding more seed chocolate. For dull spots, you likely dropped below the working temperature—rewarm and mix thoroughly. Prevention is best: always temper small batches, use fresh chocolate, and avoid using utensils with residual moisture. By learning to diagnose these issues quickly, you’ll save ingredients and time, making advanced baking a stress-free, rewarding experience. Our troubleshooting guide ensures that even when things go sideways, you have confident, effective solutions.
Proper storage extends the life and quality of your tempered creations, saving money and reducing waste. Once your chocolate pieces are set, store them in an airtight container at a cool, dry place (60–68°F) away from strong odors—chocolate absorbs smells easily. Never refrigerate unless absolutely necessary, as condensation leads to bloom and spoilage. If you have leftover tempered chocolate, you can remelt it later and re-temper; however, each remelting cycle slightly degrades the cocoa butter, so aim to use within 2–3 tempering cycles. For long-term storage, keep unopened couverture chocolate in its original wrapper in a dark pantry; properly stored, it can last up to two years. For finished bonbons or dipped fruit, consume within 1–2 weeks for optimal freshness—especially with fresh inclusions like berries.
Reusing untempered chocolate requires extra care. If you have a chunk of set chocolate (like a broken bar), melt it gently and incorporate new seed chocolate to re-temper. For practical efficiency, consider tempering a large batch and saving some in a sealed plastic container at room temperature; gently remelt just what you need, then add a few shards of solid chocolate to recrystalize. Label everything with dates to avoid confusion. Additionally, if you’re making chocolate for gifts, use food-grade storage boxes with tissues paper to prevent scratching. By mastering storage and reusability, you ensure that your advanced techniques yield consistent, beautiful results every time, while minimizing the environmental and financial impact of waste.
White chocolate, made from cocoa butter, sugar, and milk solids, requires lower temperatures due to its delicate composition. Temper it to a maximum of 110°F during melting and cool to 84–88°F for working. It’s more prone to seizing from water and can become overly thick if overheated; always use a gentle double boiler and stir frequently. Ruby chocolate, a naturally pink variety with a fruity flavor, shares similar temperature profiles to white but benefits from slightly cooler working temperatures (82–86°F) to maintain its vibrant color and crisp snap. Be cautious with acidic ingredients—such as lemon zest or citric acid—which can cause dairy in white chocolate to curdle; blend dry ingredients first, then incorporate liquids sparingly.
When dipping or molding with white or ruby varieties, pay extra attention to humidity since they’re more susceptible to moisture-induced lumps. Use a dehumidifier or work in a dry kitchen. For adding colors, use oil-based food dyes—any water-based liquid will seize them. Also, note that white chocolate tends to set more slowly; let it rest 2–3 minutes longer before handling. For a marbled effect, combine white and dark tempered chocolate swirling gently, but do this while both are in the proper temperature range to avoid graininess. With these specialized pointers, you’ll confidently create stunning, multi-colored desserts that surprise and delight, expanding your advanced repertoire with ease.
The seeding method is the most forgiving for home bakers. Melt two-thirds of your chocolate to 115°F, then remove from heat and stir in the remaining one-third, finely chopped, until melted and cooled to the working temperature. This introduces stable crystals without fast temperature shifts, giving a reliable temper with just a thermometer.
Yes, but carefully. Microwave in 20-second bursts at 50% power, stirring thoroughly after each until almost melted, then use residual heat to finish. The key is to avoid overheating, which ruins the texture. Pair with seeding method for better control—many chocolatiers use this shortcut for small batches.
White streaks indicate fat bloom, caused by improper cooling or temperature fluctuations during crystallization. Ensure you cool chocolate to the correct working range and set in a cool, steady environment (around 65°F). Remelt and re-temper to fix, as bloom is purely cosmetic but affects mouthfeel.
Yes, use couverture chocolate with high cocoa butter content (at least 32%) for best results. Standard chocolate chips often contain vegetable oils and stabilizers that prevent proper crystallization, leading to poor snap and a dull finish. High-quality baking chocolate bars are a good alternative.
It’s risky, but possible using the “taste” or “touch” method: slowly cool while stirring until it feels slightly thicker and you taste a clean snap. However, a digital thermometer removes guesswork and prevents spoiling, so it’s highly recommended for consistent results and reducing waste.