Dipping Delights: Tips for Coating Treats in Chocolate
😊 Discover essential chocolate coating tips for beginners on BakeWithEase.com, your ultimate baking resource. Learn simple techniques to effortlessly dip, cover, and…
Read article
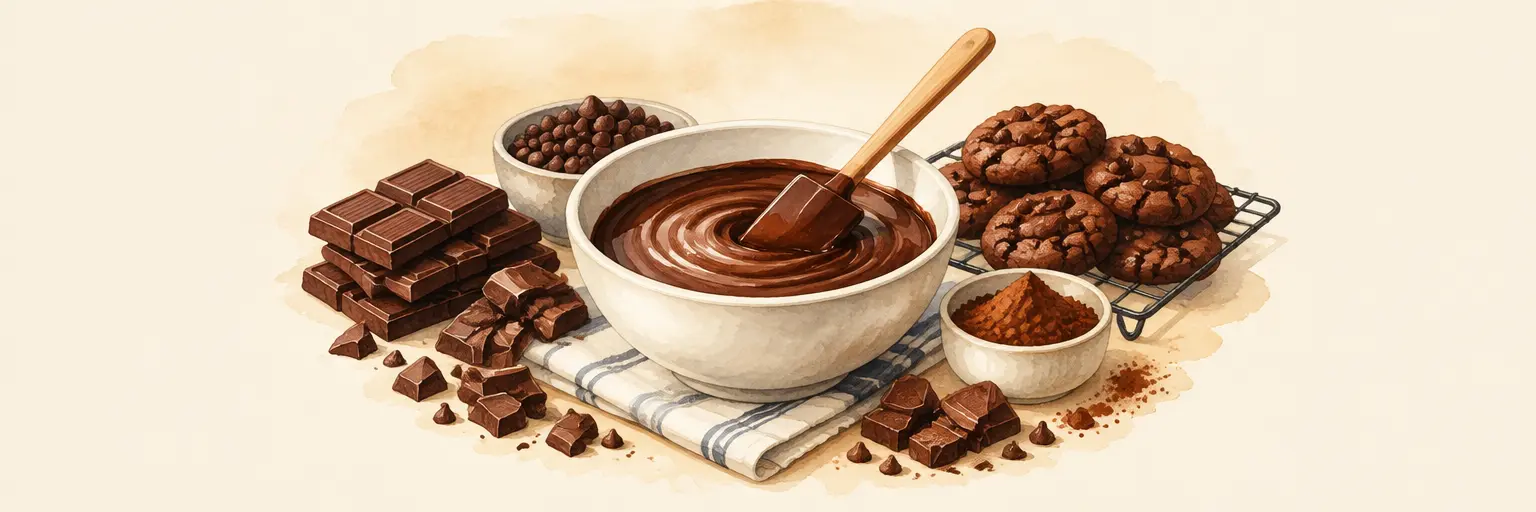
Unlock the secret to flawless desserts with chocolate baking tips & tricks that turn ordinary treats into extraordinary creations. From melting chocolate smoothly to avoiding graininess or seizing, master the art of tempering, choosing the right cocoa percentage, and enhancing flavor with a pinch of espresso or salt. Whether you’re whipping up fudgy brownies, silky ganache, or airy mousses, these expert hacks ensure shiny, crisp results every time. Learn how to store chocolate properly, substitute ingredients without compromising texture, and troubleshoot common issues like bloom or dull finishes. Elevate your baking game with simple, actionable advice that saves time and guarantees professional-level taste and presentation—perfect for home bakers and pastry enthusiasts alike.
😊 Discover essential chocolate coating tips for beginners on BakeWithEase.com, your ultimate baking resource. Learn simple techniques to effortlessly dip, cover, and…
Read article
😊 Discover foolproof Moist Chocolate Cake Recipe Hacks at BakeWithEase.com! Unlock simple ingredient tips and techniques to ensure your cake stays irresistibly…
Read article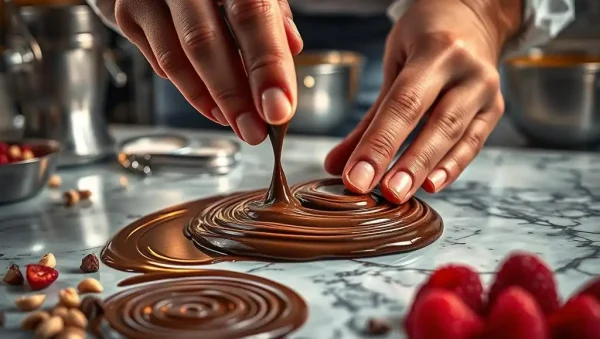
😊 Discover the science behind tempering chocolate for desserts and why mastering this technique ensures glossy, firm, and deliciously smooth chocolate treats.…
Read article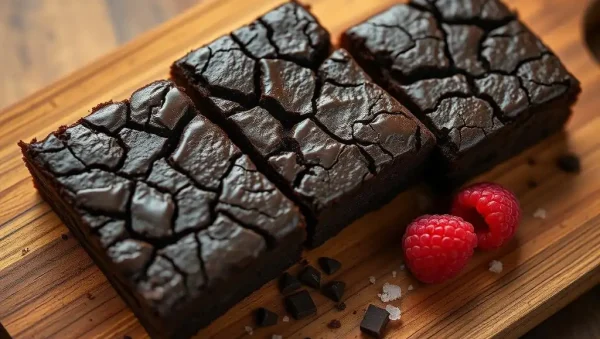
🍫 Discover the secrets to achieving a fudgy chocolate brownies crackle top with our expert tips. BakeWithEase.com guides you through simple techniques…
Read article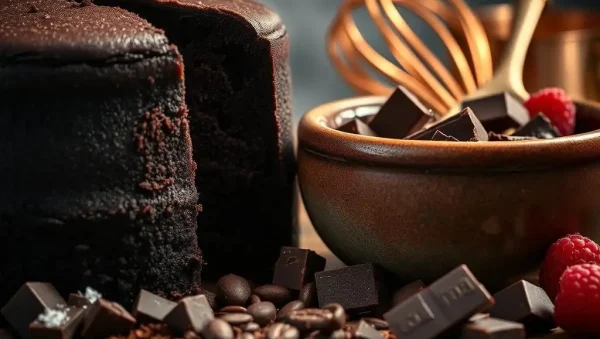
🍫 Discover the bold, intense flavor of unsweetened chocolate in baking. Our guide to unsweetened chocolate baking recipes will elevate your desserts,…
Read article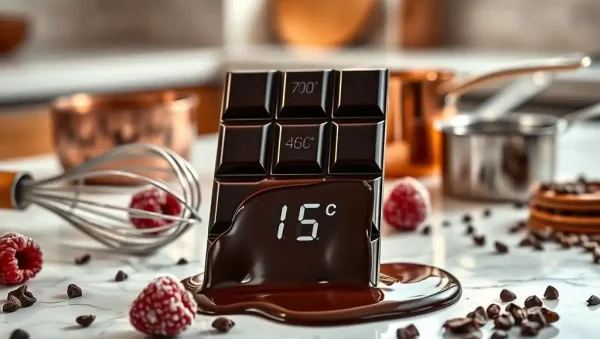
🔥 Discover the ultimate Melting Chocolate Temperature Guide on BakeWithEase.com to perfect your confections. Learn precise temperatures for smooth, glossy chocolate every…
Read article
✨ Curious if couverture chocolate is worth the investment? BakeWithEase.com explores its rich benefits for bakers, helping you decide whether this premium…
Read article
😊 Discover the secret ingredient behind moist, delectable chocolate cakes with our Dry Chocolate Cake Solution. BakeWithEase.com provides essential tips and techniques…
Read article
🍫 Discover the key to flawless baking with our guide to different chocolate baking recipes. Learn how various chocolate types enhance flavor…
Read article
🍫 Discover why choosing the best chocolate for baking cakes can elevate your desserts, making them richer and more flavorful. BakeWithEase.com guides…
Read article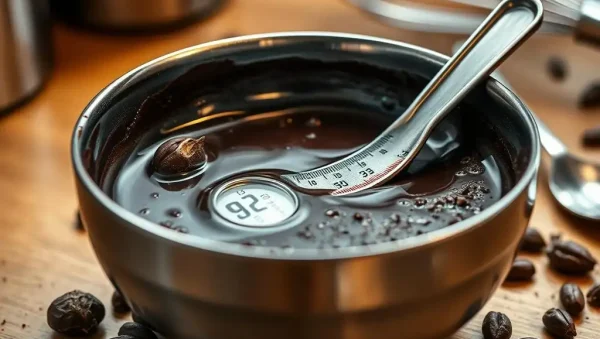
🍫 Struggling with grainy melted chocolate? Our expert guide on grainy melted chocolate troubleshooting reveals simple tips to fix and prevent texture…
Read article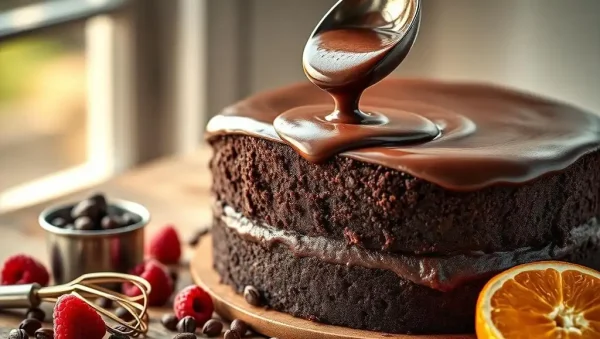
🍫 Discover the secret to irresistibly smooth and decadent desserts with our rich chocolate ganache recipe. Perfect for frosting and fillings, it…
Read articleChocolate is the heart of countless beloved desserts, yet it can be one of the trickiest ingredients to handle. From seizing ganache to dull, dull brownies, a few simple mistakes can ruin your bake. This subcategory is your dedicated guide to conquering every chocolate challenge. Here, we break down the science and the soul of working with this decadent ingredient, ensuring your cakes, cookies, and confections are consistently rich, glossy, and irresistibly delicious. Expect actionable advice, pro-level secrets, and troubleshooting for every stage of your chocolate baking journey.
Not all chocolate is created equal. The percentage of cacao, sugar, and added fats drastically changes how your final product behaves. For cakes and brownies, look for a high-quality couverture or semisweet bar with 60-70% cacao, which offers a deep flavor and good structure. For frostings and mousses, opt for bittersweet or dark chocolate with 70% or more to balance sweetness. Always choose a chocolate you enjoy eating, as its flavor will shine through. Avoid low-quality chocolate chips that contain stabilizers, as these can prevent proper melting and leave a waxy texture.
Understand the labels: Unsweetened chocolate (100% cacao) is for baking, while milk and white chocolate have lower cacao and higher sugar, making them more delicate. When a recipe calls for "baking chocolate," it means high-quality bars, not chocolate chips. Chips are designed to hold their shape, not melt smoothly. For the best results, chop bars into uniform pieces using a serrated knife. This ensures even melting and prevents scorching. This simple step is the foundation of all great chocolate baking.
Melting chocolate correctly is a game-changer. The double boiler method is foolproof: place chopped chocolate in a heatproof bowl over simmering water, ensuring the bottom of the bowl does not touch the water. Stir gently with a dry spatula until smooth. Alternatively, use a microwave in 30-second bursts, stirring vigorously between each interval. The key is low heat and constant motion. Do not let any water (even a drop) contact the chocolate, as this causes seizing—a stiff, grainy mess. This happens because the sugar dissolves and then recrystallizes.
For dipping and glossy finishes, tempering is essential. Tempering involves heating, cooling, and reheating chocolate to align the cocoa butter crystals. The seeding method is most accessible: melt 2/3 of the chocolate to 115°F, then stir in the remaining 1/3 to lower the temperature and create stable crystals. You do not need a thermometer for most home bakes; simply melt carefully and add cold pieces to bring the temperature down. Properly tempered chocolate sets with a sharp snap and attractive shine, perfect for candy making and decorative accents.
Chocolate’s flavor is complex, and you can unlock deeper notes with simple additions. A common baker’s secret is adding a teaspoon of instant espresso powder or strong brewed coffee to chocolate batters. This does not make the bake taste like coffee—it amplifies the chocolate’s richness and bitterness, making it taste more intense and less one-dimensional. For every 100g of dark chocolate, add 1 teaspoon of espresso powder dissolved in a tablespoon of hot water. This technique works wonders in brownies, chocolate cakes, and even ganache.
Similarly, don’t underestimate the power of sea salt. A pinch of flaky salt sprinkled on top of finished chocolate desserts—like brownies, truffles, or chocolate chip cookies—elevates the sweetness and creates a luxurious contrast. Inside the batter, a small amount of salt brightens all other flavors. Try adding a quarter teaspoon of fine salt to your dry ingredients for every 200g of chocolate used. You can also infuse your cream for ganache with vanilla pods, cinnamon sticks, or chili flakes for a sophisticated, layered taste profile.
Every baker hits a snag, but chocolate problems are usually solvable. If your chocolate seizes or becomes grainy, rescue it: for every 1 cup of seized chocolate, add 1 teaspoon of vegetable oil, cocoa butter, or warm heavy cream, stirring vigorously. This will smooth it out, albeit it may be slightly less firm. If your ganache is too thin to whip, let it cool at room temperature for 15-20 minutes, then whisk. If it is too thick, gently heat it over a warm water bath, adding a splash of warm cream. If your chocolate frosting looks curdled, it likely split due to temperature shock.
Prevention is better than cure. Always avoid water contact, use precise temperatures, and never stir chocolate too fast or too long. Another common issue is chocolate bloom—white streaks from fat or sugar rising. This is harmless and can be fixed by melting and re-tempering, or by simply using the chocolate in baking where appearance doesn’t matter. If your brownies come out dry, reduce baking time by 5 minutes and use a higher fat content (try brown butter or extra egg yolks). With these tricks, you’ll save any batch from the bin.
Proper storage preserves chocolate’s quality. Keep it in a cool, dry place between 60-70°F, away from direct sunlight, strong odors, and moisture. An airtight container in a pantry is ideal. Do not refrigerate unless absolutely necessary, as it will absorb odors and cause condensation-induced sugar bloom. If stored correctly, dark chocolate can last up to 18 months, milk chocolate up to 12 months, and white chocolate up to 6 months. Always wrap chocolate tightly in plastic wrap or foil to seal out humidity.
For baked goods, chocolate’s shelf life varies. Chocolate chip cookies stay fresh for 3-4 days in an airtight container, while ganache-filled cakes last 3-5 days in the fridge. Chocolate cakes can be frozen for up to 3 months—wrap tightly in a double layer of plastic, then foil. To thaw, leave at room temperature for several hours before unwrapping to prevent condensation. For decorations, tempered chocolate pieces can be stored at room temperature in a dry, sealed container for weeks. Always check for an unusual smell or off-taste, which indicates rancidity from old cocoa butter.
Seizing occurs when any moisture—even a single drop of steam or water—touches melted chocolate. The water dissolves the sugar, which then sticks to the cocoa particles, forming a stiff paste. To fix it, add a tablespoon of warm cream or vegetable oil per 100g of chocolate and stir gently. Always use completely dry bowls and spoons, and ensure the double boiler doesn’t let steam escape onto the chocolate.
Yes, but you must adjust fat and sugar. For 1 ounce (28g) of unsweetened chocolate, mix 3 tablespoons of unsweetened cocoa powder with 1 tablespoon of butter, margarine, or shortening, and a teaspoon of sugar if using sweetened. Melt the fat first, then combine. This substitution works well for brownies and cakes, but the texture may be slightly lighter due to less cocoa butter.
Baking chocolate (bars) contains more cocoa butter and less stabilizers, melting smoothly and evenly. Chocolate chips are formulated with lower cocoa butter and added emulsifiers to retain their shape when baked. For melting, dipping, or ganache, always use chopped bars. For baking cookies, chips are fine, but they won’t melt into the dough—they hold their shape better for aesthetic reasons.
The simplest test is to smear a small amount on a piece of parchment or your finger. Properly tempered chocolate should start to set within about 5 minutes, has a smooth, glossy appearance, and snaps cleanly when broken. If it remains soft, sticky, or dull, it’s not tempered. You can attempt to re-temper by reheating gently and adding fresh solid chocolate to seed again.
This usually happens when you overheat the cream or stir too aggressively, causing the emulsion to break. To fix, gently reheat the mixture over a double boiler while whisking slowly—add a splash of warm milk or cream to help it recombine. For prevention, pour hot cream over chopped chocolate, let it sit for 2 minutes, then stir in one direction with a spatula. Avoid vigorous whisking.