Mastering High Altitude Baking Adjustments for Perfect Results Every Time
Baking at high altitude—typically above 3,000 feet—presents unique challenges due to lower air pressure and reduced moisture. At BakeWithEase, our High Altitude Baking Adjustments subcategory is your essential guide to transforming flat, dense, or overly dry baked goods into light, moist, and structurally sound masterpieces. Whether you live in Denver, Salt Lake City, or the Andes, this resource covers precise flour, liquid, leavening, sugar, and temperature tweaks. Dive into science-backed techniques, tested formulas, and troubleshooting tips that ensure your cakes rise, cookies spread correctly, and breads develop perfect crumb—no matter your elevation. Let’s demystify the altitude factor and bake with confidence.
🌄 Understanding the Science Behind High Altitude Baking
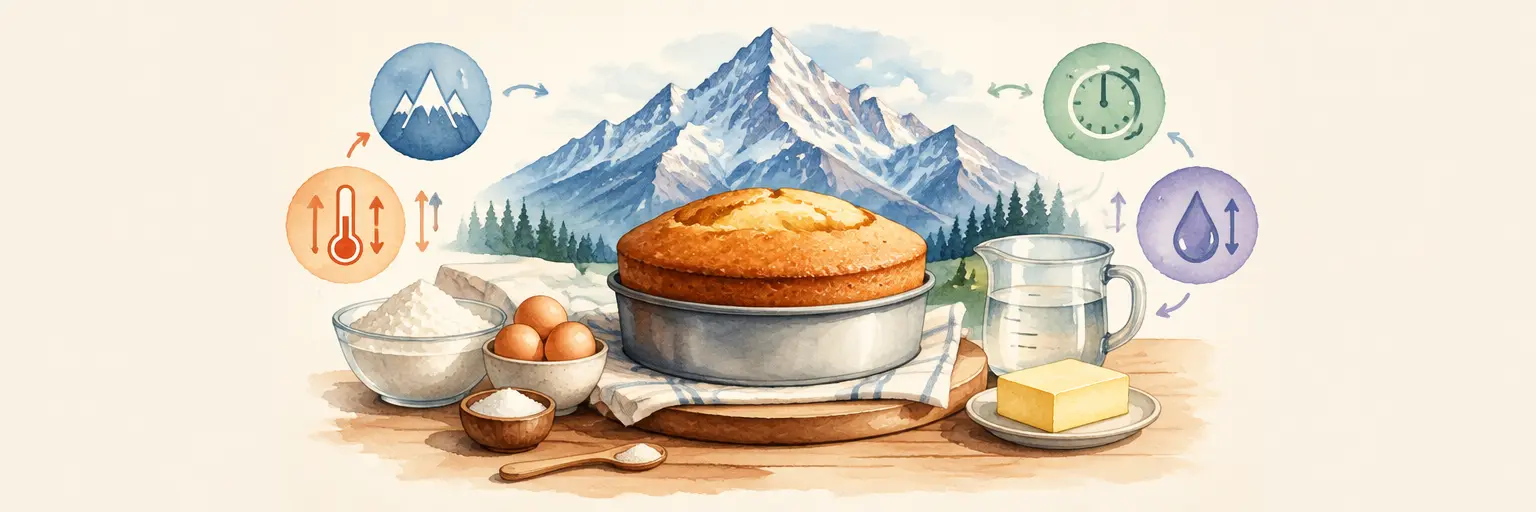
At higher elevations, lower atmospheric pressure means gases like carbon dioxide and steam expand more quickly. This rapid expansion causes batters to rise faster, but also makes structures like cakes or muffins prone to collapsing if not properly supported. Additionally, water boils at lower temperatures, which affects moisture evaporation and doneness times. For example, at 5,000 feet, water boils around 203°F instead of 212°F, so your baked goods may dry out faster while still appearing undercooked inside. Understanding these physical changes is the first step to adjusting recipes effectively.
You’ll learn that protein and starch structures weaken at altitude, leading to gummy textures if you don’t adjust. This section breaks down how ingredient chemistry shifts—including reduced gluten development and faster starch gelatinization. By grasping why adjustments matter, you can diagnose issues rather than blindly changing measurements. We provide simple analogies, like comparing high-altitude batter to a balloon that expands too quickly, to help you visualize the process. This foundational knowledge empowers you to make informed tweaks across any recipe, from delicate sponge cakes to sturdy sandwich breads.
📏 Essential Adjustments: Flour, Liquid, and Sugar Ratios
One of the most critical changes is reducing sugar and increasing liquid and flour. At altitude, sugar weakens gluten structure, and with faster evaporation, you need extra moisture. A common rule of thumb at 3,000–5,000 feet is to decrease sugar by 1–2 tablespoons per cup, increase liquid by 1–2 tablespoons per cup, and add an extra 1–2 tablespoons of flour. These adjustments compensate for reduced gas pressure and rapid drying. For example, in a standard vanilla cake recipe, you might swap 1/4 cup milk for an extra egg yolk or buttermilk to boost moisture and structure.
This topic includes a detailed chart for elevations from 3,000 to 10,000 feet, so you can pinpoint exact ratios. Beyond simple tweaks, we discuss substituting ingredients like using bread flour for more protein, or adding an extra egg to provide strength. You’ll also learn how to adjust fats—butter or oil—to manage tenderness without sacrificing lift. Each adjustment is explained with real recipe examples, such as adapting a pound cake or banana bread, so you see the numbers in action. With these ratios in hand, your baked goods will maintain proper crumb and moisture without being dense or rubbery.
🧪 Leavening Agents: Baking Soda and Baking Powder Tweaks
Leavening agents are the most volatile at high altitude. Because gases expand faster, you often need to reduce baking powder or baking soda by 15–25% to prevent over-rising and collapsing. For every 1 teaspoon of baking powder in a recipe, reduce to 3/4 teaspoon at 5,000 feet, and further to 1/2 teaspoon above 7,000 feet. For baking soda—which reacts with acids—you may need to slightly increase liquid acid (like buttermilk or lemon juice) to balance pH, since evaporation concentrates acids. This section provides clear substitution examples, including how to adjust a simple chocolate chip cookie recipe where baking soda is essential for spread.
We also cover the timing of activation: at altitude, batters should go into the oven immediately after mixing, as the leavening gases dissipate faster. You’ll learn the “two-stage” mixing technique, where dry and wet ingredients are combined just before baking, to preserve gas. Additionally, we explain how to test your leavening strength using warm water—if it bubbles vigorously, it’s still active; if not, replace it. These practical hacks ensure your cakes rise evenly without tunnels or cracks, and your muffins have beautiful domes instead of flat tops.
⏲️ Temperature and Time Modifications for Oven Success
Since water evaporates faster and bakes quicker at altitude, you need to increase oven temperature by 15–25°F (about 10–15°C) to set the structure before gases escape. For example, if a recipe calls for 350°F, bake at 365°F at 5,000 feet. However, you must reduce baking time by 5–8 minutes per 30 minutes of original baking time, because the higher heat cooks faster. This creates a delicate balance: too high, and the outside burns; too low, and the interior collapses. We provide a simple formula based on your elevation and original recipe time, so you can avoid underbaked or overbaked disasters.
Beyond temperature, we explore the use of convection vs. conventional ovens, as convection at altitude can dry out batters even faster. You’ll learn how to adjust rack placement—center position is best for even heat—and how to use a thermometer to check internal doneness (e.g., cake should read 200–210°F, bread 190–200°F). We also discuss the importance of cooling slowly, as rapid temperature changes cause cracking. This section includes troubleshooting charts for common issues like sunken centers, dense bottoms, or burnt crusts, linking each symptom to a specific temperature or time fix.
🍞 Bread and Yeast: Adjusting Fermentation and Hydration
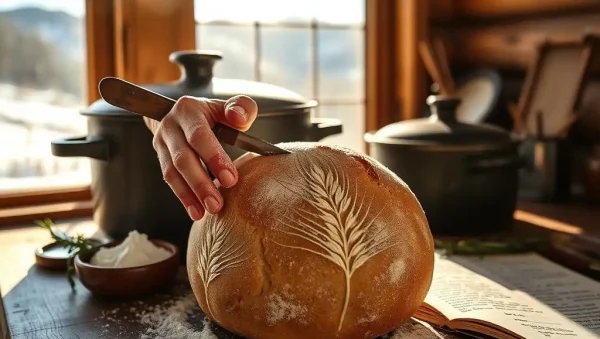
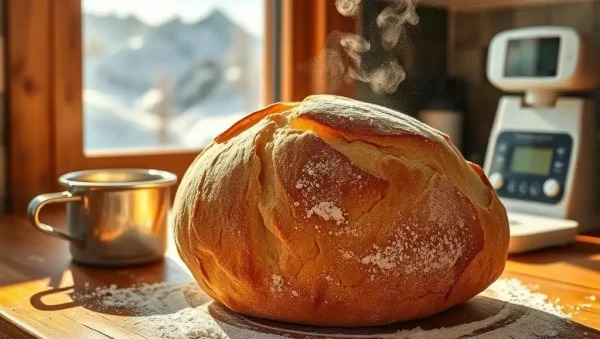
Yeast breads are particularly sensitive to altitude. Because lower pressure allows dough to rise faster, you must reduce yeast by 25% and decrease proofing times by up to 50%. For a typical sourdough loaf, you’ll need to shorten the bulk fermentation and second rise to avoid over-proofing, which leads to a collapsed loaf. Additionally, increase hydration by adding 2–4 tablespoons of water per cup of flour, since mixing and kneading lose moisture faster. This section covers both commercial yeast and sourdough starter adjustments, including how to maintain starter slackness at 7,000 feet by feeding it more frequently.
We provide a step-by-step adaptation for a classic white bread recipe, showing you exactly how much to reduce yeast, how to adjust flour-water ratios, and how to dish out shorter stretches. You’ll also learn about “windowpane” testing—stretching dough until translucent—since dough at altitude develops gluten faster due to increased enzyme activity. For shaped breads like baguettes or rolls, we discuss scoring techniques to control oven spring. With these adjustments, your loaves will have a crisp crust and airy crumb, not a dense, gummy interior that often plagues high-altitude bakers.
🍰 Specific Bakes: Cakes, Cookies, and Muffins Made Easy
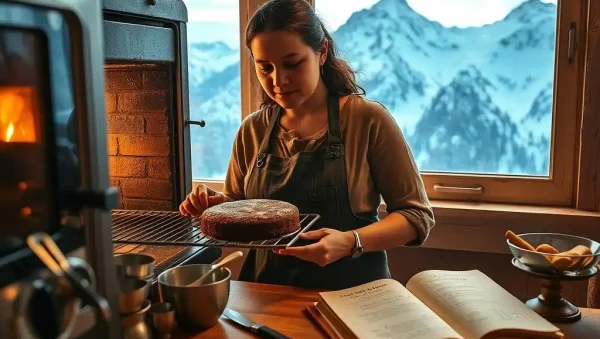
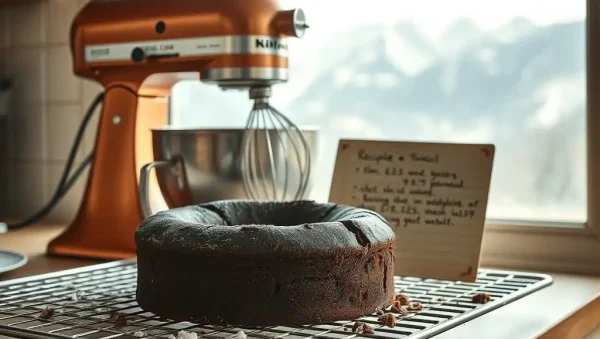
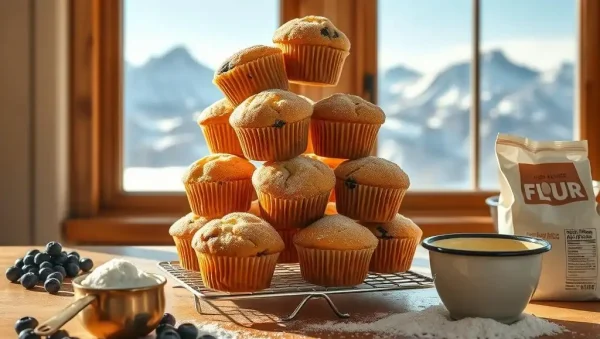
Different baked goods respond uniquely to altitude. Cakes need more flour and less sugar to prevent fragile structure; cookies require less baking soda and slightly lower oven temperature to avoid spreading too thin; muffins benefit from extra liquid and a reduction in leavening to keep their tops domed without tunneling. This section provides recipe-specific hacks: for example, add an extra egg white to angel food cake for stability, or use cake flour instead of all-purpose to lighten texture. We include a quick-reference table for your favorite treats—red velvet cake, snickerdoodles, blueberry muffins—with exact tweaks for 3,000, 5,000, and 7,500 feet.
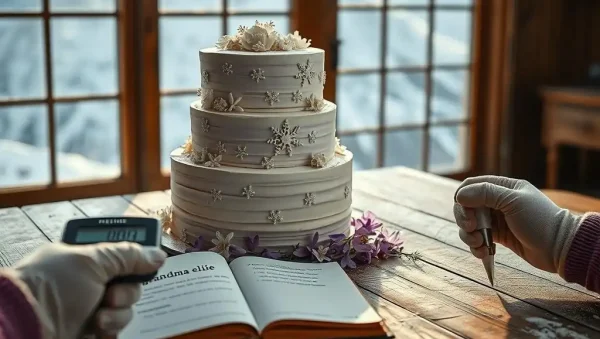
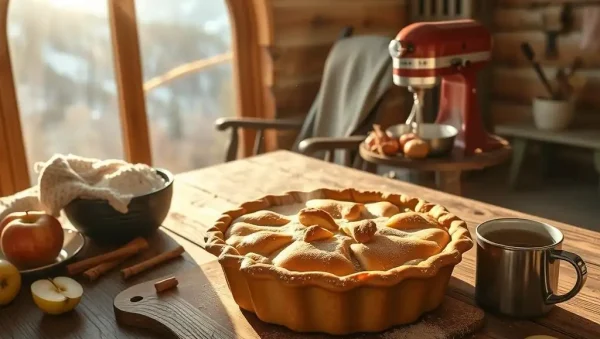
We also address frostings and glazes, which can become too runny at altitude due to faster evaporation. Adjust them by adding powdered sugar to thicken or using less liquid. For pies, increase the amount of thickener (like cornstarch or flour) by 10–20%, since filling moisture evaporates quickly but starches need enough liquid to activate. This section is packed with real-life examples and before-and-after photos, so you see the difference adjustments make. Whether you’re a beginner or seasoned pro, these targeted modifications simplify high-altitude baking, turning frustrating failures into consistent successes.
Frequently Asked Questions
What is the first adjustment I should make when baking above 3,000 feet?
Start by increasing oven temperature by 15–25°F and decreasing baking time by 5–8 minutes per 30 minutes. This helps set the batter before gases escape. Next, reduce sugar by 1–2 tablespoons per cup and add a tablespoon of liquid to combat dryness. These two changes address the most common high-altitude issues: collapsing and excessive dryness.
Does high altitude affect gluten formation in bread?
Yes, at high altitude, lower pressure increases enzyme activity and speeds gluten development, making dough more elastic but also weaker over time. This can lead to over-proofing and collapse. To counter this, reduce yeast by 25%, shorten rise times, and add extra water to maintain hydration, while kneading less to avoid toughness.
Why do my cookies spread too much at altitude?
Cookies spread excessively because lower air pressure causes butter to melt faster and leavening gases expand too quickly. Reduce baking soda or powder by 15–25%, chill dough thoroughly before baking, and slightly increase flour (1–2 tablespoons). Also, lower the oven temperature by 10–15°F to slow spread.
Can I use the same cake recipe if I live at 8,000 feet?
No, you need more aggressive adjustments. At 8,000 feet, decrease sugar by 3–4 tablespoons per cup, increase flour by 2–3 tablespoons, add 2–3 tablespoons extra liquid, and reduce baking powder by 25–30%. Increase oven temperature by 25°F and shorten bake time by 10–12 minutes.
How do I adjust sourdough starter hydration for high altitude?
At high altitude, your starter loses moisture faster, so increase hydration to 120% (1.2 parts water to 1 part flour) instead of 100%. Feed it more frequently—every 8 hours instead of 12—and keep it in a cooler spot to slow fermentation. This maintains activity without over-proofing your dough.