The Science Behind Dry vs. Wet Ingredient Measurement and Its Impact
🔍 Discover how accurate dry and wet ingredient measurements influence baking precision and results. At BakeWithEase.com, learn essential techniques to master the…
Read article
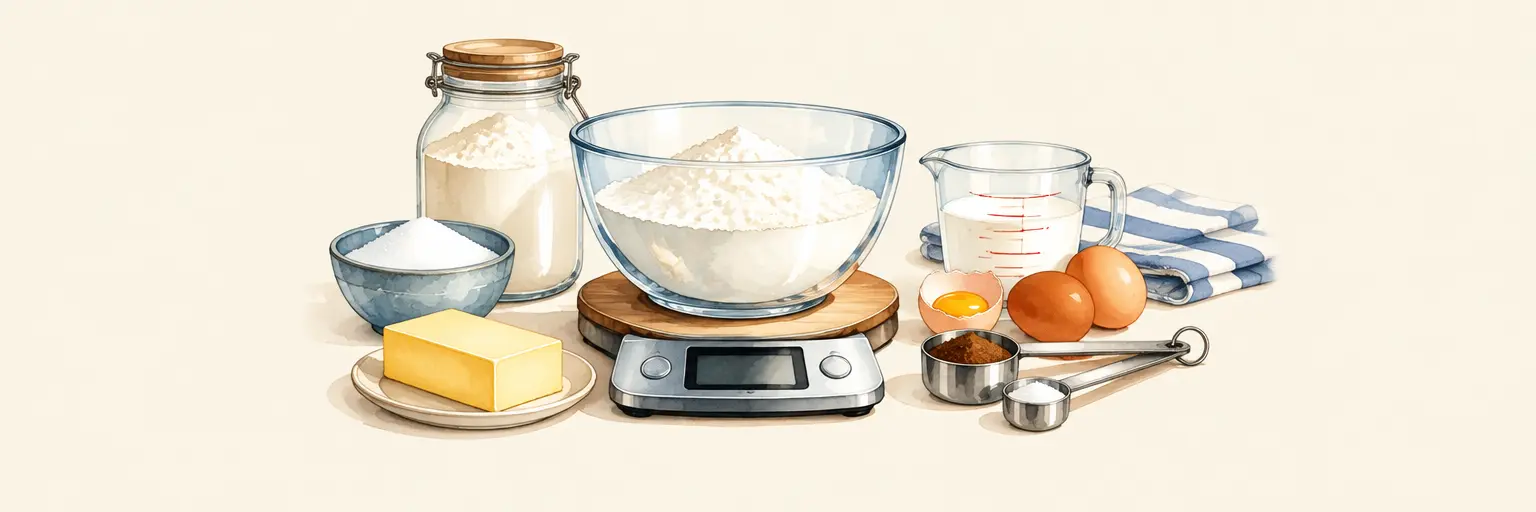
Master the art of baking by mastering the scales and spoons—accurate measuring is the secret behind every perfectly risen cake and chewy cookie. 🍰 In this guide, we break down the golden rules of ingredient measurement, from the spoon-and-level method for flour to the liquid vs. dry cup distinction that can make or break your batter. Whether you’re weighing butter for laminated pastries or eyeballing baking soda for a quick bread, these pro-level hacks ensure consistent results every time. Say goodbye to dense loaves and flat macarons—learn how digital scales, proper scooping, and room-temperature ingredients transform your bakes from good to flawless. Ideal for beginners and seasoned home bakers alike, this section turns kitchen chaos into precision, one gram at a time. ⚖️✨
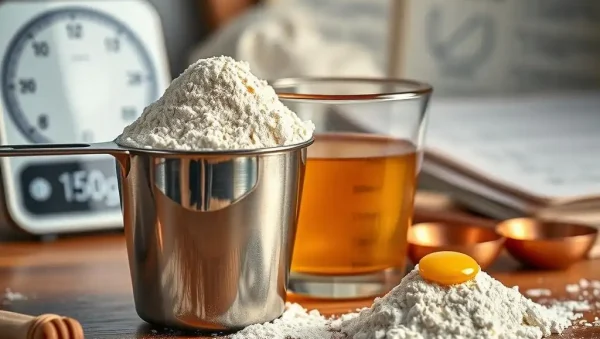
🔍 Discover how accurate dry and wet ingredient measurements influence baking precision and results. At BakeWithEase.com, learn essential techniques to master the…
Read article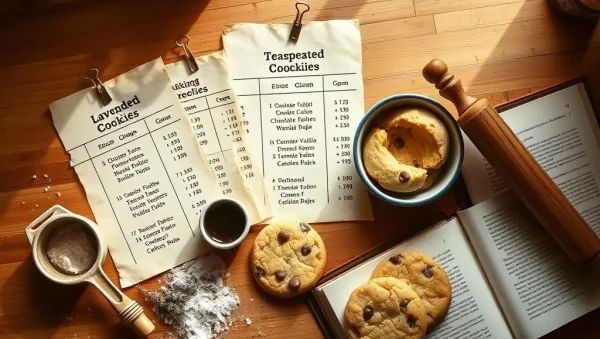
😊 Discover the ultimate baking companion with BakeWithEase.com’s free printable baking conversion charts. Perfect for bakers of all levels, these handy reference…
Read article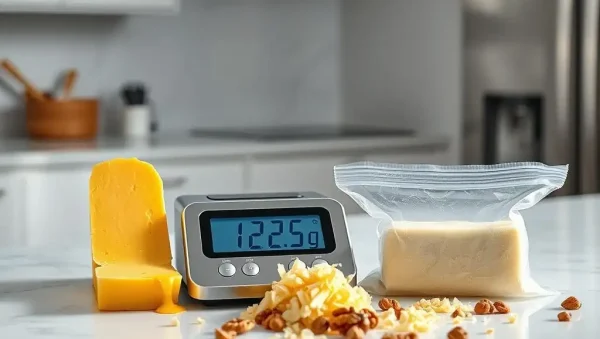
🥄 Master precise measurements with our Frozen Fat Weighing Techniques, ensuring perfect results whether your fats are at room temperature or frozen.…
Read article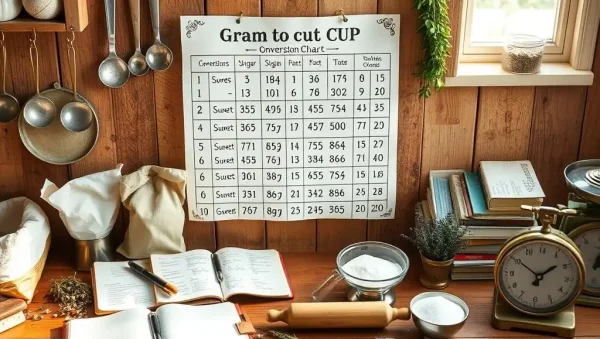
😊 Discover how to create your own Homemade Gram to Cup Chart with our easy tips. Perfect for bakers of all levels,…
Read article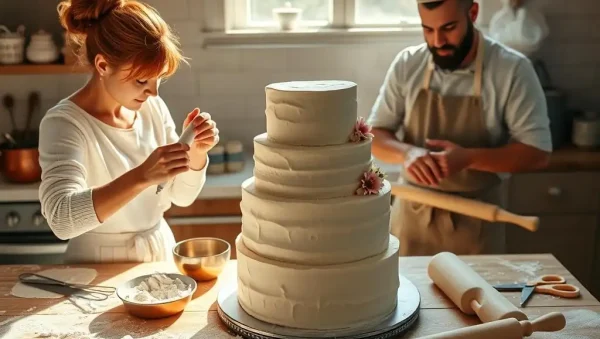
😊 Discover essential left handed baking tips to enhance your baking skills. Whether you're left, right, or ambidextrous, this article offers practical…
Read article
🍫 Enhance your baking accuracy with Precise chocolate baking thermometer scales. BakeWithEase.com reveals how combining digital thermometers and scales ensures perfect chocolate…
Read article
🔍 Ensure your baking precision by calibrating baking scale weights with coins or professional calibration weights. Accurate measurements are essential for perfect…
Read article
✨ Choosing the right scale is crucial for perfect cookies. A reliable digital scale for cookies ensures precise measurements, resulting in consistent,…
Read article
😊 Discover how weighing multiple ingredients simultaneously during baking can save you time and streamline your process. BakeWithEase.com provides expert tips and…
Read article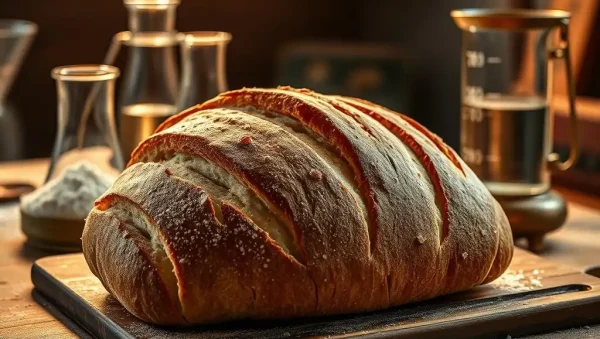
✨ Discover the essential Sourdough hydration ratios explained to achieve the perfect crust. BakeWithEase.com simplifies water level calculations, helping bakers of all…
Read article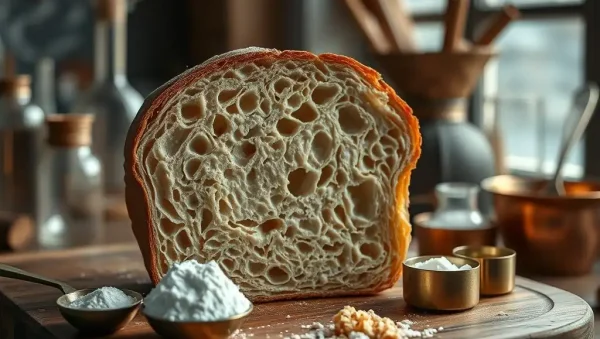
✨ Precise baking ratios matter because they directly influence the rise and texture of your baked goods. Mastering these ratios ensures consistently…
Read article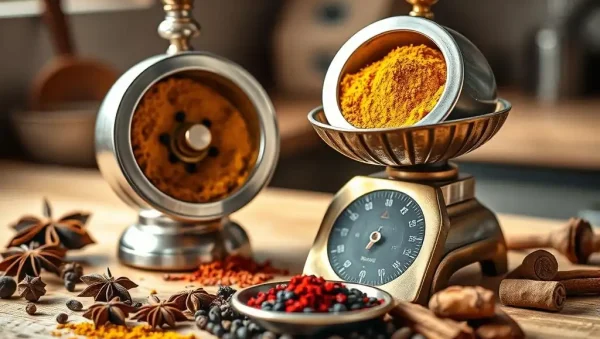
🌟 Discover how Burr mill spice grinding ensures fresh, flavorful spices for your baking masterpieces. Learn practical tips for precise grinding and…
Read articleWelcome to the heart of successful baking! At BakeWithEase, we know that precision is the secret ingredient behind every perfectly risen cake, chewy cookie, and flaky pastry. This dedicated subcategory, Measuring Ingredients Accurately, is your ultimate guide to eliminating guesswork and achieving consistent, professional-grade results every time you step into the kitchen. From mastering the difference between weight and volume to understanding how to measure sticky ingredients without the mess, we cover all the essential techniques that transform good bakers into great ones. Dive in to discover foolproof methods, practical tools, and expert hacks that will elevate your baking game to new heights.
When it comes to baking, weight is always more reliable than volume. Flour can be compacted or aerated, and a cup of flour can vary by up to 20% depending on how you scoop it. Using a digital kitchen scale eliminates this inconsistency, ensuring your recipes turn out exactly as intended. This is especially critical for bread and delicate pastries where hydration ratios are paramount. By investing in a good scale, you not only increase accuracy but also reduce the number of dishes you wash—just weigh ingredients directly into your mixing bowl. This simple shift is the first major step toward professional-level baking.
Our guides will walk you through the best practices for using a scale, including taring between ingredients and converting common recipe measurements to grams. We'll also highlight how European and professional recipes rely almost exclusively on weight, making this skill essential if you want to expand your baking repertoire. Once you experience the ease and precision of weighing, you'll never go back to the guesswork of cups and spoons. Explore our tips to make this transition seamless and discover how this single change can dramatically improve the texture and crumb of your baked goods.
If you don't have a scale yet, knowing the correct way to use measuring cups is vital. For all-purpose flour, the “spoon and level” method is non-negotiable: fluff the flour with a spoon, gently spoon it into your dry measuring cup, and then level it off with the flat edge of a knife. Never scoop directly with the cup, as this packs in far too much flour, leading to dry, dense baked goods. In contrast, brown sugar must be firmly packed into the cup to ensure the right moisture content, while white sugar can simply be scooped and leveled. Understanding these differences prevents common baking failures like collapsing cakes or overly crumbly cookies.
This subcategory breaks down each ingredient type, from confectioners' sugar to bread flour, so you know exactly which technique to apply. We also address specialty items like cocoa powder and cornstarch, which require the same gentle spoon-and-level treatment as flour. Our detailed visual descriptions and troubleshooting tips help you recognize when your measurement technique might be off, so you can adjust quickly. Master these foundational methods, and you'll build the confidence to tackle any recipe, ensuring your batters and doughs always have the perfect consistency from the very first mix.
Measuring liquids seems straightforward, but there are hidden pitfalls that can ruin a recipe. Always use a liquid measuring cup made of glass or clear plastic with a spout, and place it on a flat surface to check the level at eye height. The meniscus—the slight curve at the surface—should sit exactly on the measurement line at its bottom point. For viscous ingredients like honey, molasses, or corn syrup, the challenge is both accuracy and cleanup. Our pro hack: lightly coat the measuring cup or spoon with a neutral oil or cooking spray before adding the sticky substance. This prevents it from clinging, allowing you to measure cleanly and pour out every last drop, ensuring your sweetener ratios remain perfect.
We also explore how to measure wet ingredients like milk, water, and buttermilk, plus how to handle ingredients like sour cream and yogurt that sit between wet and dry. With these techniques, you'll avoid the common mistake of over-measuring liquids, which can make batters too thin and cause cakes to sink. Our comprehensive advice covers temperature considerations too—like why melted butter should be cooled slightly before measuring to avoid inaccurate readings. Equip yourself with these skills, and you'll guarantee that every glaze, batter, and dough has the ideal moisture balance for a beautiful bake.
Beyond basic cups and scales, certain specialized tools can significantly improve your accuracy. A set of nesting measuring spoons with both metric and imperial markings is essential for small quantities like baking soda, salt, and spices. For ingredients that come in blocks, like chocolate or butter, always check the printed measurement marks on the wrapper or use a ruler to cut precisely. Did you know that a standard stick of butter equals 8 tablespoons or 1/2 cup? We share these quick conversion hacks to save you time and prevent errors. Additionally, we discuss the value of a dough scraper for leveling off dry ingredients and a fine-mesh sieve for sifting and aerating flour before measuring.
For those tricky ingredients like grated zest, shredded cheese, or chopped nuts, we explain how to measure by volume versus weight for the best results. We also cover the “dip and sweep” method for coarse ingredients like oats and coconut, ensuring you know when packing is appropriate. Our guides introduce you to less common but handy tools like a mini digital scale for small measurements and a pipette or dropper for food coloring and flavor extracts. By embracing these precision tools and hacks, you eliminate variability and improve your baking consistency, making every batch a reliable success story worth sharing.
Scaling a recipe up for a crowd or down for a small batch can be intimidating, but with accurate measuring, it becomes a breeze. The key is to convert all your ingredients to weight first, then multiply or divide by the factor you need. For example, if a recipe yields 12 cupcakes and you need 18, multiply each ingredient weight by 1.5. This method prevents the rounding errors that happen when using fractional cups, which can compromise the chemical balance of your bake. We provide clear step-by-step instructions for converting between US and metric units, along with a handy table of common conversions—like how many grams make up a cup of butter versus a cup of milk.
We also guide you through adjusting leavening agents, salt, and liquid ratios when scaling, as they don’t always change linearly. Our practical examples show you how to halve an egg by whisking it first, or how to measure a partial egg easily using a scale. Additionally, we address how to adapt recipes that call for “1 cup of flour” into precise gram weights, giving you the freedom to bake from any cookbook. With these math and conversion skills, you’ll handle any recipe modification with ease, ensuring consistent texture and flavor regardless of batch size. Say goodbye to failed conversions and hello to perfect portions every time.
Weighing flour is more accurate because its density varies based on humidity, settling, and scooping method. A cup can weigh anywhere from 4 to 5 ounces, while 120 grams is always the same. Using a scale ensures consistent hydration in your dough, preventing dense or overly dry baked goods. It also simplifies recipe scaling and reduces cleanup, making it the preferred method for professional bakers.
Lightly coat your measuring spoon or cup with a neutral oil or nonstick spray before adding the sticky ingredient. This creates a thin barrier that allows the honey or molasses to slide right out, ensuring you get the full amount. Another tip is to measure the sticky ingredient in a bowl that already contains some liquid from the recipe, which helps it release more easily.
Brown sugar should be firmly packed into a dry measuring cup until it holds the shape of the cup when turned out. Unlike white sugar, packing brown sugar ensures you get the correct moisture content, since it contains molasses. If you don't pack it, you'll use less sugar than intended, leading to drier and less flavorful baked goods.
It's not recommended. Dry measuring cups are designed to be filled to the brim and leveled off, while liquid cups have a spout and measurement lines below the rim to prevent spills. Using dry cups for liquids can lead to spillage and inaccurate readings, while using liquid cups for dry ingredients makes it hard to level off properly, affecting accuracy.
For a half or quarter egg, crack the egg into a small bowl and whisk until fully blended. Then weigh the total mixture—typically about 50 grams for a large egg—and measure out the fraction you need using a scale. For example, for half an egg, weigh out 25 grams. This ensures the correct liquid and protein balance, preventing dry or gummy results.