Dorm Room Baking: Common MicrowavetoOven Time and Temp Conversions
✨ Discover essential microwave oven baking conversions to effortlessly adapt your favorite recipes from microwave to oven. BakeWithEase.com offers expert tips and…
Read article
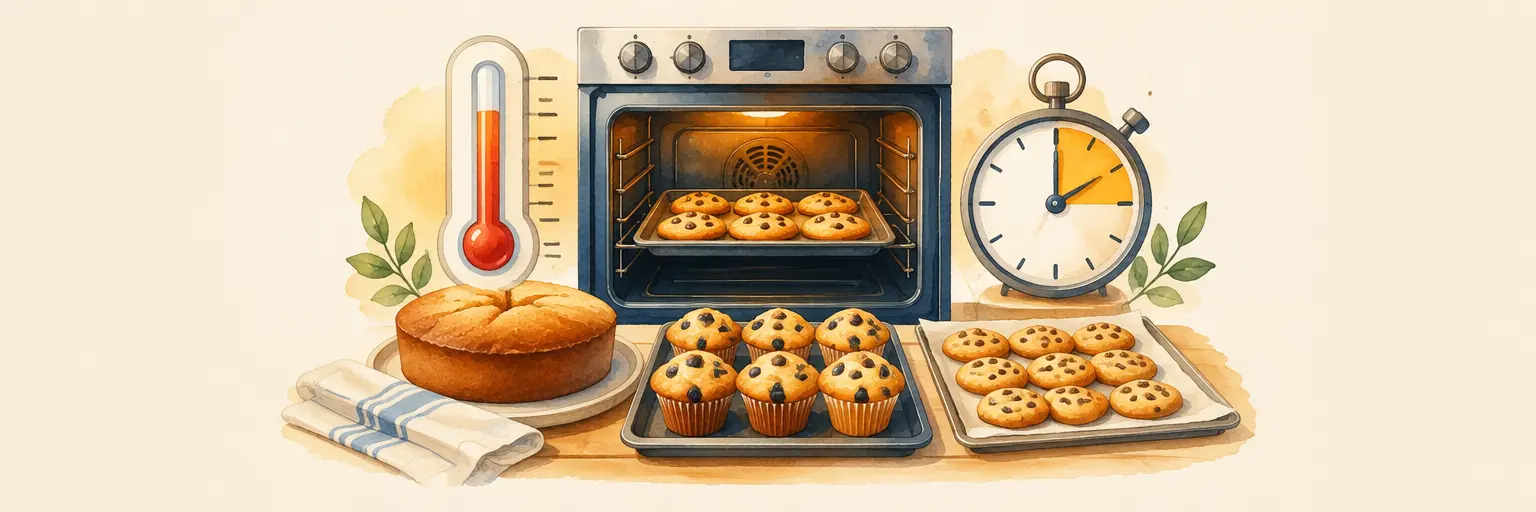
Mastering oven temperatures and baking times is the secret to turning good bakes into great ones—and it’s simpler than you think. Whether you’re whipping up fluffy cakes, crispy cookies, or artisan bread, getting the heat just right ensures even rising, golden crusts, and moist centers every time. Our expert-backed tips reveal how to calibrate your oven, adjust for hot spots, and decode the perfect timing for every recipe—no more burnt edges or doughy middles. From understanding the science of preheating to learning when to trust visual cues over the clock, these hacks help you bake with confidence and consistency. Say goodbye to guesswork and hello to perfectly baked treats that impress family and friends. Dive in to unlock the exact temperature and time strategies that professional bakers swear by, tailored for home ovens and beginner-friendly results. Whether you’re baking at sea level or high altitude, small batches or large, these proven adjustments will elevate your baking game. Let’s turn your oven into a precision tool—one delicious batch at a time! 🔥⏱️🍰

✨ Discover essential microwave oven baking conversions to effortlessly adapt your favorite recipes from microwave to oven. BakeWithEase.com offers expert tips and…
Read article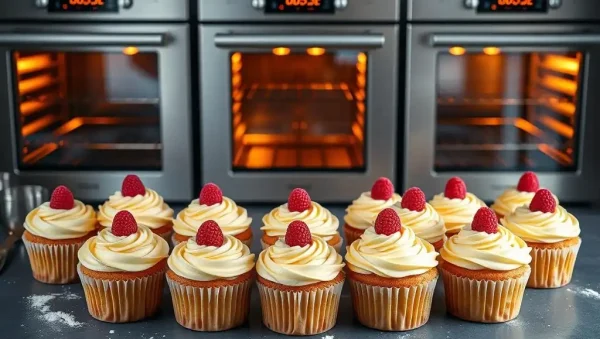
😊 Discover the secrets to achieving perfect "Even baking synchronized cupcakes" with our expert tips. At BakeWithEase.com, learn how to master synchronized…
Read article
🌟 Discover essential high altitude baking tips on BakeWithEase.com to perfect your recipes. Learn how adjusting oven temperatures and baking times can…
Read article
😊 Discover how adjusting frozen dough baking times and temperatures can transform your ready-made treats into bakery-quality delights. BakeWithEase.com offers expert tips…
Read article
🍞 Achieving perfect Crispy artisan bread baking depends on setting the right baking time. Learn how to avoid soggy loaves and create…
Read article
🍰 Discover essential layer cake baking times to ensure your cakes stay moist and tender. BakeWithEase.com provides expert tips and techniques to…
Read article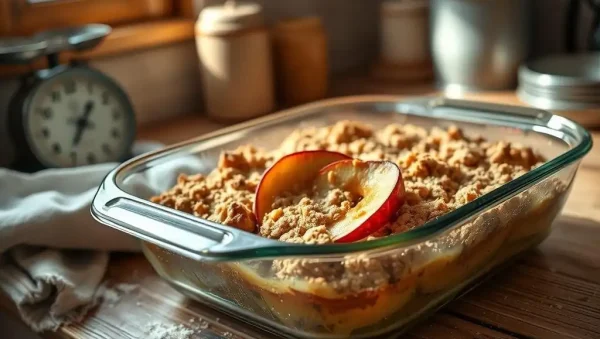
😊 Discover essential Glass dish baking tips to prevent burnt edges and ensure even cooking. Perfect for bakers of all levels, these…
Read article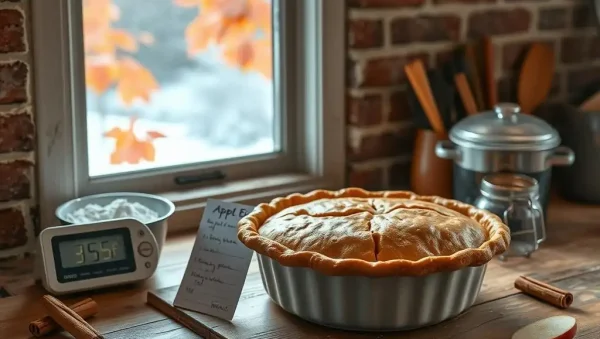
🌡️ Seasonal shifts significantly impact baking temperature adjustments for seasons, influencing bake times and outcomes. Understanding these subtle changes helps bakers achieve…
Read article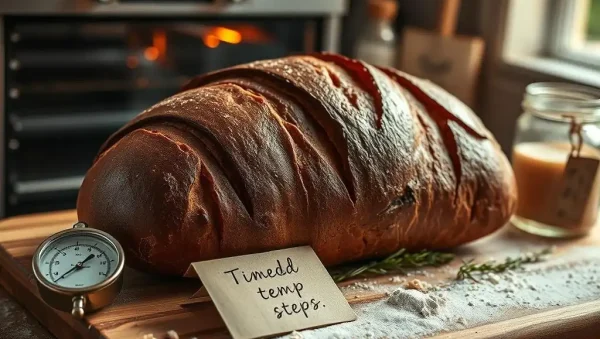
🌟 Discover the secrets of sourdough bread baking temperature with precisely timed temperature steps that ensure consistent, perfect results every time. BakeWithEase.com…
Read article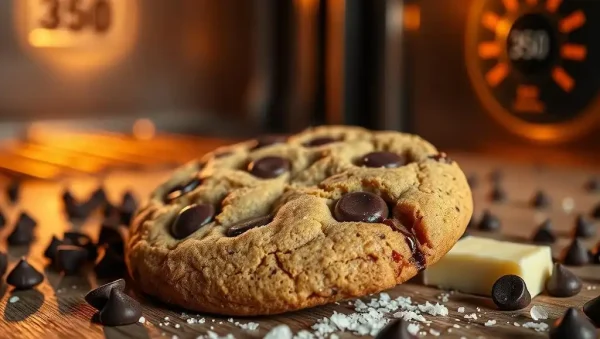
😊 Discover the perfect Chewy chocolate chip cookie temp to achieve irresistibly soft and gooey cookies. BakeWithEase.com guides you through simple tips…
Read article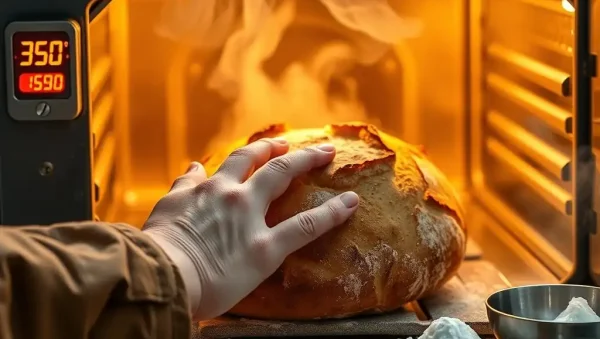
🔥 Discover expert lower oven temperature baking tips to prevent over-baking and achieve perfect textures. Learn when and how to adjust oven…
Read article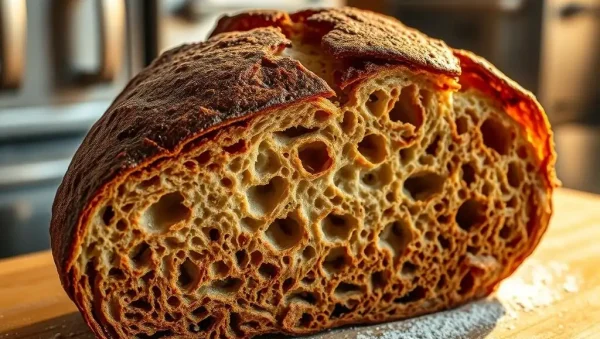
🔥 Discover how slight temperature adjustments can dramatically improve your bread’s crust. Learn how to brown bread crust perfectly with simple tips…
Read articleUnderstanding how your oven behaves is the secret to consistent baking success. At BakeWithEase, our "Oven Temperatures and Baking Times" section breaks down the science of heat, helping you avoid burnt edges or raw centers. Whether you’re a novice or a seasoned baker, these tips will transform your cakes, cookies, and breads from good to bakery-worthy. Dive into precise guides, calibration tricks, and time-saving hacks that ensure every batch rises, browns, and sets exactly as intended.
Most home ovens run 25–50°F (15–30°C) hotter or cooler than the dial shows, which wreaks havoc on delicate bakes. An inexpensive oven thermometer placed in the center of your rack gives you the true temperature, allowing you to adjust the dial accordingly. For example, if your oven reads 375°F but the thermometer shows 400°F, lower the setting by 25°F to maintain the intended heat. This single tool prevents over-browning, dry cakes, and undercooked interiors—your most reliable ally for consistent baking.
Pro tip: Place the thermometer on the rack where you actually bake, not near the walls or top element. Check it at 15-minute intervals during preheating to ensure the heat stabilizes before you slide in your pan. Over time, you’ll learn your oven’s “hot spots” (often in back corners), letting you rotate pans mid-bake for even coloring. This small investment saves countless batches and elevates your oven calibration game instantly.
Swapping a 9-inch round pan for a 9x13-inch sheet? Baking times shift dramatically because surface area and depth affect heat penetration. A shallow, wide pan bakes faster—start checking 5–7 minutes early—while a deep, narrow loaf pan needs 10–15 extra minutes. Dark metal pans absorb heat quicker, so reduce the temperature by 25°F; glass and ceramic are insulators, so keep the same temp but add 10 minutes to the recommended time. Always use a toothpick or cake tester to check doneness rather than relying solely on the clock.
For muffins or cupcakes, smaller portions bake 20–30% faster than full cakes. Conversely, a Bundt pan’s thick walls require a lower temperature (350°F instead of 375°F) and a longer time to avoid a burnt exterior with a raw core. Rule of thumb: if you double a recipe, don’t double the time—add only 15–20% because the batter’s surface area grows linearly, not exponentially. Keep a digital timer handy and trust your senses: golden edges and a springy center are your best cues.
Uneven heat is the #1 culprit behind lopsided cakes and burnt cookies. To map your oven’s “personality,” do a simple test: place slices of white bread on each rack position and bake at 350°F for 10 minutes. The toast pattern reveals hot zones—darker spots mean higher heat. Then, adjust your baking routine: rotate pans 180° halfway through, or move racks to warmer/cooler shelves. For example, if the back left runs hot, bake cookie trays there for the first 5 minutes, then shift to the front right to finish.
Another calibration trick: use an oven-safe glass dish filled with water and a probe thermometer to check actual temps during preheating. If your oven cycles wildly (e.g., drops 50°F after the heating element turns off), consider using a baking stone or pizza steel on the lower rack to absorb and redistribute heat. This “thermal mass” smooths out temperature swings, giving you even browning for everything from pies to pastries. Keep a notebook of your oven’s quirks—soon, you’ll bake with confidence and precision.
Different baked goods require specific heat profiles. Cakes and cupcakes thrive at 325–350°F for 20–35 minutes, depending on size—start low for even rise, then increase heat briefly to set the crust. Cookies love 350–375°F for 8–12 minutes; pull them out when the edges are set but centers are slightly soft, as residual heat finishes the bake. Breads need higher heat (375–425°F) with a steam pan for the first 10 minutes to create a crispy crust, then reduce to 350°F for even crumb development. Pastries (croissants, puff pastry) do best at 400–425°F to achieve flaky layers quickly.
For perfect results, always preheat fully—a full 20 minutes—and use an oven rack in the center position unless a recipe says otherwise. Quick breads (banana, zucchini) are forgiving: bake at 350°F for 50–60 minutes, covering with foil if the top browns too fast. Cheesecakes and custards prefer a water bath at 325°F to prevent cracking and over-baking. Remember that every oven is unique; start with the recipe’s suggested time, but check at the lower end and use visual cues like a clean toothpick or internal temperature (e.g., 200–205°F for bread).
Burnt bottoms? Your oven’s bottom element might be too strong, or you placed the pan too low—move the rack up and use a lighter-colored pan. Doughy centers usually mean the oven wasn’t hot enough or the bake was too short; insert a thermometer into the cake’s core (aim for 200°F for cakes, 205°F for breads). Cracked tops happen when the oven is too hot initially—lower the temperature by 25°F and extend the time. Soggy bases in pies often come from under-baking the bottom crust; pre-bake (blind bake) at 400°F for 15 minutes with pie weights first.
If cookies spread too much, your oven might be running cool—increase by 25°F and chill the dough. For dense quick breads, check if you over-mixed (can’t fix that now), but also verify you used the correct pan size; too large a pan makes a thin, overcooked loaf. Use the “door test” sparingly: each time you open the oven, heat escapes, adding 10–15 seconds to the total time. Instead, use the oven light and window to peek. Write down any adjustments you make for future bakes—your personal baking log becomes your most valuable tool for consistent, flawless treats.
Sinking usually occurs when the oven temperature is too low (causing the rise to be incomplete) or if you open the oven door too early. The cold air hits the batter, causing the structure to collapse. Also, ensure your leavening agents (baking powder/soda) are fresh—expired ones lose strength. Bake at the correct temperature and don’t open the door until at least 75% of the time has passed.
Most built-in thermostats are accurate to ±25°F (14°C) but often drift with use. That’s why an independent oven thermometer is essential—it measures the actual heat at your rack, not just the sensor’s reading. Calibrate your oven using the manual’s adjustment feature, but always double-check with a standalone thermometer for precision, especially for delicate custards and meringues.
You can, but your baking time will change. Two trays create uneven heat—the top tray bakes faster, the bottom slower. Rotate them halfway through and swap their rack positions. Also, the added moisture from two batches can affect texture; extend the time by 2–3 minutes and check earlier than you think. For perfectly even batches, bake one tray at a time if possible.
The internal temperature should read 190–210°F (88–99°C) for most breads, with a thermometer inserted into the center. The “hollow tap” test (knocking on the bottom of the loaf) is a backup—if it sounds hollow, it’s done. For crusty loaves, let them cool completely on a wire rack to finish setting the crumb; don’t slice for at least 30 minutes.
Yes—your oven loses heat when you place a cold, heavy pan (like cast iron or a stone) inside. Preheat the oven for 25–30 minutes and place the pan in while it heats for even distribution. For thermal mass, leave the pan in for 15 additional minutes after the oven reaches the set temp. This avoids hot spots and ensures your bake starts at true temperature.