From Sluggish to Spirited: Reviving a Slow Sourdough Starter
🌟 Discover easy, proven techniques for reviving sluggish sourdough starter and transforming it into a lively, bubbly dough. BakeWithEase.com offers step-by-step tips…
Read article
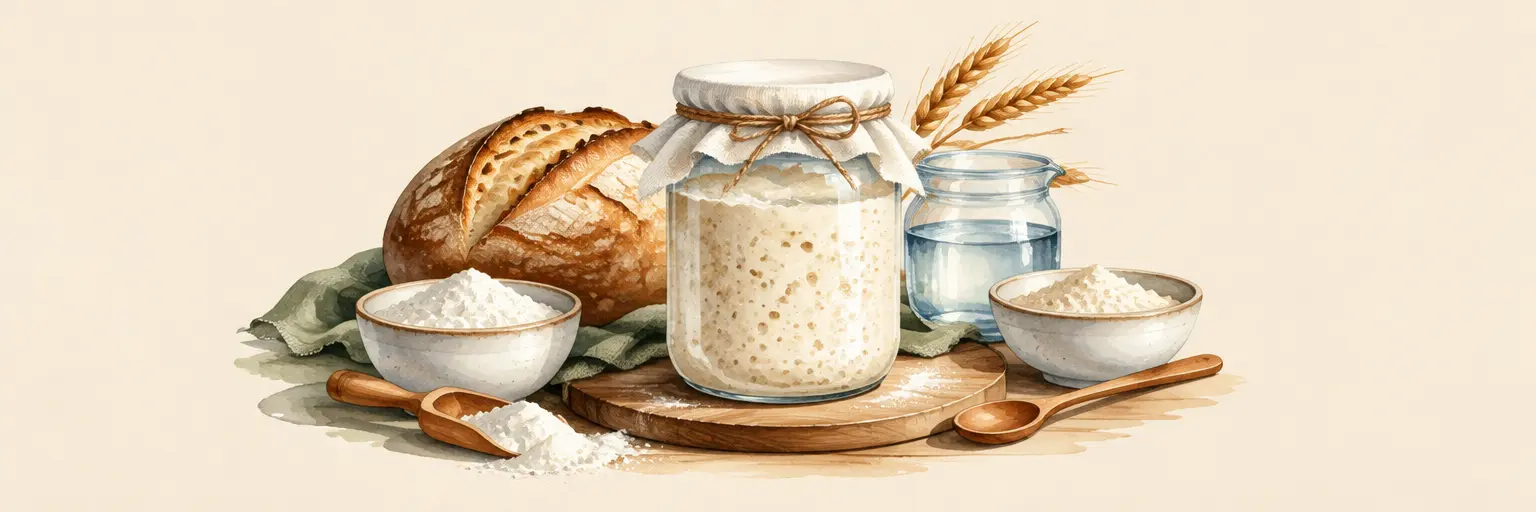
Unlock the secret to bakery-quality bread at home with our step-by-step sourdough starter guide, designed specifically for bakers ready to move beyond basics. 🍞 Here, you’ll learn to create and maintain a vibrant, bubbly starter from scratch using just flour and water—no fancy equipment needed. We break down the science of fermentation into simple, actionable steps, covering feeding schedules, hydration ratios, and troubleshooting common issues like hooch or sluggish rise. 🥖 Master the art of reading your starter’s cues to achieve that perfect tangy flavor and airy crumb in every loaf. Whether you’re reviving a neglected jar or starting your first batch, this intermediate tutorial turns uncertainty into confidence. Say goodbye to dense, flat bread—embrace the rhythm of wild yeast and create loaves that rival artisan bakeries. ✨ Dive in, and let your kitchen fill with the irresistible aroma of fresh, naturally leavened perfection.
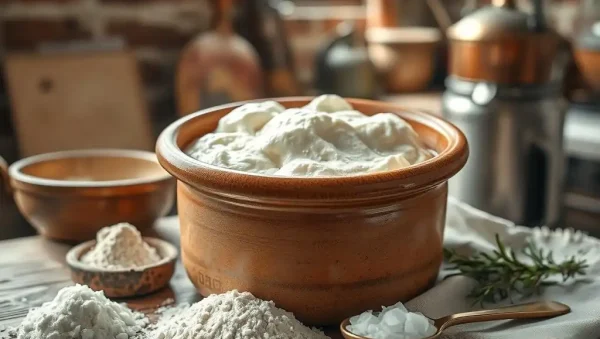
🌟 Discover easy, proven techniques for reviving sluggish sourdough starter and transforming it into a lively, bubbly dough. BakeWithEase.com offers step-by-step tips…
Read article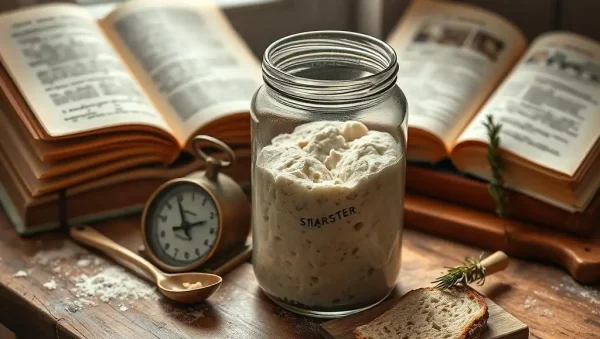
😊 Discover essential starter care with our daily, weekly, and long-term sourdough starter maintenance tips. Perfect for bakers of all levels, these…
Read article
😊 Wondering if your sourdough starter revival failed? Learn how to identify signs of a dead starter and effective methods to revive…
Read article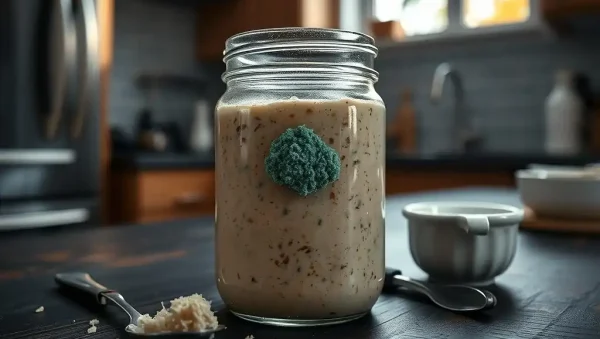
🌱 Protect your baking journey with expert sourdough starter mold prevention tips. Learn how to identify mold early and keep your starter…
Read article
😊 Discover essential tips on how to feed sourdough starter during your transition, ensuring a successful switch of your flour. BakeWithEase.com offers…
Read article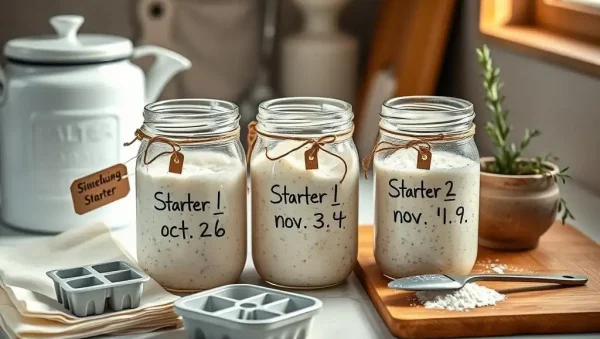
🌟 Discover essential sourdough starter freezing techniques with our comprehensive guide at BakeWithEase.com. Learn how to preserve your starter effectively, ensuring fresh,…
Read article
🌟 Unlock the secret to a thriving sourdough starter by mastering hydration levels. Proper sourdough starter hydration ensures a vigorous, healthy fermentation,…
Read article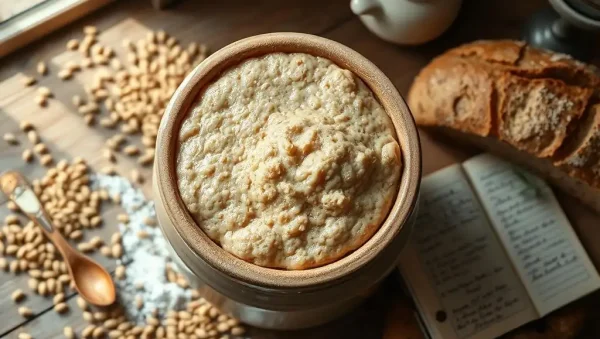
🌾 Discover how to craft a hearty whole wheat starter with our easy whole wheat starter recipe. Perfect for bakers of all…
Read article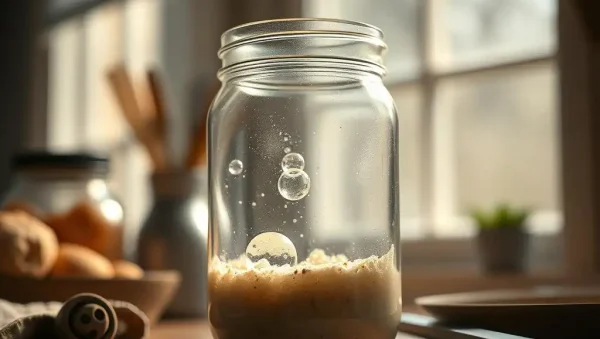
🧁 Discover how to ensure your sourdough starter is active and ready with our easy-to-follow Sourdough starter float test. BakeWithEase.com guides you…
Read article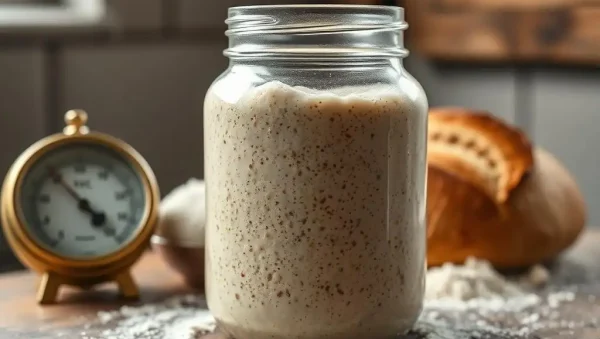
🌟 Discover how maintaining optimal room temperature starter growth is crucial for successful baking. Proper temperature conditions ensure your starter ferments effectively,…
Read article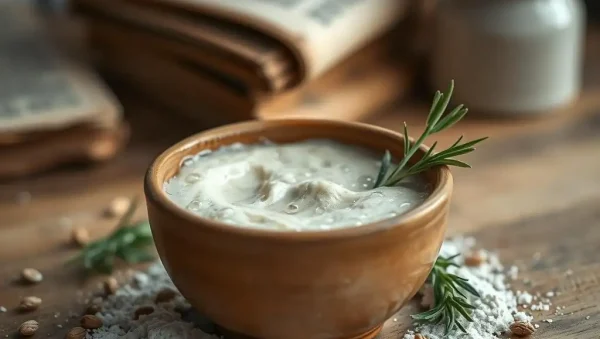
🌟 Revive dormant sourdough starter effortlessly with our simple, proven steps. Whether you're a beginner or a seasoned baker, BakeWithEase.com guides you…
Read article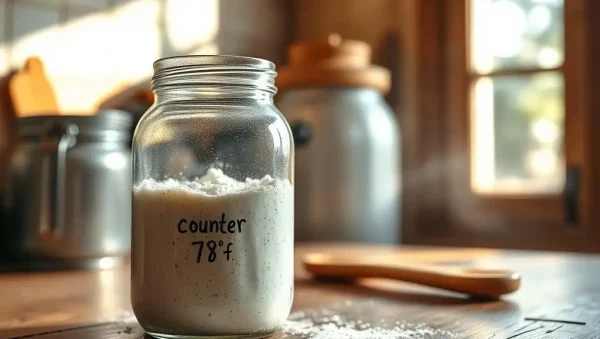
😊 Discover the best way to keep your sourdough starter thriving by understanding the optimal sourdough starter fridge temperature versus counter storage.…
Read articleWelcome to the Sourdough Starter Guide, the heart of artisan baking at BakeWithEase. For intermediate bakers, moving beyond commercial yeast is a thrilling leap. This guide is your comprehensive roadmap to creating, maintaining, and troubleshooting a vibrant, bubbly starter. We’ll demystify the science, simplify the feeding schedule, and help you bake with confidence. Whether your starter is sluggish, too acidic, or ready to rise, these essential techniques will elevate your bread from good to bakery-level perfection.
Starting a sourdough culture is a commitment, but our step-by-step method removes the guesswork. Over the first 7–10 days, you’ll combine flour and water, encouraging wild yeast and lactobacilli to colonize naturally. Expect a dramatic rise on day three, followed by a “dead phase” as the microbial balance shifts—this is normal! We’ll guide you through the exact hydration ratios (100% hydration is standard) and the ideal room temperature (75–80°F) to ensure a consistent, vigorous culture. Key tip: Use filtered water and unbleached flour to avoid chlorine and additives that hinder fermentation.
By understanding the daily visual cues—from tiny bubbles to a domed, spongy top—you’ll learn when your starter is ready for its first bake. We emphasize patience over speed, as a young starter often produces dense loaves. This section prepares you for the feeding rhythm that will become your lifelong ritual. With our troubleshooting chart, you’ll know exactly how to react if fermentation stalls or mold appears, turning a potential failure into a learning win.
Once your starter is established, the feeding ratio (usually 1:1:1 or 1:2:2 of starter:flour:water) dictates its strength. For intermediate bakers, we explain how to adjust feeding frequency to match your baking schedule. A daily feeding at room temperature yields a mild, balanced flavor perfect for sandwich loaves. If you bake only on weekends, switch to a weekly refrigerated routine, feeding once every 7 days to slow activity without losing viability. We’ll show you the signs of a hungry starter—hooch (a dark liquid layer) signals acidity, but it’s not a death sentence; pour it off and feed immediately.
Understanding peak activity is crucial: feed your starter, then track how long it takes to double in volume. At peak, your starter is most leavening-powerful, yielding an open crumb and good oven spring. We also cover the stiff vs. liquid starter debate, showing how a lower hydration (60–70%) creates a slower-fermenting, more acidic starter ideal for rye breads. This section empowers you to design a schedule that fits your life, not the other way around.
Even pros face a finicky starter. Our troubleshooting guide covers the top five issues: no bubbles after 48 hours (usually a temperature problem), too acidic/sour flavor (feed larger ratios more frequently), separated liquid (hooch), mold or pink discoloration (discard immediately), and a starter that rises then collapses (over-hunger). We explain the microbiology behind each symptom—for instance, high acidity indicates a buildup of lactic acid, which you can correct by discarding more before feeding. Do not give up; most issues are reversible within 48 hours.
We also guide you through resuscitating a neglected starter from the fridge, including a revival protocol using warm water and a bigger feeding ratio. For bakers living in cold climates, we suggest using a proofing box or a warmed oven to maintain consistent temperatures. Our proven diagnosis checklist ensures that you’ll never throw away a starter prematurely—saving your time, flour, and sanity. Remember, a healthy starter smells fruity, not vinegary.
Not all starters are created equal. This section breaks down the pros and cons of freshly milled starter, dried sourdough cultures (like from King Arthur), and store-bought live starters. A fresh starter you create has unique regional microbes, yielding a signature flavor. Dried cultures are convenient and consistent, rehydrating in 48 hours. Store-bought starters often come with a predictable flavor profile but may contain additives. We help you decide which path suits your baking goals—if you crave a tangy San Francisco-style loaf, a dried culture with specific lactobacilli is your best bet.
We also explore whole wheat vs. all-purpose flour in starter maintenance. Whole wheat fosters more enzymatic activity and a robust rise, but it can become bitter over time. We recommend a 50/50 blend for balanced performance. Our side-by-side comparison table shows the fermentation speed, flavor complexity, and maintenance effort for each type. By the end, you’ll know exactly how to transition between starter types without losing momentum in your baking journey.
Hydration—the ratio of water to flour—changes everything. A high-hydration starter (100%+) produces an airy, rustic crumb, perfect for ciabatta or country loaves. A low-hydration starter (60–70%) yields a tighter, chewier texture ideal for bagels or sourdough pizza. We explain how to adjust your starter’s hydration within a single feeding cycle, using wet hands and a bench scraper for handling. For intermediate bakers, mastering hydration gives you creative control over your final dough’s structure.
We also address the hydration’s impact on fermentation speed—higher hydration ferments faster but is stickier and harder to handle. We offer practical tips like doing a stretch-and-fold vs. kneading to manage high-hydration dough. For breads with open crumb, we advise increasing hydration only after your starter is vigorous. This section includes a quick-reference guide to match hydration percentages with popular bread styles, ensuring your next bake turns out just as you envisioned.
Typically, it takes 7–10 days from initial mixing to a starter strong enough to leaven bread. The first few days show rapid growth, then a cooling-off period. By day 7, with consistent feeding, you should see predictable doubling in 4–6 hours. Warmer rooms speed up the process; cooler rooms slow it down. Patience is key.
Yes, but it’s best to allow a rest period. Remove your cold starter, feed it 1:2:2, and let it sit at room temperature for 6–8 hours until it becomes bubbly and active. If you’re in a hurry, use a smaller cold amount and warm water—just know the rise may be slightly less vigorous.
Hooch is a sign of starvation—your starter has consumed its nutrients. It’s harmless, but it indicates you’re feeding too infrequently or with too small a ratio. Pour off the hooch, discard all but a small amount of starter, and feed with a larger ratio of flour and water. This will balance acidity.
Most bakers use a 1:1:1 ratio (starter, flour, water) for maintenance. For a stronger boost before baking, use 1:2:2. Rye flour produces a more active starter due to enzymatic activity, but all-purpose flour yields a milder taste. Bleached flour should be avoided as it lacks nutrients.
Absolutely, but adjust your feeding. A sharp, sour smell indicates high acidity from underfeeding. Feed your starter twice a day for two days with a large ratio (1:3:3) to dilute the acids. The aroma should become fruitier and slightly yeasty. If it smells rotten, discard it and start anew.