Hold It Right: The Secret to Perfect Piping Pressure
🎂 Discover the secret to achieving perfect piping pressure buttercream frosting with our expert tips. Master consistent pressure and flawless designs, elevating…
Read article
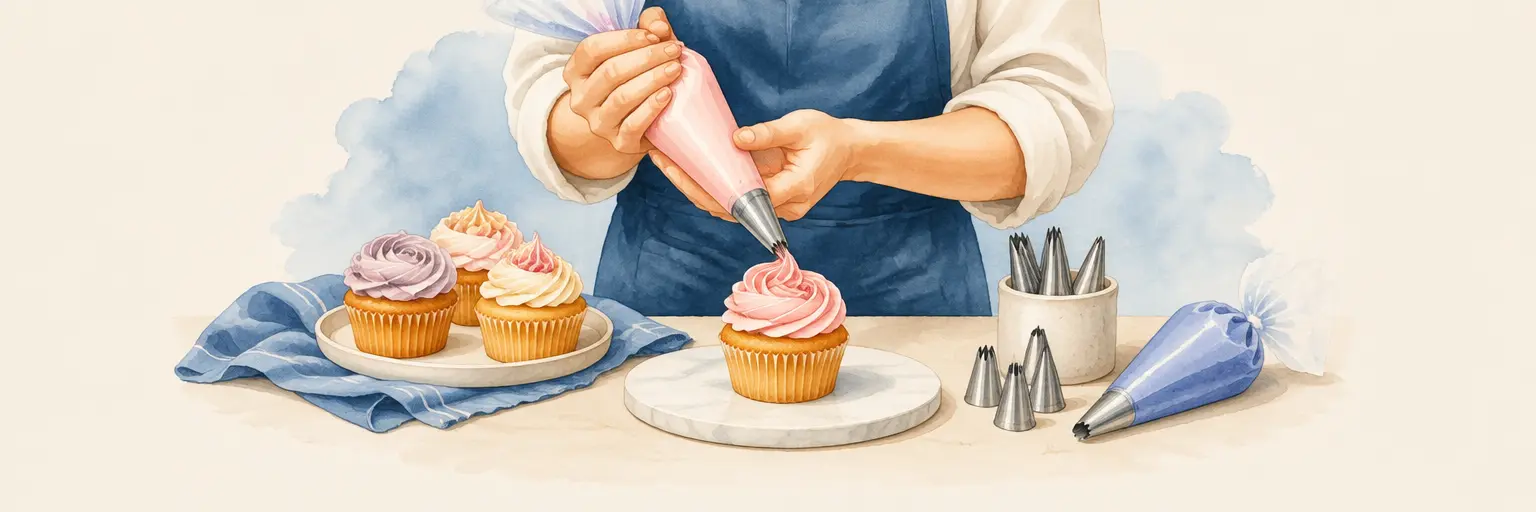
Master the art of intermediate baking by honing your basic piping skills—the secret to turning simple treats into stunning showstoppers. From silky buttercream rosettes to crisp royal icing details, this essential technique lets you add professional flair to cakes, cupcakes, and cookies with confidence. Learn how to hold the bag at the right angle, control pressure for consistent swirls, and switch between tips for stars, shells, and leaves effortlessly. With practice-friendly tips and troubleshooting advice, you’ll avoid common pitfalls like air bubbles or broken peaks, while mastering smooth piping lines and decorative borders. Whether you’re embellishing a birthday cake or perfecting petit fours, these foundational skills elevate every bake—no fancy equipment needed, just a few basic tools and a steady hand. Unlock the joy of piping and watch your desserts go from homemade to bakery-worthy in minutes. 🧁✨
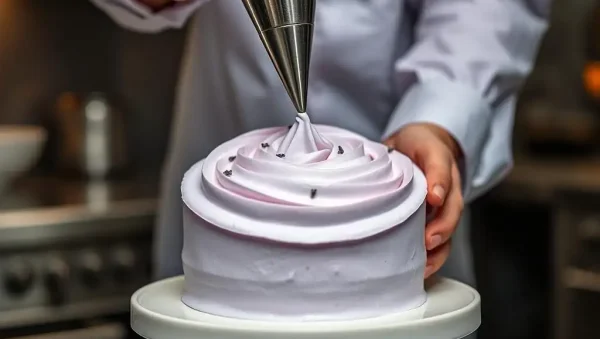
🎂 Discover the secret to achieving perfect piping pressure buttercream frosting with our expert tips. Master consistent pressure and flawless designs, elevating…
Read article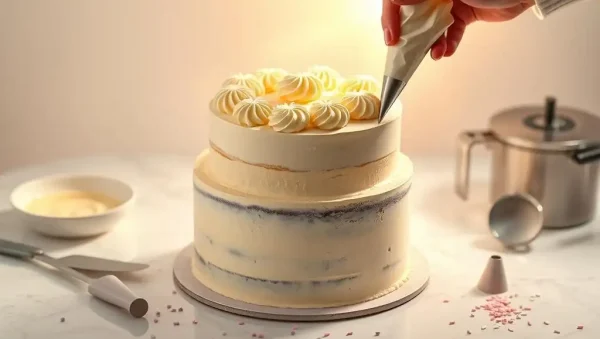
😊 Struggling with basic piping? Discover our easy piping buttercream frosting tips to simplify your decorating process. Perfect for bakers of all…
Read article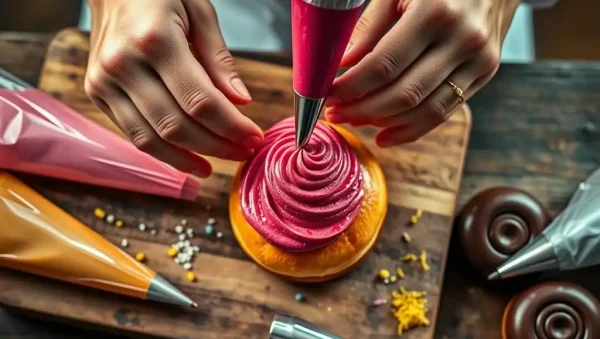
😊 Discover the secrets of professional pastry filling with our easy doughnut piping techniques. BakeWithEase.com guides you through simple, step-by-step methods to…
Read article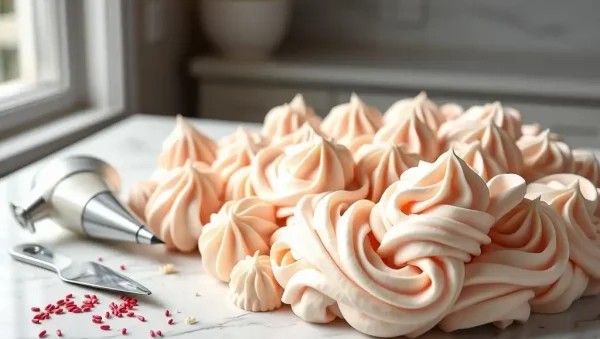
😊 Discover essential tips for Fixing Piping Buttercream Blobs and avoiding common piping mistakes. Perfect your cake decorating skills with expert advice,…
Read article
✨ Discover how to achieve beautiful baked creations with our guide to easy piping without pastry bags. Perfect for beginners and pros…
Read article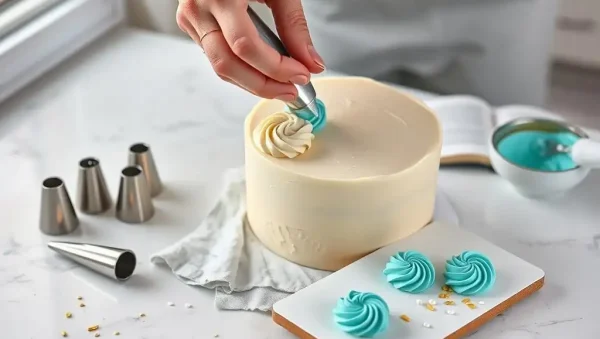
😊 Discover the magic of cake decorating with BakeWithEase.com! Start your journey with easy buttercream frosting piping techniques, perfect for beginners. Master…
Read article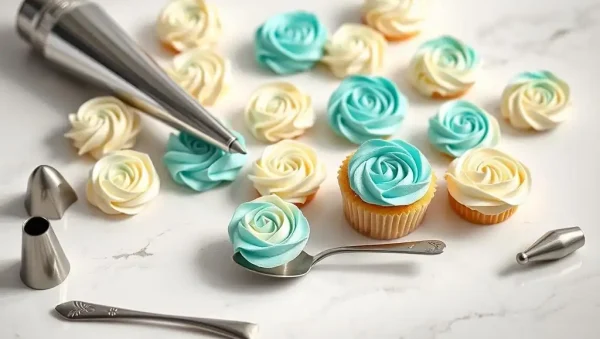
🔧Discover essential piping basics to elevate your baking. Perfecting piping techniques for beginners is key to achieving crisp lines and sharp edges…
Read article
✨ Discover how star tips buttercream frosting transforms simple desserts into stunning masterpieces. BakeWithEase.com guides you through versatile techniques, helping bakers of…
Read article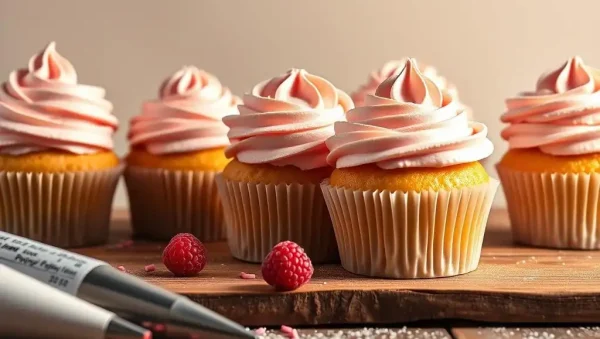
🌟 Discover how to elevate your cupcakes with simple, step-by-step techniques for easy cupcake piping designs. Perfect for bakers of all levels,…
Read article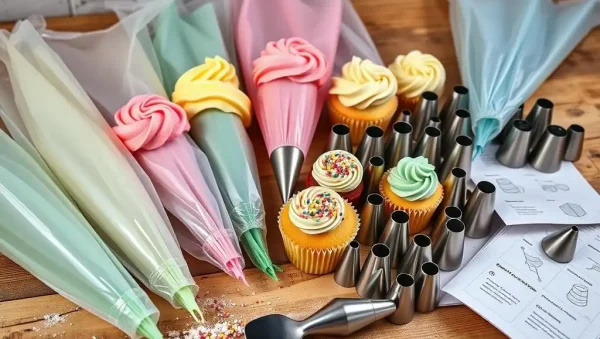
🌟 Discover essential beginner piping bag tips to elevate your baking skills. BakeWithEase.com offers simple, step-by-step guidance on using piping tools for…
Read article
🌟 Discover the secrets of “The Art of the Rosette” with easy rosette piping techniques that transform simple desserts into stunning works…
Read article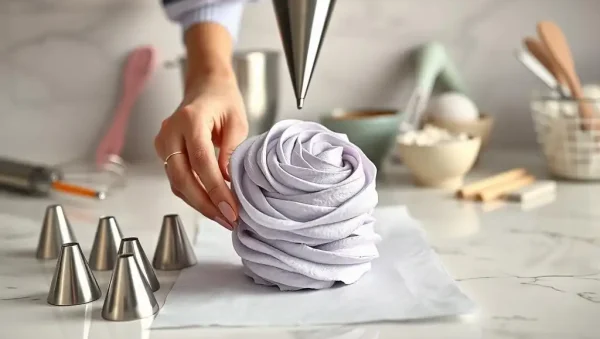
🌟 Master the art of consistent piping buttercream frosting tips with our expert techniques. BakeWithEase.com guides bakers of all levels to achieve…
Read articleWelcome to Basic Piping Skills, your gateway to transforming simple cakes, cupcakes, and cookies into stunning, bakery-quality creations. As part of BakeWithEase’s Intermediate Baking category, this subcategory focuses on the essential techniques every home baker needs to control a piping bag with confidence. From choosing the right tips to mastering pressure and movement, you’ll learn the foundational skills that make decorating effortless and fun. Whether you’re aiming for classic rosettes, clean borders, or elegant lettering, these tutorials break down each step with clear, actionable guidance. Perfect for bakers who have mastered the basics and are ready to elevate their dessert presentation, this page is packed with piping techniques, troubleshooting advice, and creative ideas to keep your skills sharp.
Understanding your tools is the first step to piping perfection. Start with a set of essential nozzles: round tips for dots and writing, star tips for shells and rosettes, and petal tips for flowers. Each tip creates a distinct texture and shape, so knowing when to swap them can drastically change your design. Equally important is the piping bag itself—disposable plastic bags are great for quick tasks, while reusable canvas or silicone bags offer better control and durability. Always fit the bag with a coupler to easily switch tips during one session. For beginners, practice with a large round tip first, as it’s forgiving and helps you develop steady hand pressure.
Beyond selection, proper setup prevents messy failures. Fill your bag only half full to avoid overflow, and twist the top to push the frosting down, eliminating air pockets. Hold the bag at a 90-degree angle for vertical piping or a 45-degree angle for borders. Squeeze from the top with your dominant hand while guiding the tip with your non-dominant hand. This balanced approach ensures smooth, consistent lines. Remember, the temperature of your icing matters: stiff buttercream holds shapes better, whereas thinner glazes flow easily. Test your consistency on parchment paper before piping onto your final cake, saving you from wobbly edges.
Start with three fundamental shapes that form the backbone of most decorations. Dots are the easiest—press the bag gently, stop, and lift straight up to create uniform pearls. Use them for borders, filling gaps, or as centers for flowers. Shells are created by applying steady pressure while moving in a small arc, then releasing and pulling away. These classic scallops add elegance to cake edges and cupcake swirls. Straight lines require a steady hand and even pressure; practice on a flat surface, drawing long, continuous strokes without lifting. Once you master these, you can combine them into chevrons, zigzags, and braided borders, instantly upgrading your cake’s look.
To avoid common mistakes, maintain consistent pressure and speed. Jerky movements cause blobs or thin spots. For flawless shells, keep the tip close to the surface and let the icing lay down naturally. For lines, use a turntable to rotate the cake while you pipe, keeping your hand stationary. Another pro tip: chill your cake before piping so the frosting sets quickly, preventing smudges. As you practice, try varying the tip size—smaller tips give delicate details, while larger tips create bold, rustic designs. These foundational moves will build your muscle memory, making advanced piping like rosettes and leaves feel effortless.
Rosettes are the most requested piping skill for good reason—they look impressive but are surprisingly simple. Start with a star tip (like a 1M or 2D) and hold your bag at a 90-degree angle over the cupcake center. Apply steady pressure, then move the tip in a clockwise spiral from the center outward, overlapping slightly. Finish by lifting the tip straight up in the center to create a soft peak. For a rose effect, use a petal tip, positioning the wider end at the base and rotating to create layered petals. The key is controlling your speed: too fast leaves gaps, too slow makes a heavy blob. Practice on a flat plate first to feel the motion.
Swirls are versatile for both cupcakes and whole cakes. For a tall swirl, start at the outer edge, spiral inward while moving upward, then finish with a gentle flick. For a flat swirl, keep the tip level and rotate slowly. To achieve clean, sharp peaks, refrigerate your piped swirls for 10 minutes before serving. Use a piping bag with a large star tip for dramatic ridges, or a round tip for smooth, swirled tops. Experiment with different colors—create a marbled effect by painting stripes inside the bag before filling. These techniques are perfect for birthday cakes, and once mastered, you’ll be ready to pipe rosette-covered cakes or elaborate swirl borders effortlessly.
Writing messages on cakes is a skill that requires patience and a steady hand. Use a small round tip (size 2 or 3) with a thin, flowing icing like royal icing or melted chocolate for best results. Practice on a parchment sheet first, writing short words and uppercase letters, as they are easier to control than cursive. The secret is to keep your hand slightly above the surface, letting the icing fall naturally, and to move your entire arm rather than just your wrist. For numbers or dates, plan your spacing by lightly marking the cake with a toothpick. If you make a mistake, freeze the cake for 10 minutes, then scrape off the icing and retry—no harm done.
To avoid shaky lines, rest your dominant hand’s pinky finger on the cake’s edge or a bench scraper to steady your movement. Start with simple block letters, then progress to script once you feel comfortable. For chocolate lettering, use a squeeze bottle for even flow. Another trick: pipe your message onto a parchment strip, chill it, then transfer it onto the cake with tweezers—this gives you a flawless result every time. With regular practice, your handwriting on cakes will become legible and even artistic. Remember, negative space is your friend; don’t overcrowd the top of your cake but leave breathing room around each word.
Elevate your cake’s edges with intricate border patterns that frame your masterpiece. Scallops are created by piping a series of overlapping arcs around the base or top edge. Start by piping a small dot, then drag the tip in a semicircle before lifting. Overlap each arc slightly for a uniform look. Beads are small, uneven spheres piped in a row—use a round tip and a quick pulse of pressure. For a lattice effect, pipe diagonal lines in one direction, then cross them in the opposite direction, creating a diamond weave. These borders add sophistication and hide any uneven cake edges beautifully.
To achieve precision, use a turntable and a bench scraper as a guide. Rotate the cake slowly while piping, keeping your hand steady at a consistent height. For scallops, use a star tip for texture or a round tip for a smooth look. You can also combine borders—for example, a row of shells topped with small beads. Practice each border on a parchment-lined plate, focusing on even spacing. If your buttercream becomes too soft, pop it in the fridge for 5 minutes to stiffen it. These decorative touches will make your cakes look professionally finished, whether you’re baking for a party or a weekend treat.
Yes, most tips fit standard piping bags, but using a coupler makes swapping tips easier without changing bags. Ensure the tip is inserted snugly and the bag is twisted to prevent frosting from leaking. For disposable bags, cut the tip just larger than the nozzle. Reusable bags sometimes require a small hole cut to fit the tip, so check the manufacturer’s instructions.
For fine piping like letters and intricate details, use a medium-stiff buttercream. It should hold its shape without being too hard to squeeze. Add a few drops of milk to soften if too stiff, or more powdered sugar to thicken if runny. Royal icing is ideal for writing because it dries hard and has a smooth finish.
Air bubbles cause gaps and splatters. To prevent them, after filling the bag, tap the tip on a counter to force air up, then twist the top to press the frosting down. You can also poke the bag with a toothpick to release trapped air. Always fill only half full for better control.
Uneven shells usually result from inconsistent pressure or movement. Practice squeezing with the same force and moving in a steady arc. Also, ensure your tip is not clogged and your buttercream has no lumps. Chilling your icing for 15 minutes can help it flow more smoothly.
Yes, a chilled or semi-frozen cake makes piping easier, as the frosting sets quickly, preventing smudges and sliding. However, avoid letting the cake be completely frozen, as condensation may form. Aim for a firm crumb coat, then pipe your designs after a short chill. This keeps details crisp.