Simple Steps to Your First Perfect Homemade Croissant
🥐 Discover the joy of baking with BakeWithEase.com’s easy homemade croissant recipe guide. Learn simple, step-by-step techniques to craft your first perfect…
Read article
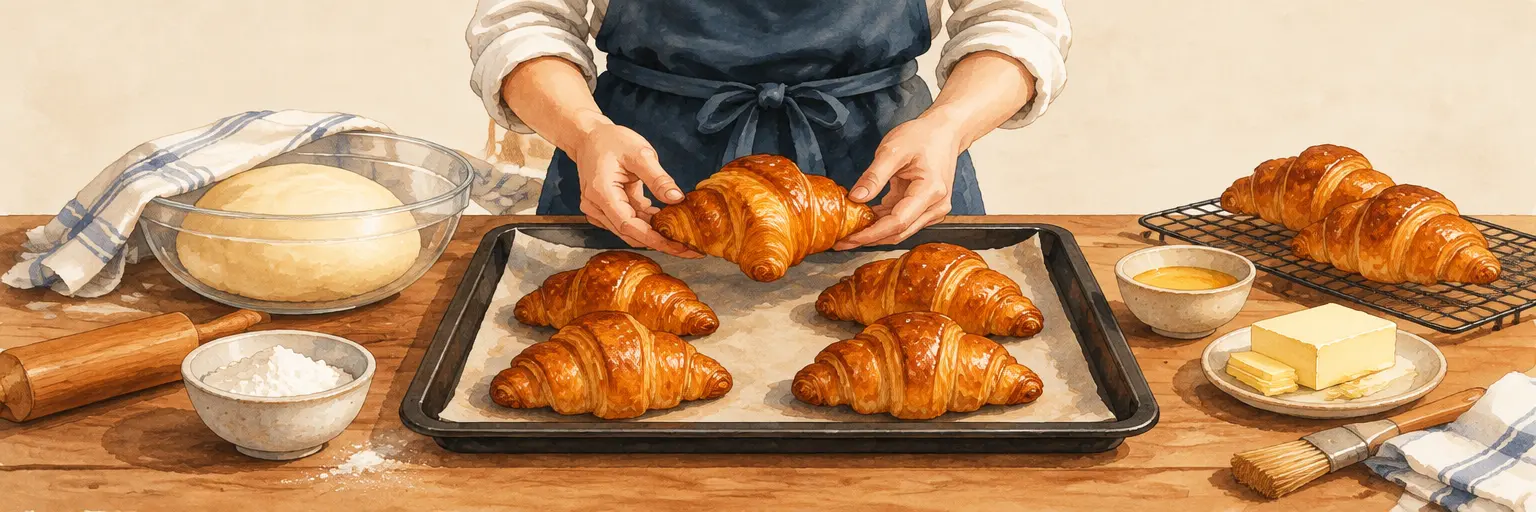
Master the art of flaky, golden croissant baking at home with our foolproof guide! 🥐 Whether you’re leveling up from basic breads or craving that authentic Parisian texture, this intermediate-friendly journey walks you through laminated dough, butter folding, and proofing like a pro. Discover simple techniques for achieving those delicate honeycomb layers, plus troubleshooting tips for crisp, airy results every time—no bakery required. Perfect your croissant craft with easy-to-find ingredients and step-by-step confidence. ✨

🥐 Discover the joy of baking with BakeWithEase.com’s easy homemade croissant recipe guide. Learn simple, step-by-step techniques to craft your first perfect…
Read article
😊 Discover how to craft a DIY croissant proofing box with our simple tips, ensuring perfect rise and flaky layers every time.…
Read article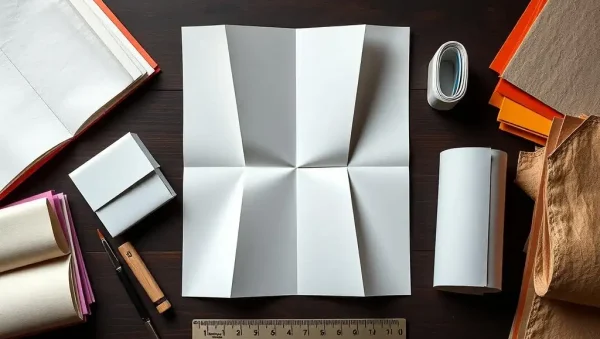
✨ Discover the art of perfect pastry with our comprehensive guide to lamination fold techniques explained. Whether you're a beginner or a…
Read article
🌟 Discover the art of sourdough croissants baking at home with BakeWithEase.com. Our simple, step-by-step guide empowers bakers of all levels to…
Read article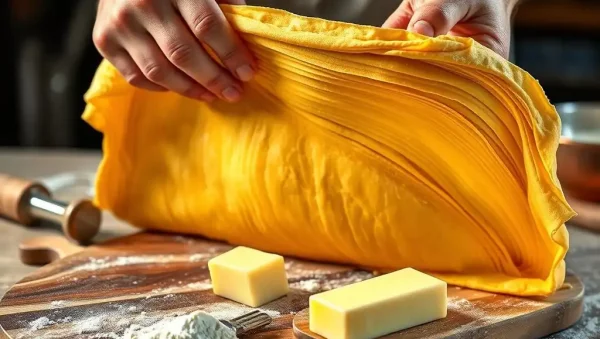
😊 Discover how to perfect your croissant lamination technique with our expert tips on achieving irresistibly flaky layers. BakeWithEase.com is your ultimate…
Read article
😊 Discover expert tips on how to reheat croissants for flakiness at BakeWithEase.com. Learn simple techniques to restore that crisp, flaky texture,…
Read article
🌟 Salt enhances croissant flavor and structure, balancing sweetness and improving dough elasticity. At BakeWithEase.com, discover simple tips to master this essential…
Read article
🌬️ Embrace cold weather baking tips to perfect your treats in chilly climates. Adjusting your process ensures consistent results, whether it's modifying…
Read article
🌟 Discover essential tips to avoid the top Croissant baking common mistakes and elevate your pastry game. BakeWithEase.com guides you through simple…
Read article
😊 Discover the common Uneven croissant rise reasons that could be affecting your baking. Learn simple tips and techniques to ensure perfectly…
Read article
✨ Discover the magic of the overnight croissant dough recipe on BakeWithEase.com, your ultimate baking resource. Learn how advanced prep simplifies your…
Read article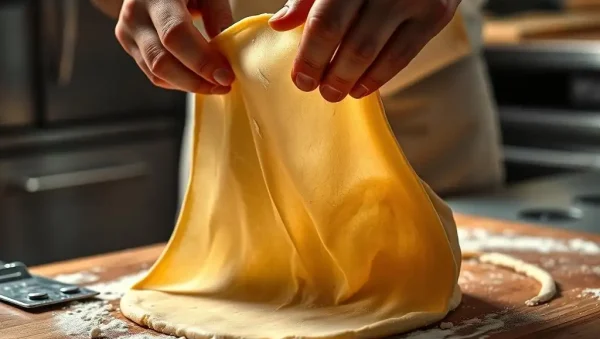
🥐 Discover how the windowpane test croissant dough can ensure perfect layers and flaky texture. Learn simple tips to master this essential…
Read articleWelcome to the Croissant Baking at Home subcategory, part of our Intermediate Baking series at BakeWithEase.com. Here, we transform the intimidating French pastry into a rewarding, achievable project for your home kitchen. This guide is packed with SEO-rich content covering lamination techniques, dough troubleshooting, and pro-level tips. Whether you’re chasing that perfect honeycomb crumb or just want café-quality pastries without leaving your house, you’ll find step-by-step instructions, ingredient insights, and time-saving hacks. Let’s demystify the croissant and turn your oven into a Parisian bakery.
Lamination is the process of folding butter into dough to create dozens of thin, alternating layers. When baked, the water in the butter turns to steam, puffing each layer apart for that signature flaky texture. In this section, we break down the classic French fold technique (book fold vs. letter fold) and explain how temperature control—keeping butter at 60°F (15°C)—prevents it from breaking or melting into the dough. You’ll learn to visualise the 27 layers in a standard croissant, and why patience between folds is non-negotiable. Expect detailed instructions on rolling, resting, and marking your dough to track each turn, ensuring even, professional results every time.
You’ll also discover the science behind butterfat percentage—using European-style butter with 82% fat yields a more pliable, flavourful laminate. We cover common pitfalls like butter shattering or dough tearing, with actionable fixes. By mastering lamination, you’ll not only bake superior croissants but also gain skills transferable to puff pastry and Danish dough. This section is your technical foundation, turning a daunting recipe into a methodical, enjoyable ritual.
Ingredient quality makes or breaks a homemade croissant. For butter, we recommend unsalted, high-fat (82-84%) varieties like Plugrá or Échiré, as they contain less water, producing a more tender crumb and cleaner lamination. Flour matters too—use bread flour with 11-12% protein for structure, or a mix of all-purpose and bread flour for a softer bite. This section dives into hydration levels (around 55-60%) and how they affect extensibility. You’ll learn why cold, fresh ingredients and a cool kitchen environment are critical, and how to test butter’s malleability without a thermometer. We also discuss alternatives like vegan butter for dairy-free versions, though with structural caveats.
Beyond basics, we explore yeast types—instant vs. active dry—and their proofing speeds, plus the role of a small amount of sugar and malt powder for browning and fermentation. You’ll get a checklist for sourcing ingredients from regular supermarkets, ensuring no exotic shopping trips. Each paragraph includes specific weight measurements and substitution ratios, so you can follow our signature recipe with confidence. By understanding ingredient interactions, you’ll troubleshoot issues like poor rise or greasy layers before they happen.
Croissants are a marathon, not a sprint, but our timeline breaks it into manageable chunks. Expect a 2-day process: Day 1 involves making the dough, initial proof, and overnight refrigeration. Day 2 includes lamination, shaping, final proof, and baking. This section provides a minute-by-minute schedule, from mixing at 9 AM to final bake at 4 PM the next day, with buffer times for interruptions. You’ll learn when to chill the dough versus let it rest, and how to recognise the perfect proofing state—where a finger press leaves a slow spring-back dent. We also include a quick 1-day version using cold butter and reduced resting, albeit with slightly less flaky results.
Critical steps like rolling and cutting triangles are illustrated with tips for even thickness and length (usually 24cm long, 8cm wide at base). We detail shaping techniques—starting with a gentle crimp, rolling with medium pressure, and tucking the tip underneath—to create that classic crescent. The final proofing environment (ideally 25-27°C with 75% humidity) is discussed, along with a home hack using a warm oven with a steam pan. By following this timeline, you’ll avoid common disasters like butter leaking or dough tearing, and achieve a golden, honeycomb interior.
Baking is where all your effort turns into golden, crisp perfection. We recommend preheating to 200°C (400°F) for conventional ovens or 190°C (375°F) for convection. This section explains the role of steam—by adding a tray of boiling water to the oven floor during the first 5 minutes, you keep the crust supple, allowing maximum oven spring. You’ll learn how to create that deep caramelised colour using an egg wash (one egg plus a pinch of salt) applied just before baking, and why brushing twice at 10-minute intervals prevents pooling. We also cover internal temperature target: 96°C (205°F) ensures a fully cooked centre without a raw doughy core.
Shorter bakes (18-22 minutes) with a mid-bake rotation guarantee even browning, and you’ll know to look for a deep amber crust rather than pale blonde. We troubleshoot under-baked bases (often due to low oven rack) and over-dark tops (use aluminium foil loosely). After baking, cool on a wire rack for 15 minutes—this allows the steam to finish setting the structure. We also include pro tips for freezing unbaked shaped croissants, so you can bake a handful fresh each morning. Expect consistent, bakery-quality results using our tested temperature charts and rack positioning guidelines.
Even bakers with experience hit snags—here’s how to fix them. This section addresses the top five issues: butter leaking (dough too warm or butter too hard), dense layers (over-proofed or under-laminated), uneven crumb (uneven butter distribution), blond crust (insufficient sugar or wash), and greasy texture (butter melted during rolling). Each problem gets a concise diagnosis with corrective actions, such as chilling the dough for 30 minutes before rolling, or reducing yeast in high-humidity weather. We also discuss why croissants may deflate after proofing—often due to over-proofing or a weak gluten network—and how to test dough with a gentle press.
We provide a troubleshooting chart at the end, but within this section, we also share advanced fixes like re-laminating dough if folds fail, using cold rolling pins, or adjusting proofing times based on ambient kitchen temperature. You’ll learn visual cues: shaggy dough needs more kneading, while shiny spots indicate butter breaking. For frequent bakers, we recommend a digital thermometer and a marble slab for temperature stability. By the end, you’ll feel empowered to rescue any batch, turning potential failures into learning opportunities.
Yes, but expect a slightly softer, less chewy texture. Use a 50/50 mix of all-purpose and bread flour to balance structure and tenderness. For best lamination, stick to bread flour with 11-12% protein. All-purpose alone works but may tear during rolling; add 5% more water to compensate.
You can refrigerate at any stage for up to 24 hours between folds, but overnight is ideal for flavour development. After the final fold, shape and freeze or refrigerate for up to 48 hours before proofing. Always cover tightly to prevent drying.
This usually means over-proofing, where gluten weakens and yeast exhausts, or under-lamination with insufficient layers. Check proofing time—your dough should double but not puff excessively. Also, ensure your oven is hot enough (200°C) and use steam for oven spring.
While not mandatory, European butter (82-84% fat) contains less water, resulting in flakier, richer pastries. Regular American butter (80% fat) works but may leak slightly more during baking. If using standard butter, keep it very cold and avoid overworking the dough.
Absolutely—shape croissants, then freeze on a baking sheet until solid, transfer to a bag, and store up to 3 months. When ready, thaw in the fridge overnight, then proof at room temperature for 2-3 hours before baking. Add 2-3 extra minutes to baking time.