Understanding Whole Wheat Flour: From Atta to StoneGround
🌾 Discover the journey of whole wheat flour, from traditional Atta to stone-ground varieties. BakeWithEase.com offers essential whole wheat flour baking tips…
Read article
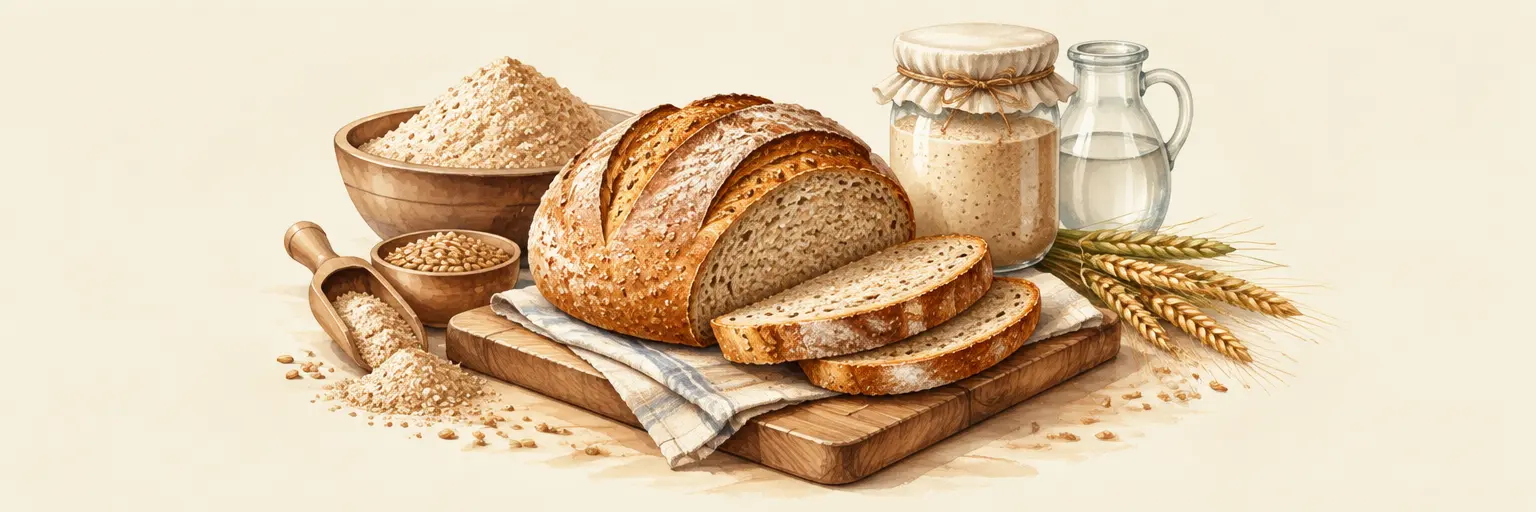
Discover the wholesome art of whole wheat bread baking with BakeWithEase—where nutritious meets delicious in every loaf. 🌾 Our step-by-step guides demystify 100% whole wheat recipes, blending hearty grains with foolproof techniques for soft, airy crumb and golden crusts. From tangy sourdough to quick no-knead versions, we share tips on hydration, gluten development, and natural sweeteners to boost flavor without compromise. Whether you’re a beginner craving your first rustic boule or a pro perfecting a nutty sandwich bread, BakeWithEase ensures every bake feels achievable and rewarding. Elevate your kitchen with fiber-rich, homemade loaves that smell like heaven—and taste even better. 🍞✨
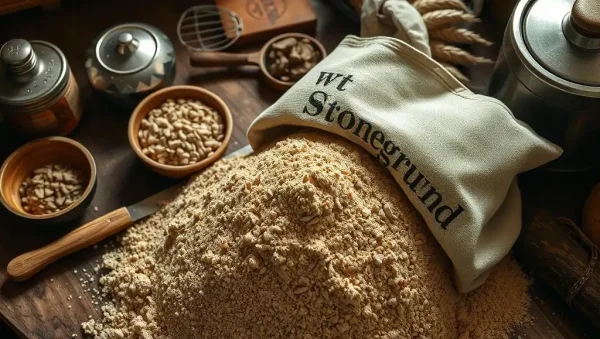
🌾 Discover the journey of whole wheat flour, from traditional Atta to stone-ground varieties. BakeWithEase.com offers essential whole wheat flour baking tips…
Read article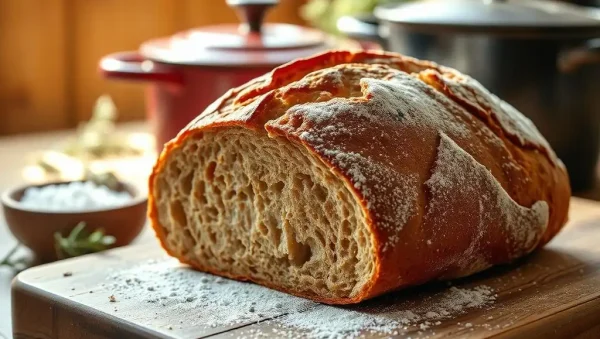
🌟 Discover the secrets to achieving a perfectly crispy whole wheat loaf crust with expert tips and simple techniques. BakeWithEase.com helps bakers…
Read article
🌾 Ensuring top-quality water is essential for making perfect whole wheat bread. Whole wheat bread water quality directly impacts dough consistency, flavor,…
Read article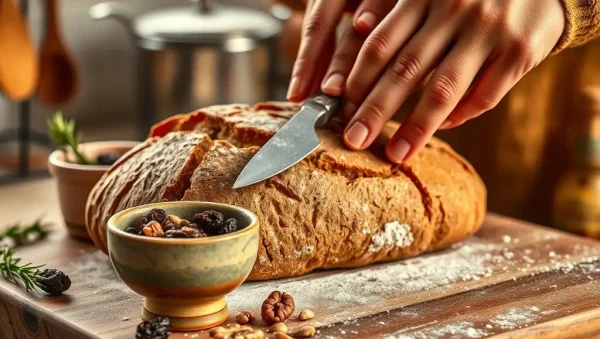
🌾 Discover the joy of baking with our easy whole wheat bread recipe, perfect for beginners. At BakeWithEase.com, we guide you through…
Read article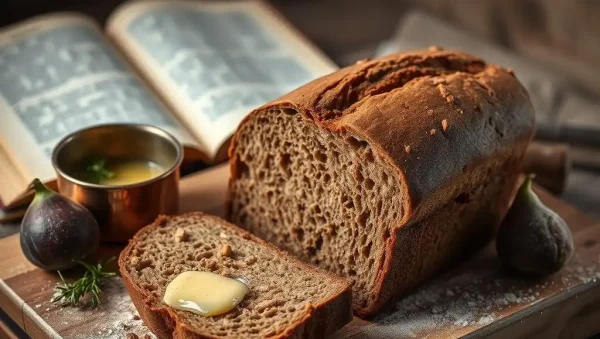
📝 Discover the secrets behind creating the perfect dense whole wheat bread with our expert tips and step-by-step guidance. Unlock the mystery…
Read article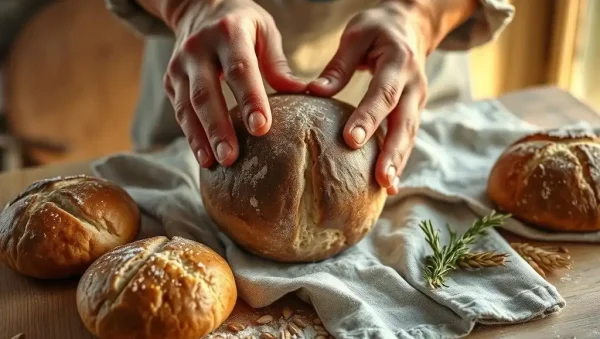
😊 Discover effortless techniques for easy whole wheat roll shaping with BakeWithEase.com. Master simple, step-by-step methods to create perfect, delicious rolls—whether you're…
Read article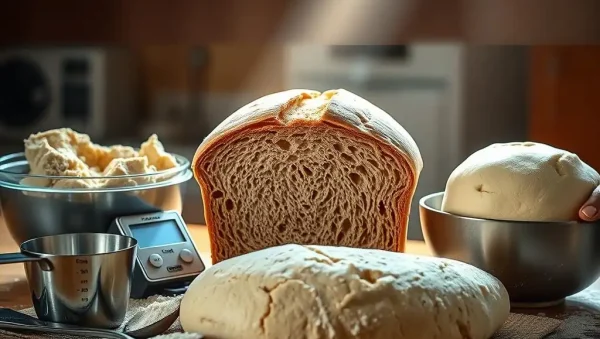
😊 Discover the essentials of whole wheat bread hydration levels and how they influence dough texture, fermentation, and final bread quality. BakeWithEase.com…
Read article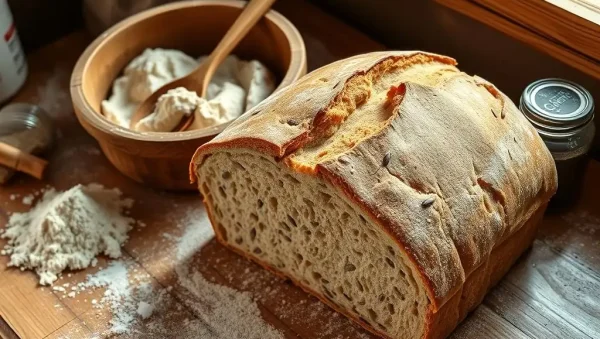
😊 Discover how to make delicious whole wheat bread no mixer with simple, step-by-step techniques on BakeWithEase.com. Perfect for beginners, our easy…
Read article
🌟 Discover how to create soft, puffy, and delicious whole wheat pita bread with our easy whole wheat pita bread recipe. Perfect…
Read article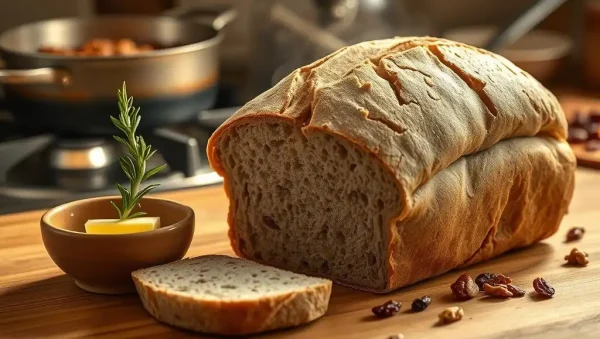
🌾 Discover effective Stale Whole Wheat Bread Revival tips on BakeWithEase.com, your ultimate baking resource. Learn simple techniques to refresh and enjoy…
Read article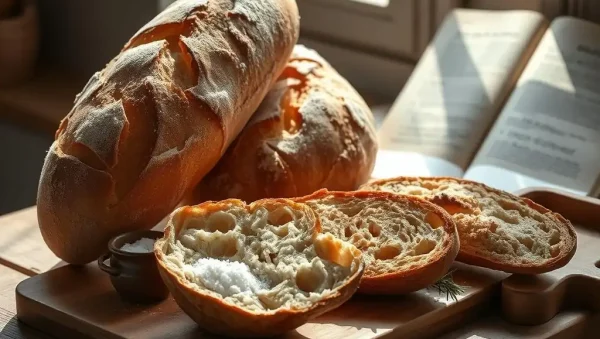
🌾 Discover how to make an easy whole wheat baguette with our simple, step-by-step guide. Perfect for bakers of all levels, this…
Read article
🌾 Discover essential whole wheat bread storage tips to keep your bread fresh longer. BakeWithEase.com offers expert advice and practical techniques to…
Read articleWelcome to the wholesome world of whole wheat bread baking, a rewarding subcategory of our Bread Baking section at BakeWithEase. Here, we transform dense, hearty grains into light, flavorful loaves that are both nutritious and delicious. Whether you are a novice baker or a seasoned pro looking to refine your technique, our guides cover everything from selecting the right flour to troubleshooting dense crumb. Get ready to fill your kitchen with the warm, nutty aroma of freshly baked bread that is good for you and your family.
The foundation of any great whole wheat loaf starts with the flour itself. Not all whole wheat flours are created equal; you will encounter options like standard whole wheat, white whole wheat, and freshly milled varieties. Standard whole wheat, milled from red wheat, offers a robust, slightly bitter flavor and dense texture. White whole wheat, milled from white wheat berries, provides a milder taste and lighter color, making it perfect for those new to whole grain baking.
For the best results, look for flour that is finely ground, as coarser grinds can lead to a grittier crumb. Freshly milled flour has more nutrients but also more natural yeast, which can affect your rise. We recommend starting with high-quality, unbleached whole wheat flour for consistent outcomes. Always check the protein content; higher protein (around 13-14%) yields better gluten structure, which is crucial for a chewy, springy loaf.
Whole wheat flour behaves differently than all-purpose flour because it contains the bran and germ, which absorb more water and can hinder gluten formation. To achieve a soft, airy loaf rather than a brick, you must manage hydration carefully. A standard whole wheat dough will typically need more water—often 75% to 85% hydration—to compensate for the thirsty bran. A common technique is to create a "soaker" or use an autolyze method, where flour and water rest together before adding yeast or salt.
Gluten development is also trickier with whole grains. The sharp edges of bran can cut the gluten strands as you knead, leading to a weak structure. Instead of over-kneading, use stretch-and-fold techniques during bulk fermentation. This gentle method builds strength without tearing the dough. If you have a stand mixer, knead at a lower speed for a longer time, and always test for the windowpane effect—a thin, translucent membrane—to confirm your gluten is ready before shaping.
Whole wheat flour has a distinct earthy, nutty flavor that some find overly bitter. To balance this, home bakers often incorporate natural sweeteners like honey, maple syrup, or molasses. These not only add subtle sweetness but also help with browning and moisture retention, giving your crust a beautiful caramelized color and a tender interior. Do not be shy with fats either; a few tablespoons of olive oil, melted butter, or even yogurt enrich the dough, softening the crumb and adding a delicate mouthfeel.
Experiment with flavor pairings to elevate your loaves. Add toasted seeds (sunflower, flax, or sesame) for crunch, or incorporate spices like cinnamon, nutmeg, or cardamom for warmth. For a savory twist, try adding grated cheese, fresh herbs, or roasted garlic. Remember, the goal is to complement the grain, not mask it. Start with a small amount of addition and adjust according to your taste. The right balance will make your whole wheat bread a family favorite, not just a healthy compromise.
Whole wheat doughs can be sluggish to rise due to the heavy bran, which weighs down the gluten network. To combat this, you may need to increase the amount of yeast by about 20-25% compared to white bread recipes, or simply allow a longer fermentation period. A slow, cold proof in the refrigerator overnight is a game-changer for whole wheat. This extended time allows enzymes to break down complex sugars, improving flavor and texture while making the bread more digestible.
Pay close attention to your dough’s temperature. An ideal ambient temperature of around 75°F (24°C) is perfect for active yeast. If your kitchen is cold, use warm liquid (but not hot, above 110°F) to wake the yeast. During bulk fermentation, look for the dough to double in volume, but also check for a "pillowy" feel and a slight dome on top. For the final proof, the dough should spring back slowly when poked with a finger. If it springs back quickly, it needs more time; if it doesn't spring back at all, it is over-proofed.
Nothing is more disappointing than a whole wheat loaf that comes out heavy and dense. The secret to a light crumb lies in three key techniques: proper mixing, using dough conditioners, and incorporating air. Besides the stretch-and-fold method, consider adding vital wheat gluten, a natural protein powder that boosts the elasticity of the dough. A mere 1-2 tablespoons per loaf can dramatically improve the rise and crumb structure, transforming a brick into a cloud.
Another trick is to use a "sponge" or preferment method. Mix a portion of the flour, water, and yeast together a few hours or the night before. This pre-ferment develops flavor and creates a stronger gluten network before you add the remaining ingredients. When shaping, be gentle but firm, creating surface tension without degassing the dough completely. Finally, bake with steam. Place a pan of boiling water in the oven or spritz the dough with water before baking; the steam keeps the crust soft during the initial oven spring, allowing the loaf to expand fully before setting.
Even experienced bakers face issues with whole wheat loaves. If your bread is too dry and crumbly, you likely used too much flour or not enough water. Always weigh your ingredients, not measure by volume. If your loaf has a thick, hard crust, try baking at a slightly lower temperature (375°F vs 400°F) or covering it with foil halfway through. A gummy or doughy interior often means the bread was underbaked, or you cut it too soon—always wait at least 30 minutes before slicing.
If your bread has a dense, heavy bottom, it might be under-proofed or your oven temperature is too low. Conversely, a collapsed loaf with a concave top is often a sign of over-proofing. Do not get discouraged; every failed loaf teaches you something. Keep a baking journal to note your hydration, proofing times, and temperatures. Over time, you will develop a feel for the dough, and your whole wheat bread will become reliably fluffy, flavorful, and a staple on your table.
Density usually stems from low hydration or insufficient gluten development. Whole wheat flour absorbs more water, so increase your hydration by 5-10%. Use a stretch-and-fold method during kneading and consider adding vital wheat gluten to strengthen the dough. Ensure your yeast is fresh and active, and do not rush the rise.
You can, but you must adjust the liquid. Start by replacing only 50% of the flour with whole wheat to see how it works. For 100% substitution, increase the water by 2-3 tablespoons per cup of flour and add an extra 10-15 minutes of kneading time. You may also need to increase the yeast slightly.
White whole wheat flour is milled from white wheat berries, giving it a lighter color and milder flavor while retaining the same nutritional benefits as regular whole wheat, including fiber and protein. It is not bleached or refined; it is simply a different variety of wheat. It is an excellent choice for lighter breads.
Hand kneading typically takes 10-15 minutes, but the bran makes the dough feel stiffer. Use the windowpane test as a guide rather than time. If using a mixer, knead for 8-10 minutes on medium-low speed. Watch for a smooth, elastic dough that doesn’t tear easily.
Absolutely. Add up to 1 cup of seeds or nuts per loaf. Soak them in hot water for 10 minutes first to soften them and prevent them from pulling moisture out of the dough. Fold them in during the last few stretches of bulk fermentation to avoid tearing the gluten.